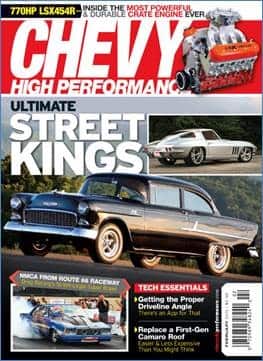
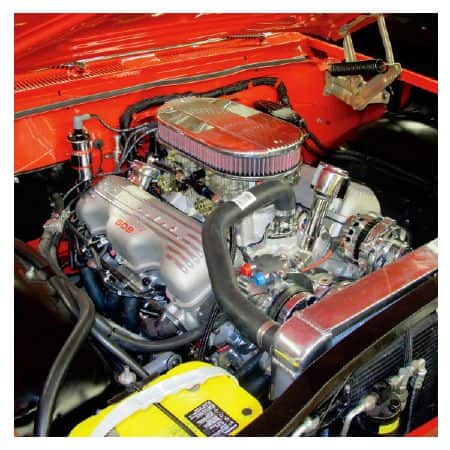
 What a 500ci Caddy engine was doing in this ’61 Bel Air, we don’t know for sure. It did sound impressive, but we were after something even more exotic. The factory option list could have included the unique and distinctive 409ci W-block—an absolute icon. The famous W valve covers under the hood can be recognized from a mile away. And with the Beach Boys song “409” playing on the PA at most any given classic car show, it’s certain the first bigblock will forever be remembered. In 1961, the 409 would have scored 360 hp on the dyno test. Not much by today’s standards for a fullsize passenger car; however, this engine would be right at home between the front fenders. With performance parts selection for the 409 scarce, the easy solution would be to drop in a Gen I or LS-platform small-block or a traditional big-block. We opted for something a little more creative. We contacted Shafiroff Racing and were stirred by their 509. Turns out they got the bright idea to create a high-performance 409-inspired big-block that will outlast the original. They start with a specially made block from World Castings that accepts a variety of standard big-block parts and 409 peripherals, including the iconic cylinder heads. From there, they ended up with a 565hp 509. Our job was to mate this masterpiece with a healthy transmission and all the accessories that make a car go. This special engine uses some atypical parts because of its hybrid composition. We sought out these parts to mate with both the engine and the Bel Air. It wasn’t exactly all bolt-in, but with the use of a grinder and a MIG welder, you can get the job done.
01 | First up, we had to get that old Caddy engine and TH400 out. The 509 replacement is a significant investment, so taking care of the old parts to resell them is highly recommended.
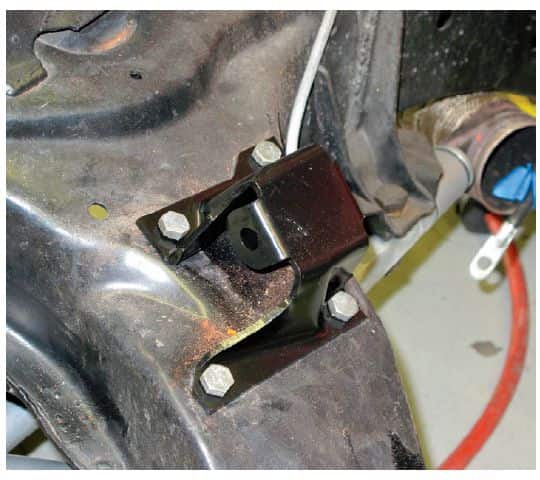
02 – 03 | Fitting the 509 engine to the chassis was simple with Classic Industries frame mounts (PN B1726) and Energy Suspension engine mounts.
04 | Before dropping the 509 Shafiroff mill into place, there were some final things to take care of. We installed and torqued down the flexplate using ARP flexplate bolts and assembly lubricant.
05 | This World Castings block accepts a 409-stlye water pump and this attractive accessory drive kit from Lamar Walden Automotive. We installed these parts before putting the engine into place.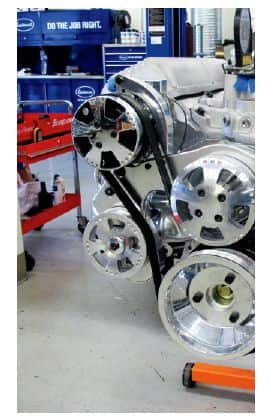
06 | To the novice this step can be intimidating, but without a transmission attached the engine slides in between the perches nicely. This is the step where we realized we would need to use the spacers that came with the engine mounts.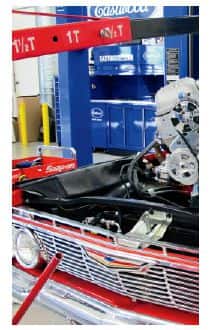
07 | We slipped the transmission, with the Energy Suspension mount attached, onto the engine to begin modifications to the transmission crossmember. The X-frame narrows as it reaches the center of the vehicle and a longer engine/transmission combination requires shortening the crossmember.
08 | To make our modified transmission crossmember look nice and to add protection from rust, we used Eastwood Extreme Chassis Black to recoat it.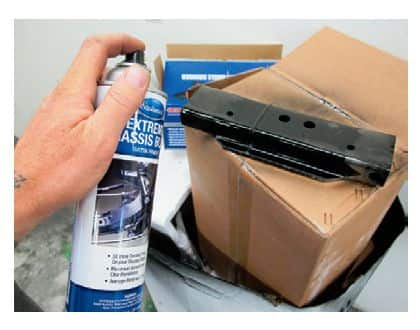
09 | The Inland Empire driveshaft passes through their IE210527XS carrier bearing.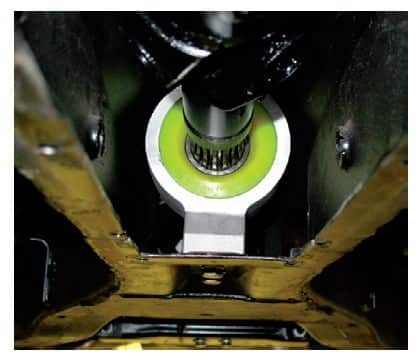
10 | In went the set of Doug’s 2-inch primary and 3.5-inch collector headers, which mate to the Muffler Man custom-built oval exhaust tubing.
11 | To ensure the big 509 kept cool, we installed the custom US Radiator crossflow radiator into place. Due to the size of the radiator, we needed to trim small sections from each side of the core support.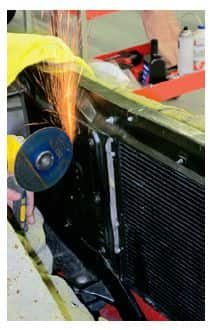
12 | With the main components installed, we went to Mesa Hose for their custom-built power steering lines.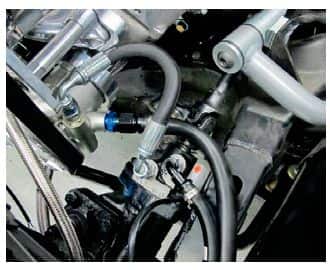
13 | The Classic Performance Products remote power steering fluid reservoir was plumbed in as well.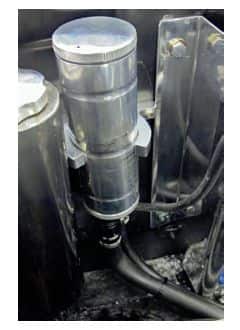
14 | The Aeromotive mechanical fuel pump got similar treatment with fuel line.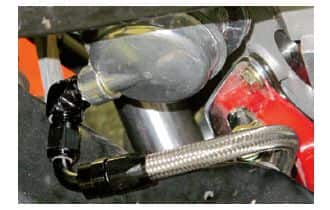
15 | Using a 1/4-inch rod, we fabricated the linkage to mate the dual Edelbrock carburetors to the stock throttle pedal assembly.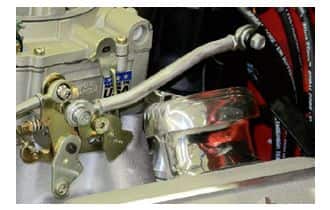
16 | Lastly, we hooked up the transmission shifter. We used a Kugel Komponents transmission shift arm connection kit.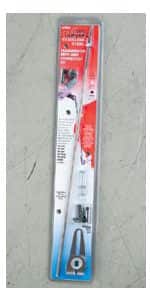
17 | The bracket is then clamped to the splined post using a pinch bolt.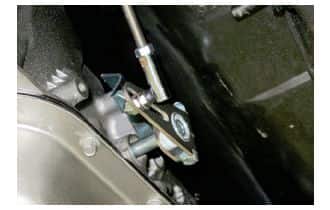
18 | Before marking our cut point on the rod, we bent it to line up with the shift arm, then cut to fit.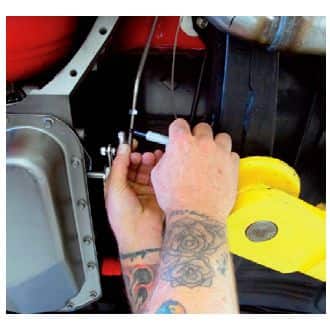
19 | The upper pivot connects to the shift arm on the steering column assembly. TRANSMISSION Stay tuned for an in-depth build story on the Gearstar Level 4 4L80E transmission, which is capable of handling up to 800 horsepower and 700 lb-ft of torque. We also installed a COMPUSHIFT II controller from HGM Automotive Electronics that can operate a wide variety of functions, ranging from automatic shifting, paddle shifting, and torque converter lockup. For more exotic setups, a MAP sensor can also be connected for boosted combinations.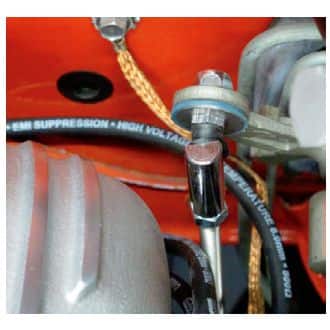
Ready to experience top-notch transmission solutions and expert support?