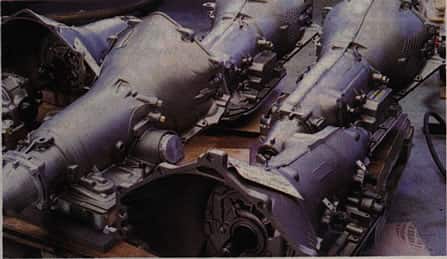
You probably thought I’d forgotten all about the project ’49 Chevy huh? Unfortunately a combination of work schedules, the start of the show season and the fact that I have been doing a few jobs on my ’46 roadster pickup meant the Purple Pig has sat unloved down in the basement for a while. When I finally dragged it over to our Tech Center it had repaid me by going rusty on all the bare metal parts, so you’ll have to excuse the less-than-new appearance until I get around to acid washing the rust. When I originally planned the project, it didn’t include an engine with as much horsepower as the Smeding 383 stroker motor it now has, and the Level 2 200-4R transmission from Gearstar was perfect for my plans.
However, the Level 2 trans is rated up to 400 horsepower, and the new motor has made over 425hp on the dyno, but discussions with Zack Farah at Gearstar led us to decide that as he’d never been given the opportunity to perform a long-term real-world road test on one of his Level 2 transmissions behind such a motor, and that this trans is way more affordable than a Level 2.5, 3, or 4, and as such would be more likely what most readers would purchase, we would keep the Level 2 that had been installed behind our dummy block in the ’49 for some time, and see how it performed.
This confirms Zack’s confidence in his work, as he knows that I have a heavy right foot and won’t be happy if the trans gives up in the middle of the California desert. The offer to have it replaced if it ever fails is admirable, but no-one wants to be at the side of the road 150 miles from anywhere at 6pm on a Sunday with a wife/girlfriend/kids do they? I have faith in Zack and Gearstar products, so the deal’s o, and the Pig is one step closer to the road.
|
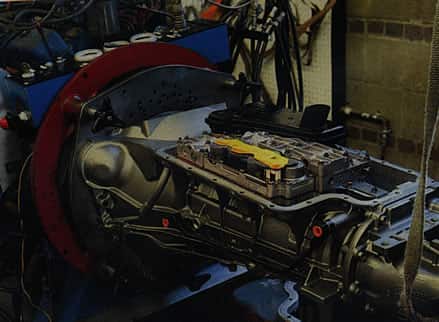
Here’s our transmission, a Level 2 200-4R from Gearstar. No rebuilt stocker, it features a number of internal modicications as well as a 2,200rpm stall speed 12-inch factory diameter torque converter that has been furnace brazed and uses a flanged hub. The Level 2 can handle 400 hp, the level 2.5 will take 450 hp, and the Level 3 is built for 500 hp. |
 |
 |
This is Gearstar’s Level 4 200-4R, capableof handling 650 hp. External differences are the deeper pan and billet converter, but internal improvements include fully billet components and fully rollerized assembly, replacing every thrust washer with bearings, as well as some improvements Gearstar would rather not divulge. |
|
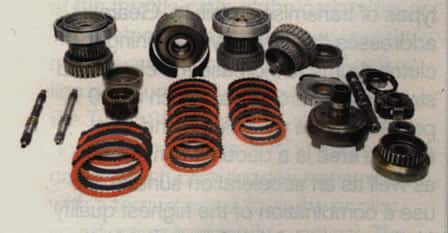
From left to right the internal parts comprise the clutch drums, center support and overdrive unit (left), the output shaft, planetary sets and low/reverse clutch (center), and the pump assembly (sitting on a holding fixture, right) |
 |
 |
Shown here is the pump witha heat treated stator shaft installed, compared to the stock untreated shaft. Regular cars are capable of stripping the splines from the stator shaft, let alone high horsepower engines. |
|
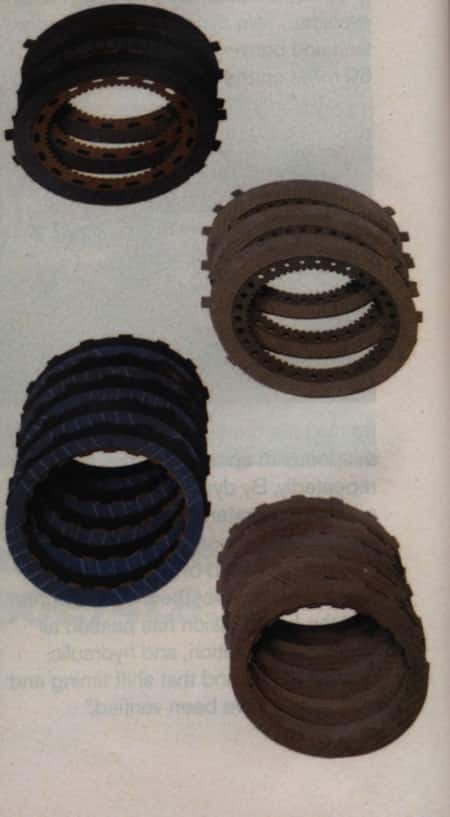
Gearstar replaces the four stock friction discs with five in all levels of its 200-4R transmissions. The increased surface area offers a 25 percent increase in torque capacity |
 |
 |
The factory band shown on the right is replaced with the carbon fiber band on the left. In addition to the fact that carbon fiber doesn’t burn up as regular bands can, it should be obvious that the replacement band has 20 percent greater surface area. This translates as more capability to the stop the drum which the bands surround, and the quicker the drum stops, the more aggressive the shift can be. |
|
Here’s my completed transmission about to have the pan installed. The calibration and clutch pack feed hole sizes are specific to each level of build. |
 |
 |
Gearstar replaced the stock servo with its own. A larger surface area translates into greater pressure to apply the band to engage Second gear. |
|
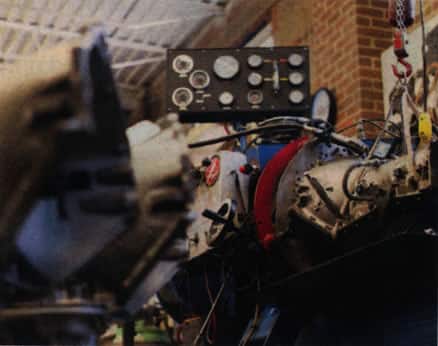
Here’s where we left off, though one of the less than joyful aspects of living by the ocean is that bare metal surface rusts pretty quickly. Nothing a little acid wash won’t cure Let’s drag that dummy block outta there! |
 |
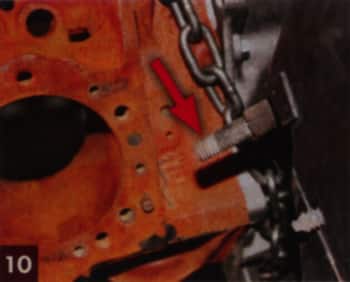 |
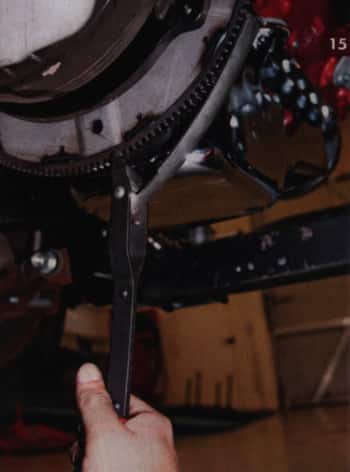
If you’re following this build and plan on doing similar, you’ll need to remove the stock parking brake mechanism (arrowed) as it interferes with the rear of the left side cylinder head. Detach the bracket from the lower dash and it’ll pull through the firewall. |
|
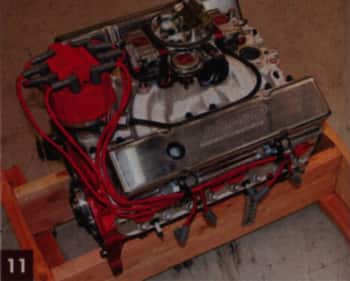
Last time I saw the smeding 383 it was still warm as it was wrapped and loaded into my truck. Unwrapping it was just like being a kid at Christmas. |
 |
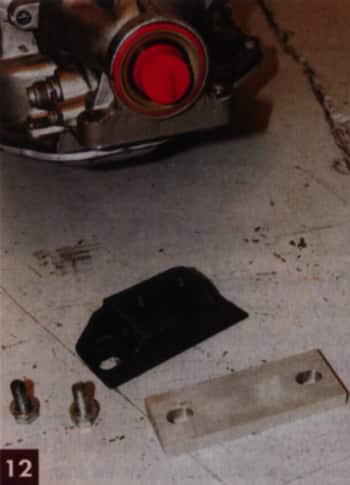 |
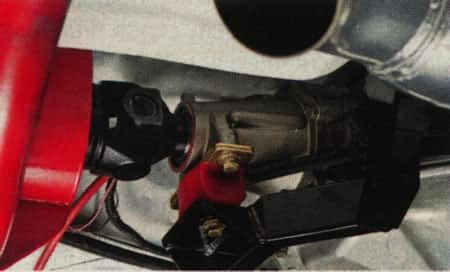
Gearstar ships their transmissions already filled with ATF, hence the plug in the tailshaft. We used a new stock GM trans mount and this aluminum spacer to attain the correct engine/trans angel in the car. The chassis Engineering engine mounts that come attached to their crossmember are higher than the Walton Fabrication ones we originally used, which work perfectly with the trans crossmember from the same company. Of course now the crossmember is slightly too low, hence the spacer. |
|
Smeding supplies flywheels with its motors, but doesn’t install them prior to shipping, so our first task was to fit this and torque the bolts down. |
 |
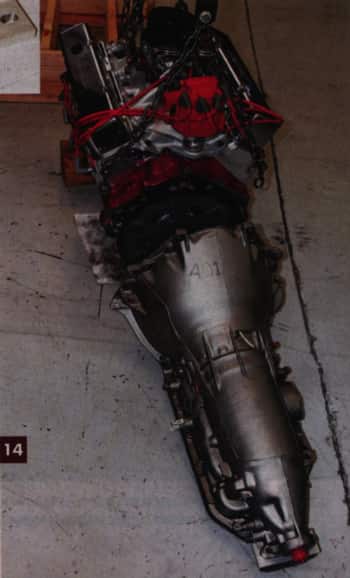 |
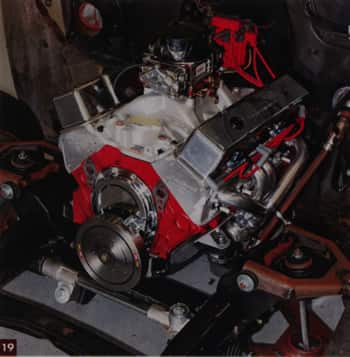
Coupling the engine and trans is always so much easier out of the car, and with no fitment issues as the front sheetmetal is currently removed, bolting ’em up and slipping ’em in was a breeze. |
|
If you’re a professional mechanic this won’t be news, but I’d never seen one of these tools before, and I’d always rotated the motor using the dampener bolt on the front of the crank to align the torque converter and flywheel bolt holes. As it needs to be turned at least one rotation to tighten the three converter bolts, this turned a chore into a pleasure. |
 |
 |
Though I am using a spacer, the trans saddle is dropped, so I shall fabricate a flat one and eliminate the spacer at a later date. I should stress that Walton Fabrication’s crossmember is a very good product, but should be used with their engine mounts. I only took them out as the Chassis Engineering crossmember I subsequently fitted had mounts already in place, and the Walton mounts wouldn’t fit with the new IFS crossmember mounted. |
|
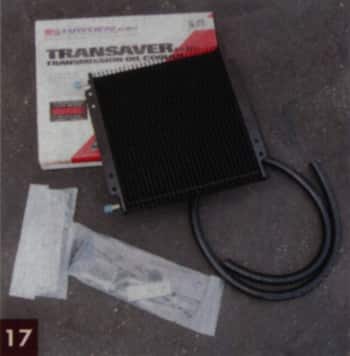
Gearstar supplies transmissions with a trans fluid cooler, fitting kit and hose, as well as extra ATF to tip it up once installed. Though we aren’t installing this now, as we currently have no radiator on which to mount it. |
 |
 |
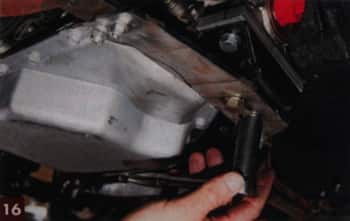
It’s easy to forget later, so I installed a new K&N oil filter on the motor while it was fresh in my mind. Hey, I’m forgetful! |
|
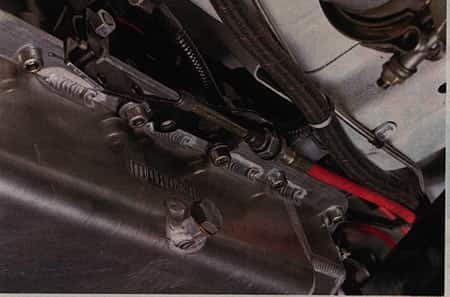
With Sanderson headers bolted to the engine, all I need are a water pump, pulleys, radiator, exhaust system and a driveshaft. And bake lines. And shocks. And airbags. And I thought it was nearly there… |
 |
![]()
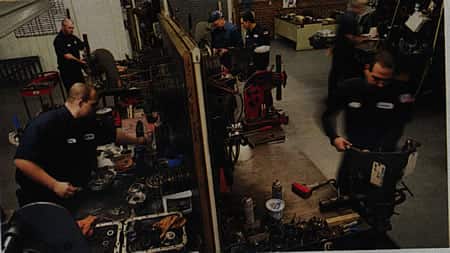
Take a tour of our shop

See our Customer Rides!
Check out our customer rides! View and submit your own. Click here to visit.

Meet the Gearstar Team.
Learn a little more about our builders. Click here to visit our builders section.

Ready to experience top-notch transmission solutions and expert support?