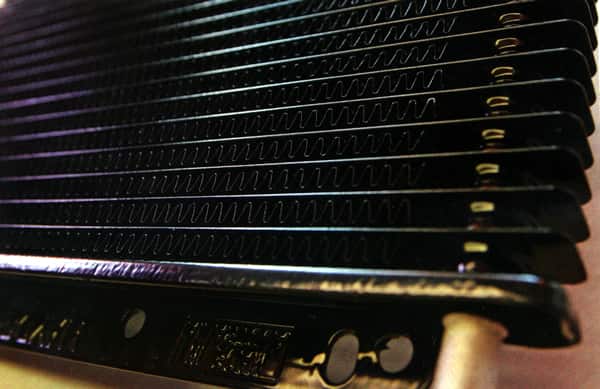

The cooling system on any vehicle is vital for its survival. If you happen to have one that isn’t functioning properly, then it can incapacitate its ability to maintain a consistent and safe operating temperature for any of the components involved. As drivers, it’s more about preventing the cook before it happens; otherwise you may end up limping home once the damage has already been done.
Similar to engine oil; taking care of the fluid inside the transmission is just as critical to maintain longevity. Put it this way: Transmissions are constantly under load and any vehicle enduring the demands of stop-and-go traffic, including highway jaunts can generate am ample amount of heat. Add in spirited driving at the autocross or flat-footing it down the quarter-mile, and there’s a good chance you’re already taxing the system. It’s excessive heat in the transmission that can damage friction plates, burn seals, and destroy gaskets.
Since it’s the fluid’s job to lubricate and dissipate heat from the transmission, this is something you don’t want to neglect or take for granted. Aside from adding a deeper-sump transmission oil pan to hold additional fluid, installing an external transmission oil cooler will also help by offering a greater amount of surface area. This allows the fluids to cycle through the heat exchanger and cool down quickly before returning to the transmission. The end result is longer fluid life, and more importantly, this will help keep the internal transmission temperatures to a more manageable level without sacrificing performance.
To showcase a typical install, we acquired a Hayden universal transmission cooler kit from Gearstar Transmissions. The package included longer lines, allowing us to mount the cooler to our liking. In no time we attached the cooler onto the front radiator support with simple home-fabricated brackets. By placing the oil cooler up front, it provided a direct flow of air to the cooler at all times. Read on to see how we installed ours, and the tools we used to get the job done.
|
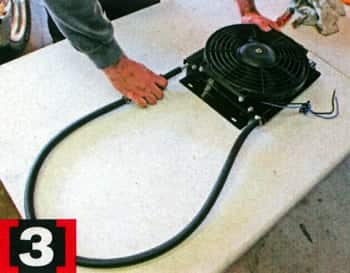
To get started, we first installed the fan assembly to the mounting brackets of the oil cooler. Once the holed were lined up, we inserted the supplied hardware with a nit on the backside. Then, we fastened down the four bolts with a 12mm socket. |
 |
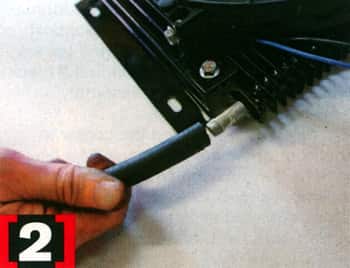 |
We applied a small amount of grease to each barbed inlet/return fitting on the cooler. Then, we slid the supplied rubber hose onto the inlet side. |
|
From there, we looped the hose and slid the remaining end onto the return sure of the cooler. Note: It’s important not to cut the hose until the unit is installed onto the vehicle. This will ensure that you have an ample length of hose to route to the transmission lines. |
 |
 |
Once the hose was installed, we tightened them down using a small hose clamp that we purchased from the local hardware store. |
|
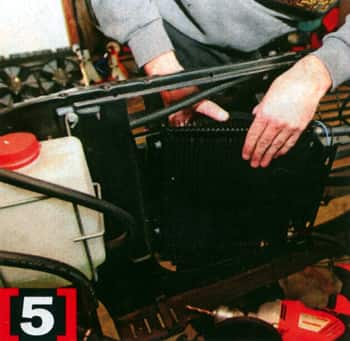
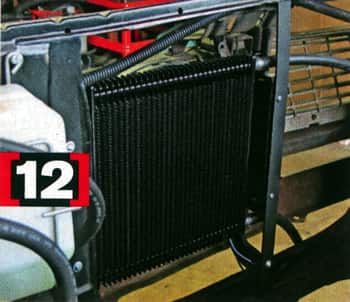
With the radiator removed, we could begin to figure out where we needed to place the cooler. Plenty of clearance is necessary for the fan and cooler to fit as one unit. We utilized the space between the grille and the radiator support to mount our combo with the cooler lines pointing toward the passenger side. |
 |
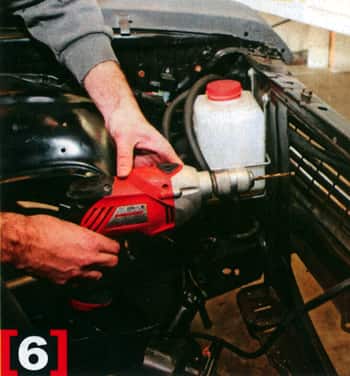 |
With the oil cooler held in place, we located the cooler mounting bracket holes and marked the radiator support. Then, we drilled two ¼-inch holes into the radiator support. These holes would support one side of the oil cooler. |
|
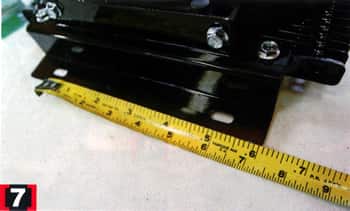
Using a piece of 19x1x0.125-inch aluminum, we fabricated a support bracket to hold the oil cooker in place. We measured the distance between each mounting bracket hole and applied those measurements to the aluminum. |
 |
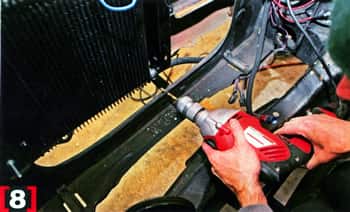 |
With a ¼-inch bit, we drilled the two mounting bracket holed into the piece of aluminum. Then, we mocked up the aluminum bracket onto the upper and lower radiator support rails, and marked/drilled the holes to fasten it to the car. |
|
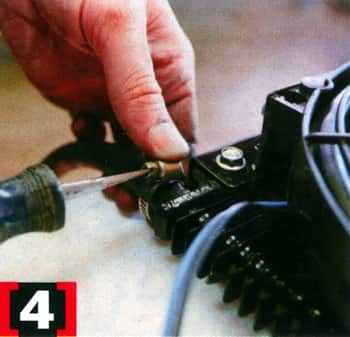
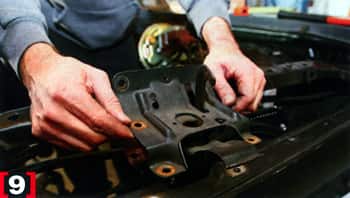
We also removed the hood latch with a 7/16-inch 12-point socket. This would give us access to the underside of the upper radiator support rail when we fastened our support bracket. |
 |
 |
Next, we slid in our transmission cooler into the front of the car. For the time being we fastened one side of the cooler to the radiator support to double-check the location of our new support bracket. Once all the holes lined up, we prepped the bracket and painted it black with a rattle can for final assembly. |
|
Finally, we fastened the cooler to the front of the car using a 3/16-24 x 1 ¾-inch hardware. Each small bolt received washers, a tooth washer, and a Nylok nut. We tightened it all down with a 3/8-inch wrench and flat-blade screwdriver. |
 |
 |
With the new transmission oil cooler mounted, we could reinstall the radiator, connect the inlet/return lines from the transmission, and wire up the fan module (not supplied). |
Ready to experience top-notch transmission solutions and expert support?