A few months back we took a trip up to Smeding Performance in Rancho Cordova, California, and followed along with Ben Smeding as he assembled their new 383 Hot Rod crate motor. When the build wrapped up we hit the dyno, where the motor cranked out over 400 horsepower and 430 lb-ft of torque. In a nutshell, this all around street motor turned out to be a perfect fit for Project Get Shorty. But the motor is only half of it, because every yin needs a yang, every Abbott needs a Costello, and every Tango needs a Cash. Therefore, it’s time to find a transmission that will compliment the 383 for the perfect one-two punch.
When it comes to looking for a tranny, one can look near and far and tally up more options than we care to count. Yet somewhere in the midst of things, Gearstar Performance Transmissions will surface. Gearstar builds trannies for any type of vehicle, and driving style. From the strip to the streets, and everything in between, they have something in their repertoire that will suit any truck out there. Seeing that Shorty has a dead-on street motor, up to the task of whatever is thrown its way, it was time to dig up a tranny with the same agenda.
When scouring the pages of Gearstar’s catalog, one will soon realize options run deep. For starters, they pretty much cover all the popular GM transmissions-even Ford and Chrysler transmissions as well. Beyond that, they build four versions of each tranny based on its performance; a Level 1 tranny being the Pinto, and a Level 4 being the Lamborghini. For Shorty, we were after something that would handle around own duties, highway runs, and maybe a few passes down the strip. It was a decided that a GM 4L60 would be the perfect match. Being that our Smeding motor is rather potent, we also needed something that would be able to handle the heavy horsepower and torque, therefore a Level 3 or 4 4L60 was the only option. When we began to weigh the two, we landed on a Level 4 4L60 package, better known at Gearstar as the 502 Package. Although both would be a suitable answer, we went with the Level 4, just in case we ever decided to up the horsepower of the Smeding motor. The Level 4 tranny is able to handle up to 500 horsepower, day in and day out.
Just like every Smeding motor is hand-assembled and dyno tested, by a trained technician. Gearstar transmissions are as well. Each Gearstar tranny begins and ends with the same technician-all Gearstar technicians have over 20 years of transmission experience-until it is shipped out the door, but not before a run on the in-house dyno, of course. Actually, because of the high quality of both Smeding and Gearstar products, they work hand-in-hand to provide the ultimate in drivetrains.
Each Gearstar tranny is torn down and remanufactured with top quality performance products. The entire process takes anywhere between 10-15 hours, and each tranny is assembled to meet or exceed factory specifications and tolerances. Transmissions are assembled with a new gasket set, seals, bushings and sealing rings. Not to mention, Gearstar’s concoction of performance internal products. The Level 4 also features a billet converter with a flanged hub, heavy duty Torrington bearings, furnace-brazed pump, and turbine. Once the tranny is assembled, it is thrown on the dyno for extensive testing. Each tranny is tested, with its converter in place on the equivalent of 30 miles on the street and up to speeds of 130 mph. They also monitor pressures, temperatures, forward gears and reverse, which ensure no one ends up with the short end of the stick. Yep, a Gearstar 4L60 is just what this ’71 Chevy needs.
Although Shorty won’t hit the road the minute the motor and trans combo is in place, this install will help out in the long run. By installing the motor and trans and measuring for a new driveshaft, we will be able to mock everything up, and make sure all is kosher. Waiting until everything is in paint and then going through this process isn’t exactly the best way to go about building custom trucks. Follow along as we drop this motor and trans into Project Get Shorty.
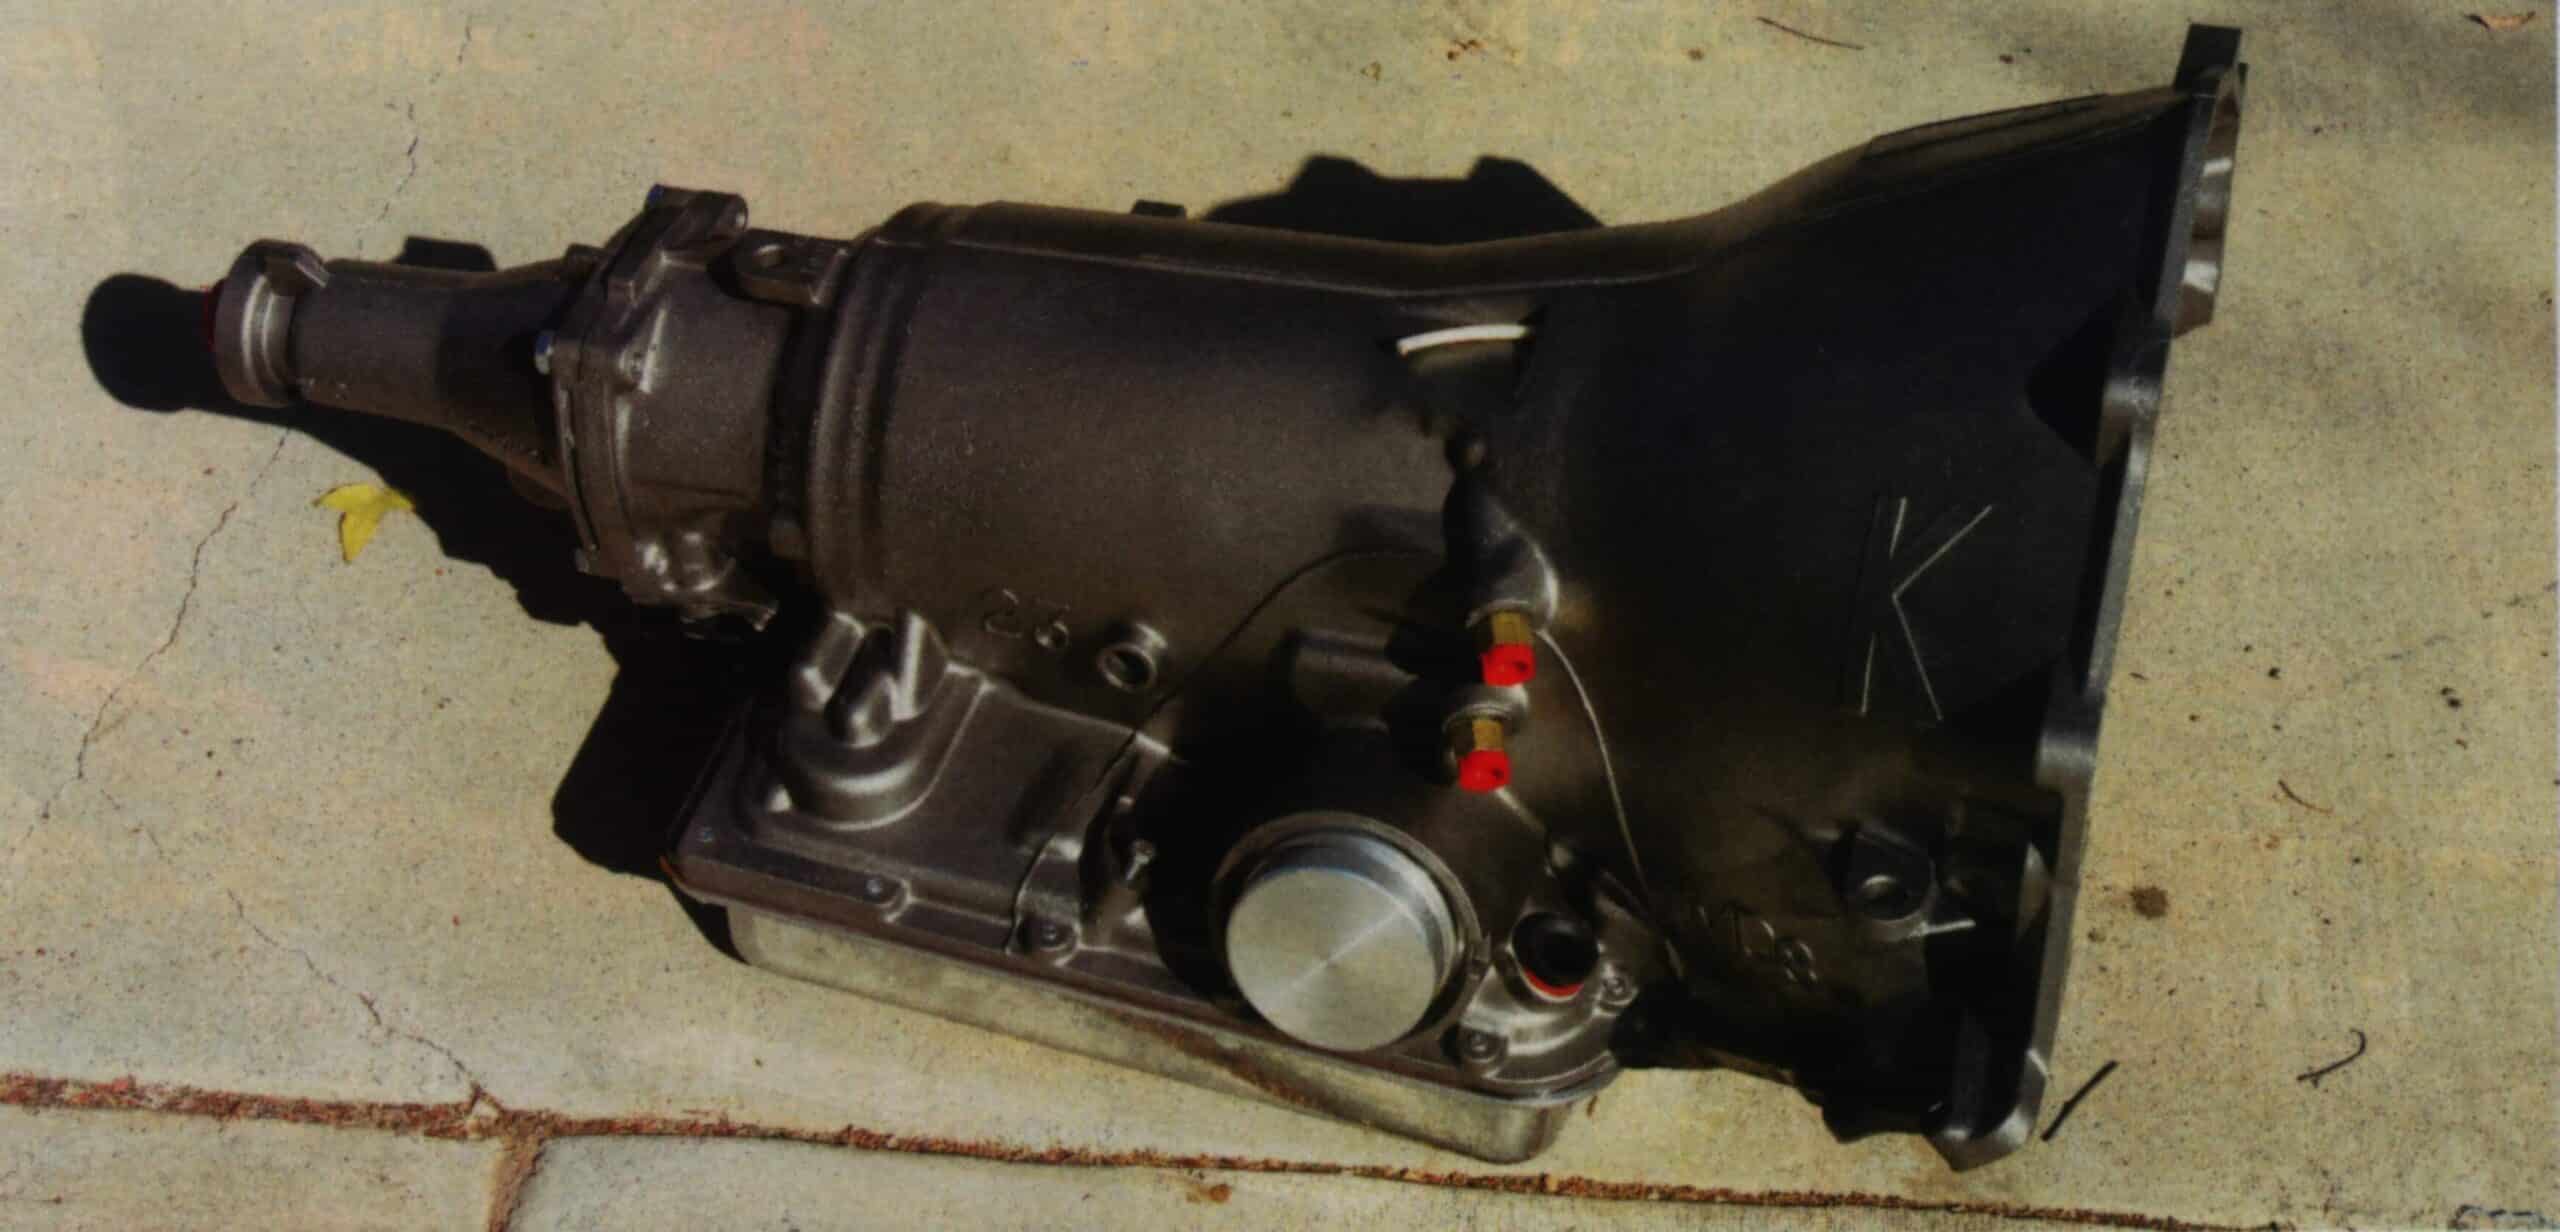 |
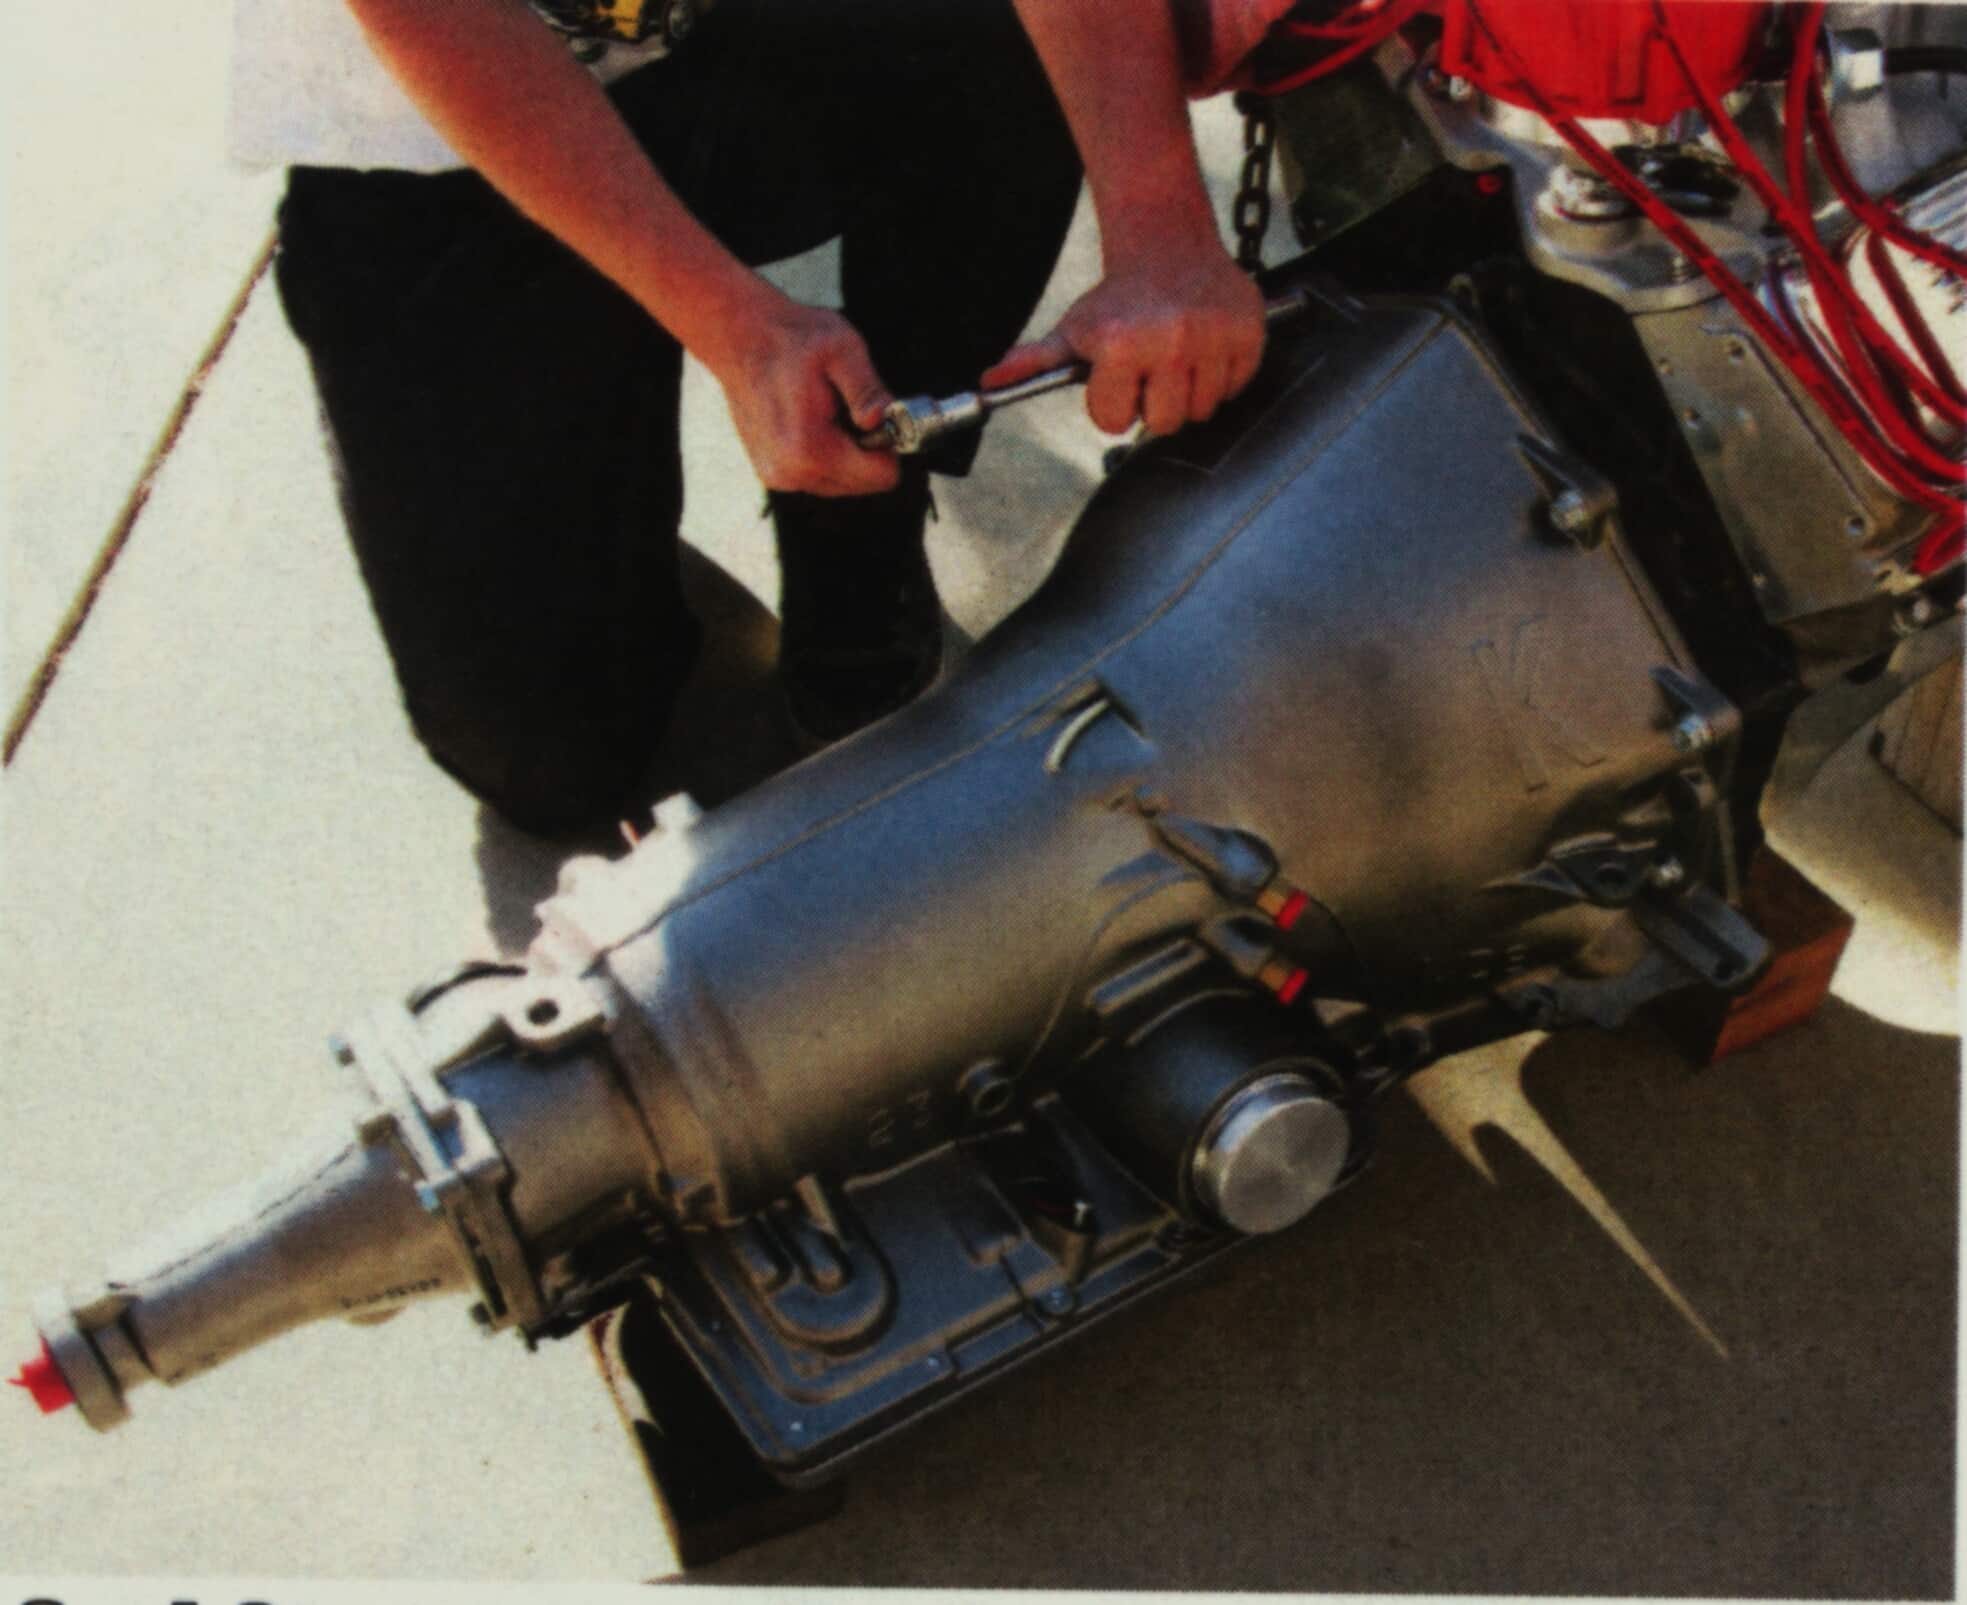
The Gearstar 4L60 Level 4, in all its glory. Although appearing stock on the outside, this tranny is a beefed beast capable of handling 500 horsepower. |
|
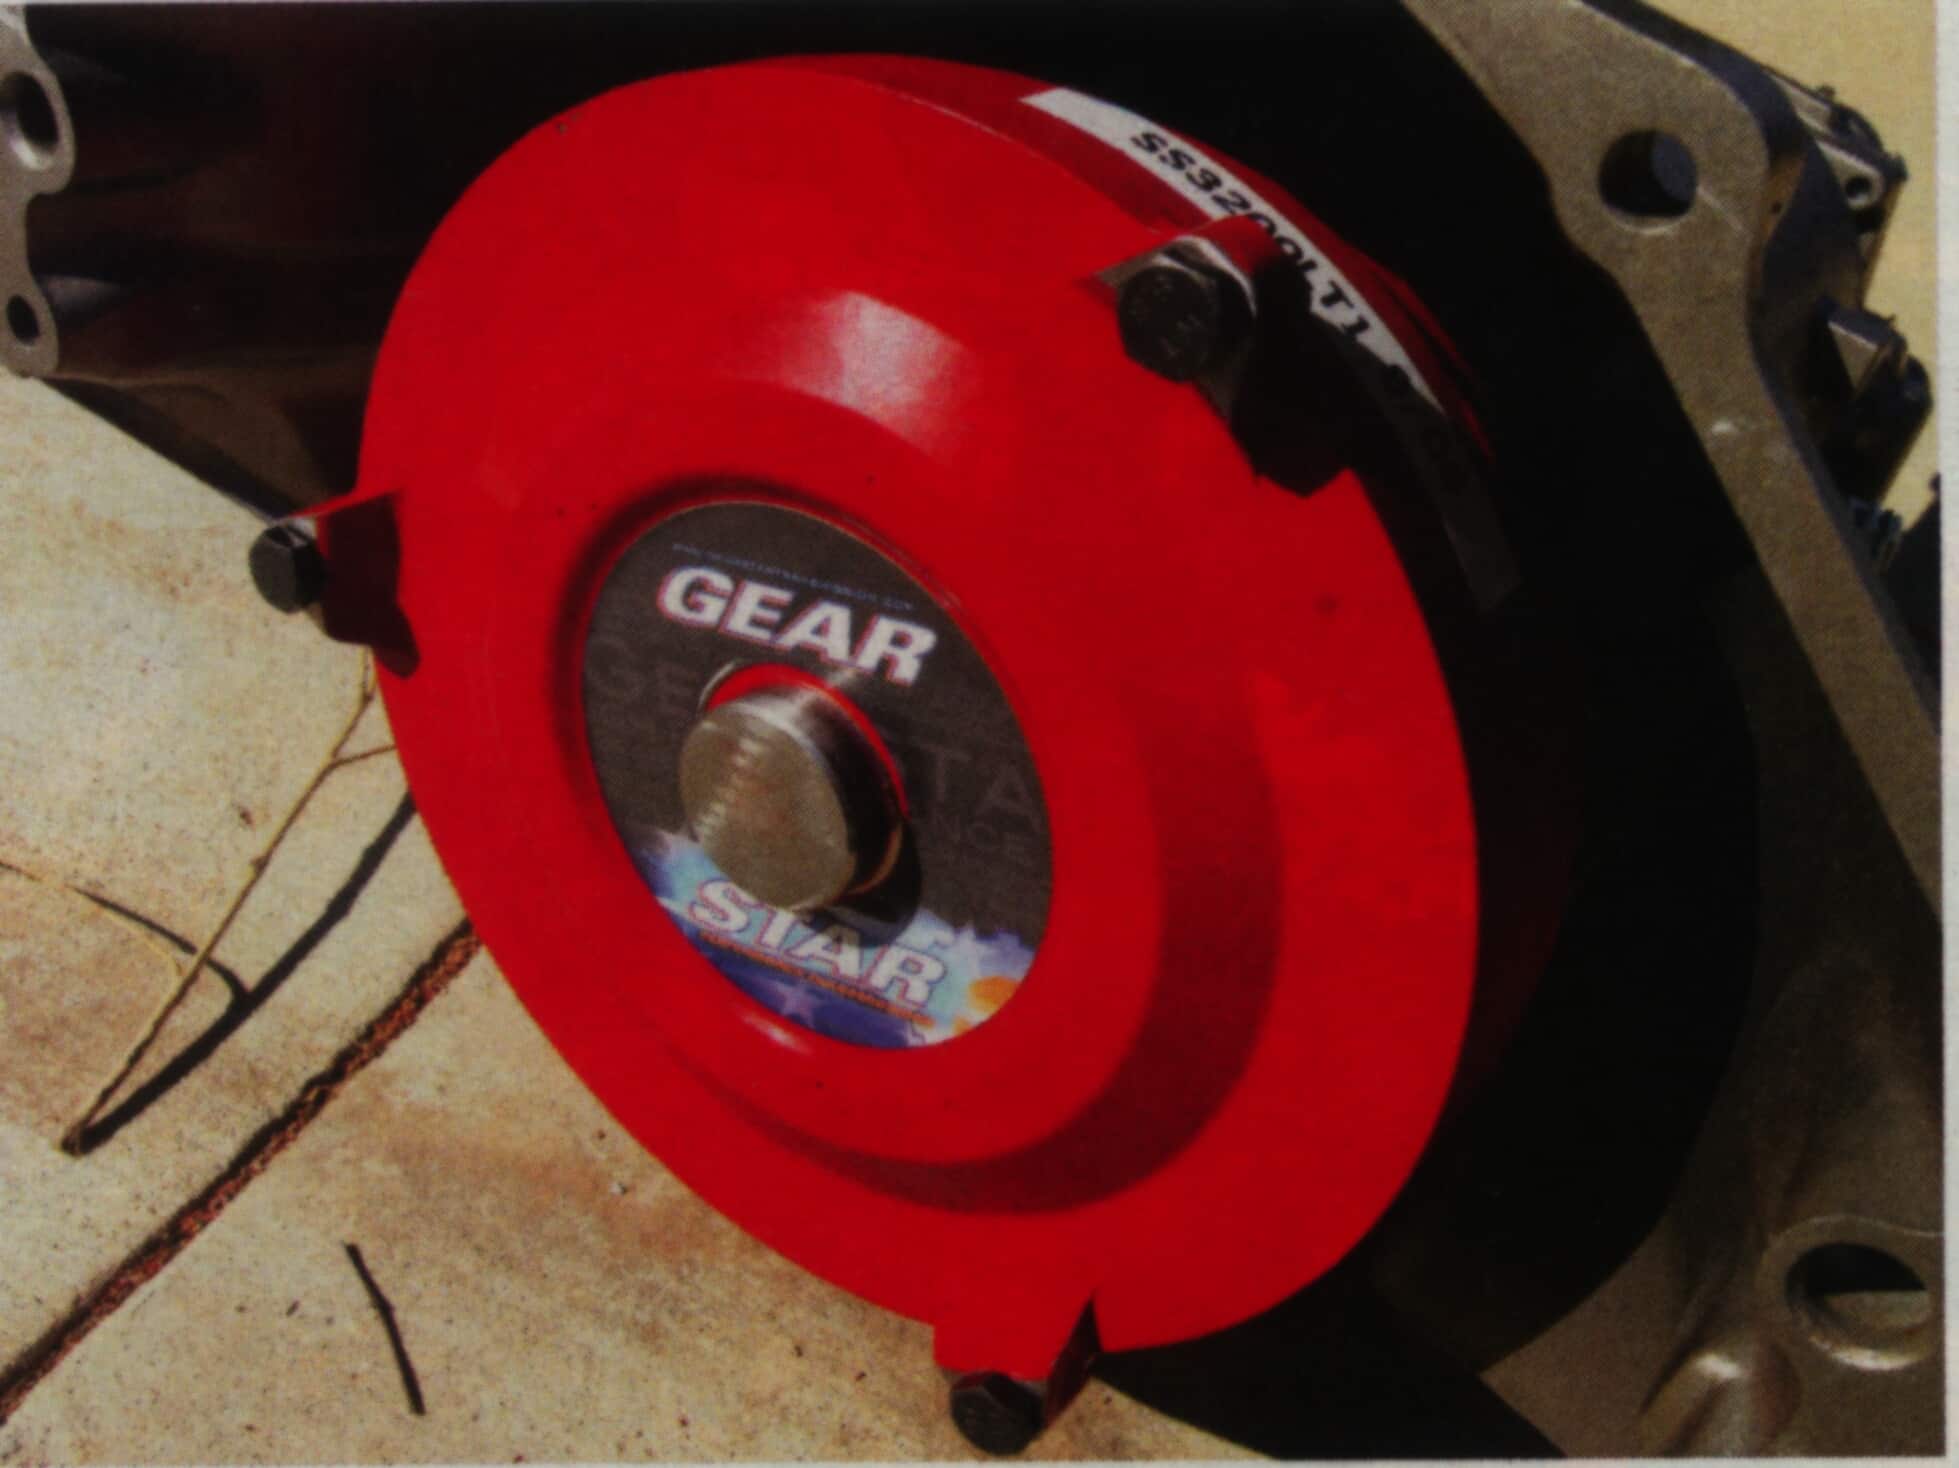
Like we mentioned before, Gearstar only uses top quality components in their transmissions, as evident by this 10-inch billet converter. |
 |
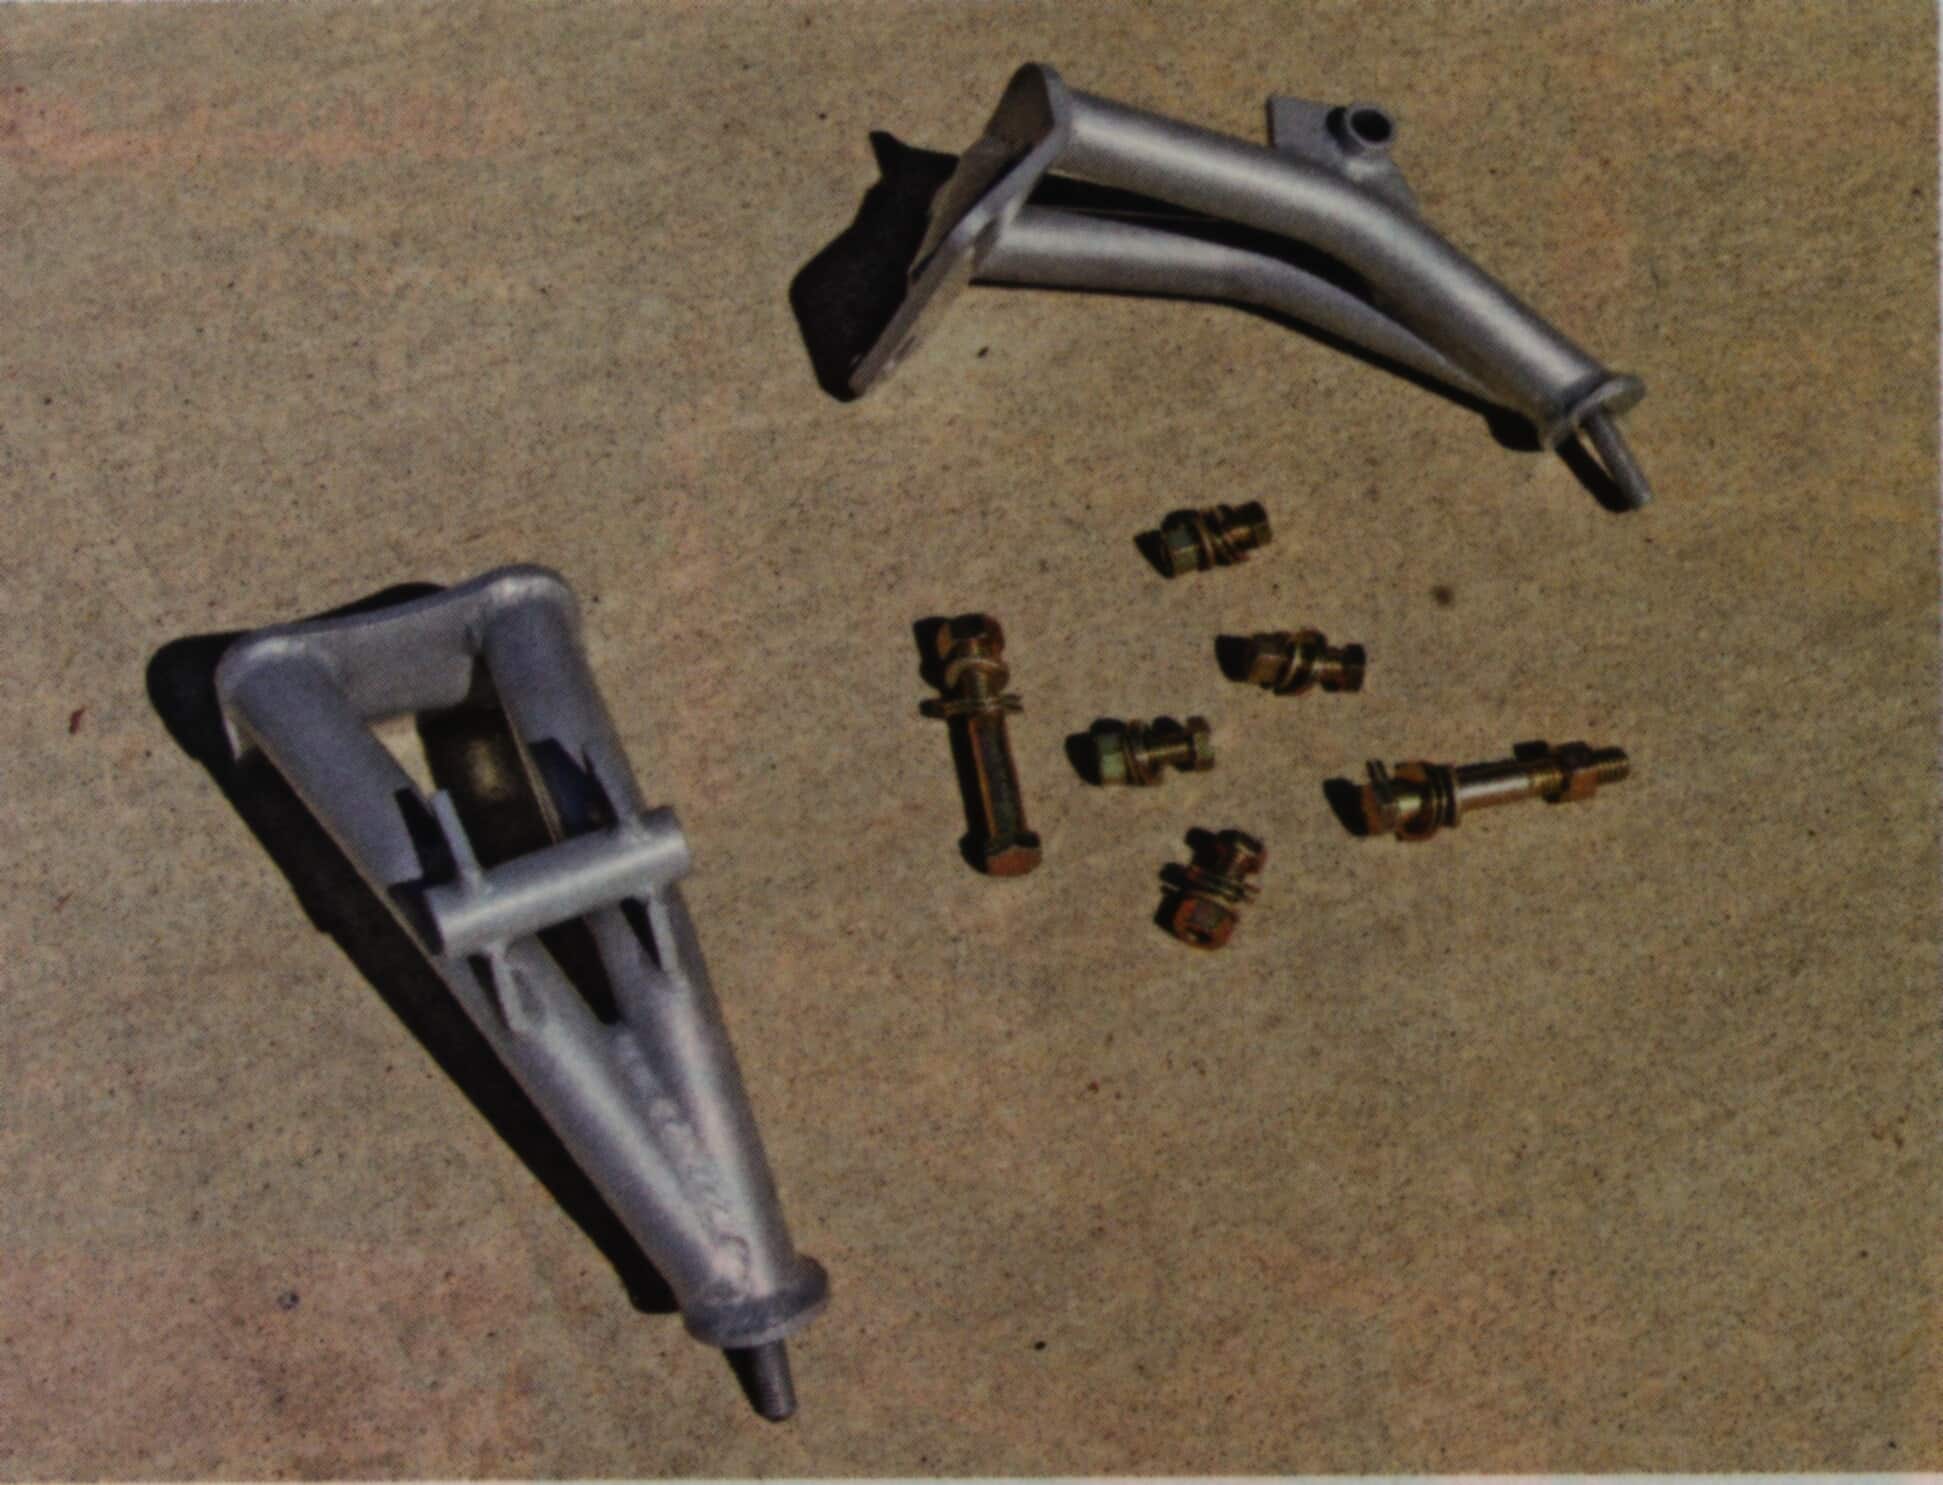 |
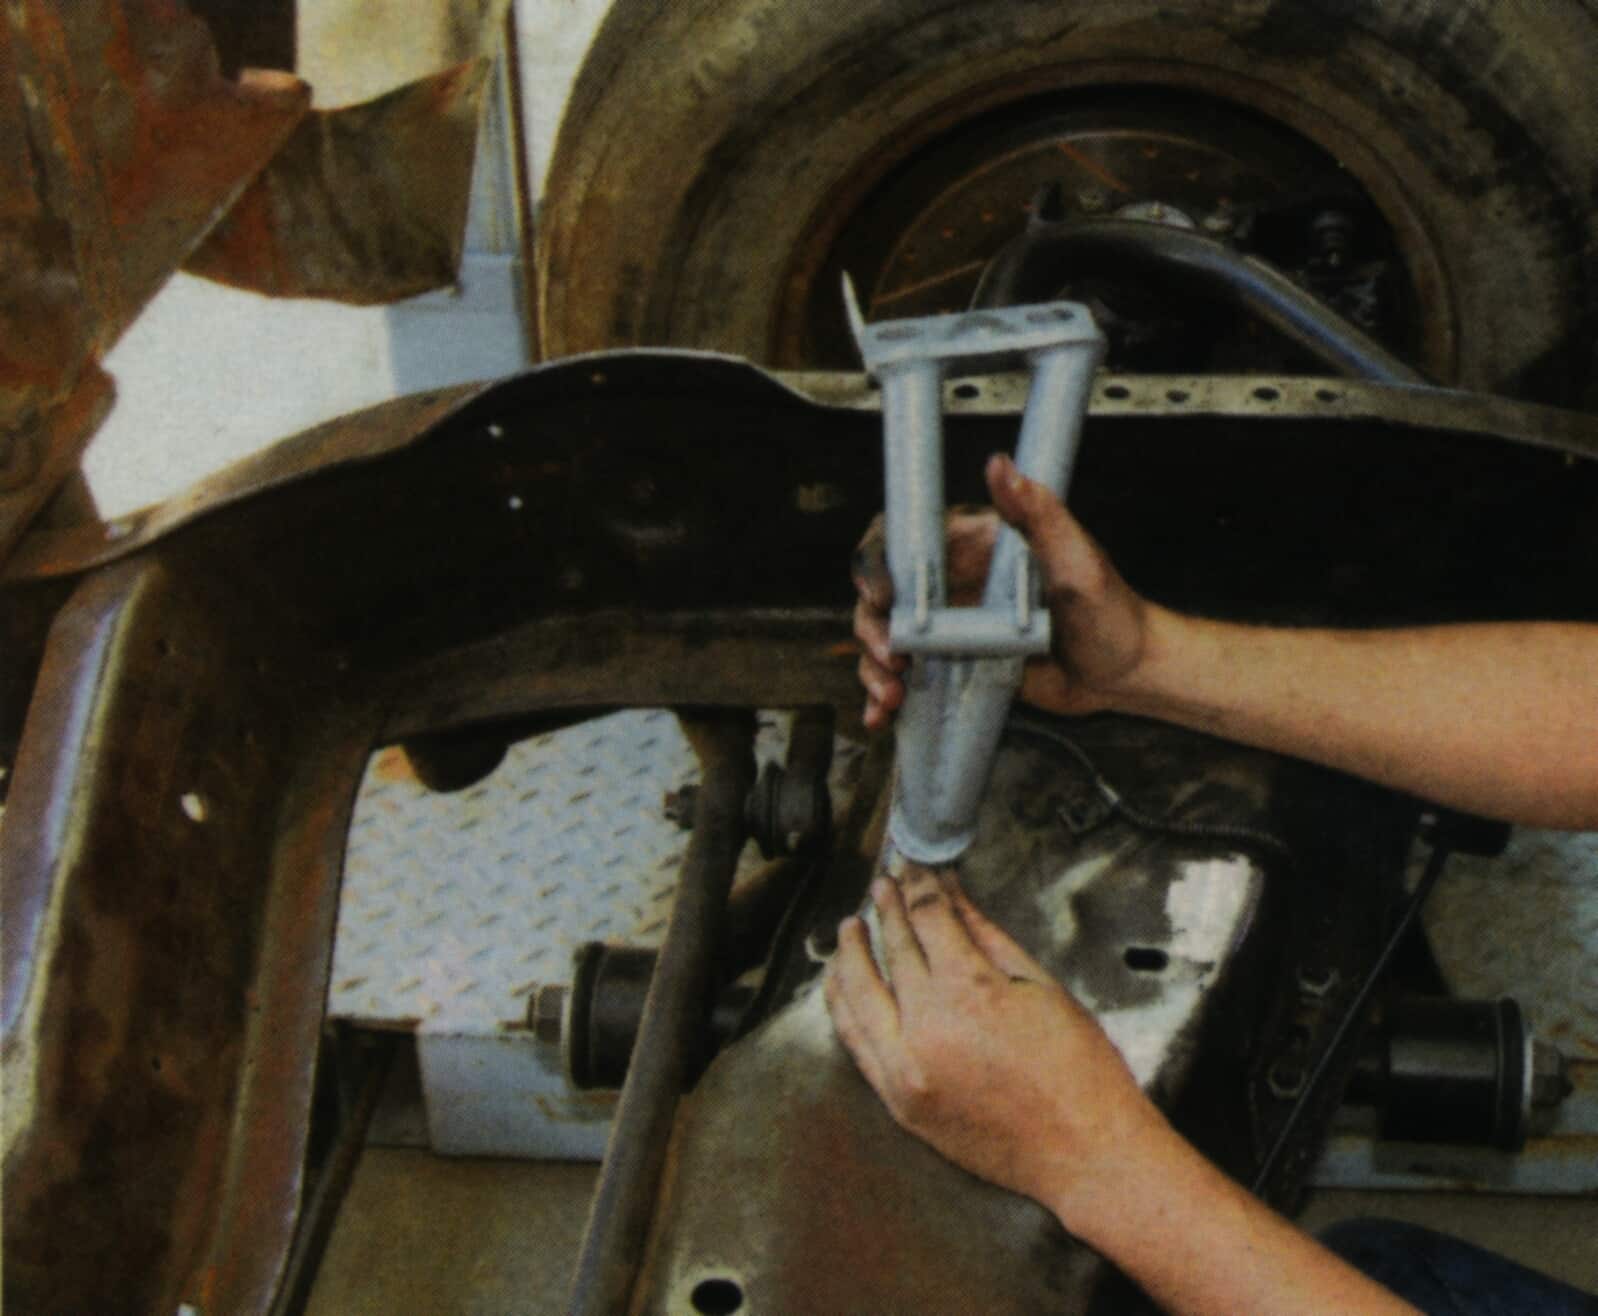
In order to drop the new tranny into the ’71, we needed to mount the motor. We picked up these tubular small-block motor mounts from Classic Performance Products to help us out. |
|
The CPP mounts bolt right to the frame and crossmember with no drilling required. When mounting, be sure to face the curved tube of the mount to the rear of the truck. Also, the holes on the mounts are elongated to allow for some adjustment. We set the mount in the middle of the elongated slots and hoped for a little luck. |
 |
 |
Originally this ’71 had a Turbo 350 transmission in it. The stock crossmember for the Turbo 350 tranny doesn’t match the mounting distance of the new setup with the Gearstar 4L60; it’s roughly 1-inch. In order to mount the new tranny in the truck we needed to pick up a 4L60 tranny crossmember, which we got from CCP as well. We’ll use this vacant hole (see arrow) as our rear mount for the new tranny crossmember, which should give us the inch we need. |
|
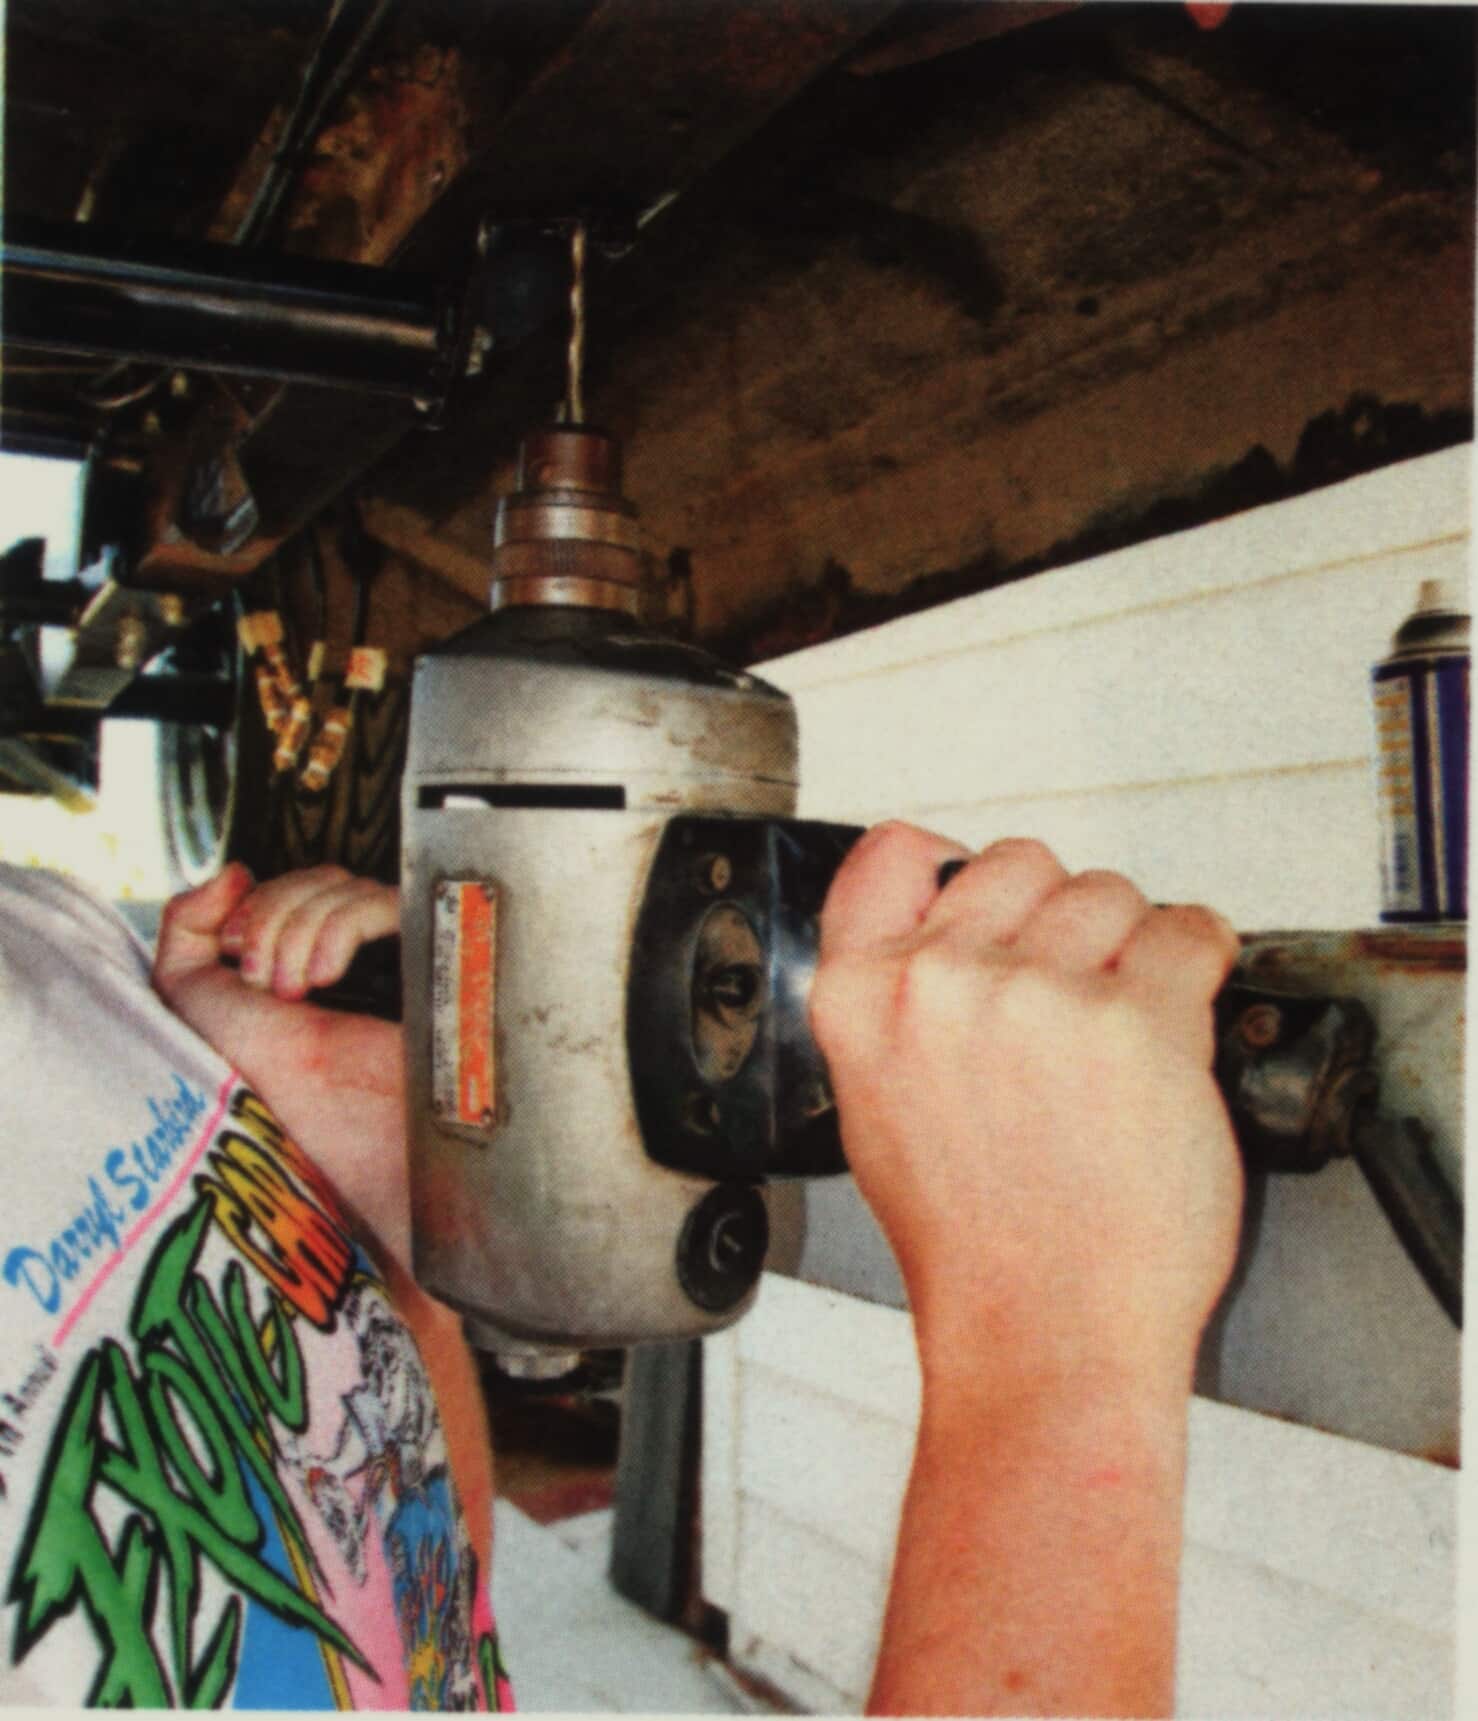
For the forward hole in the mount, we needed to drill the appropriate hole in the frame. |
 |
 |
Next, the CCP tranny crossmember faces the rear, which enables the crossmember to clear the belly pan of the transmission. |
|
We also picked up new motor and tranny mounting pads from CPP. Instead of sticking with traditional rubber, we opted for their polyurethane mounts. |
 |
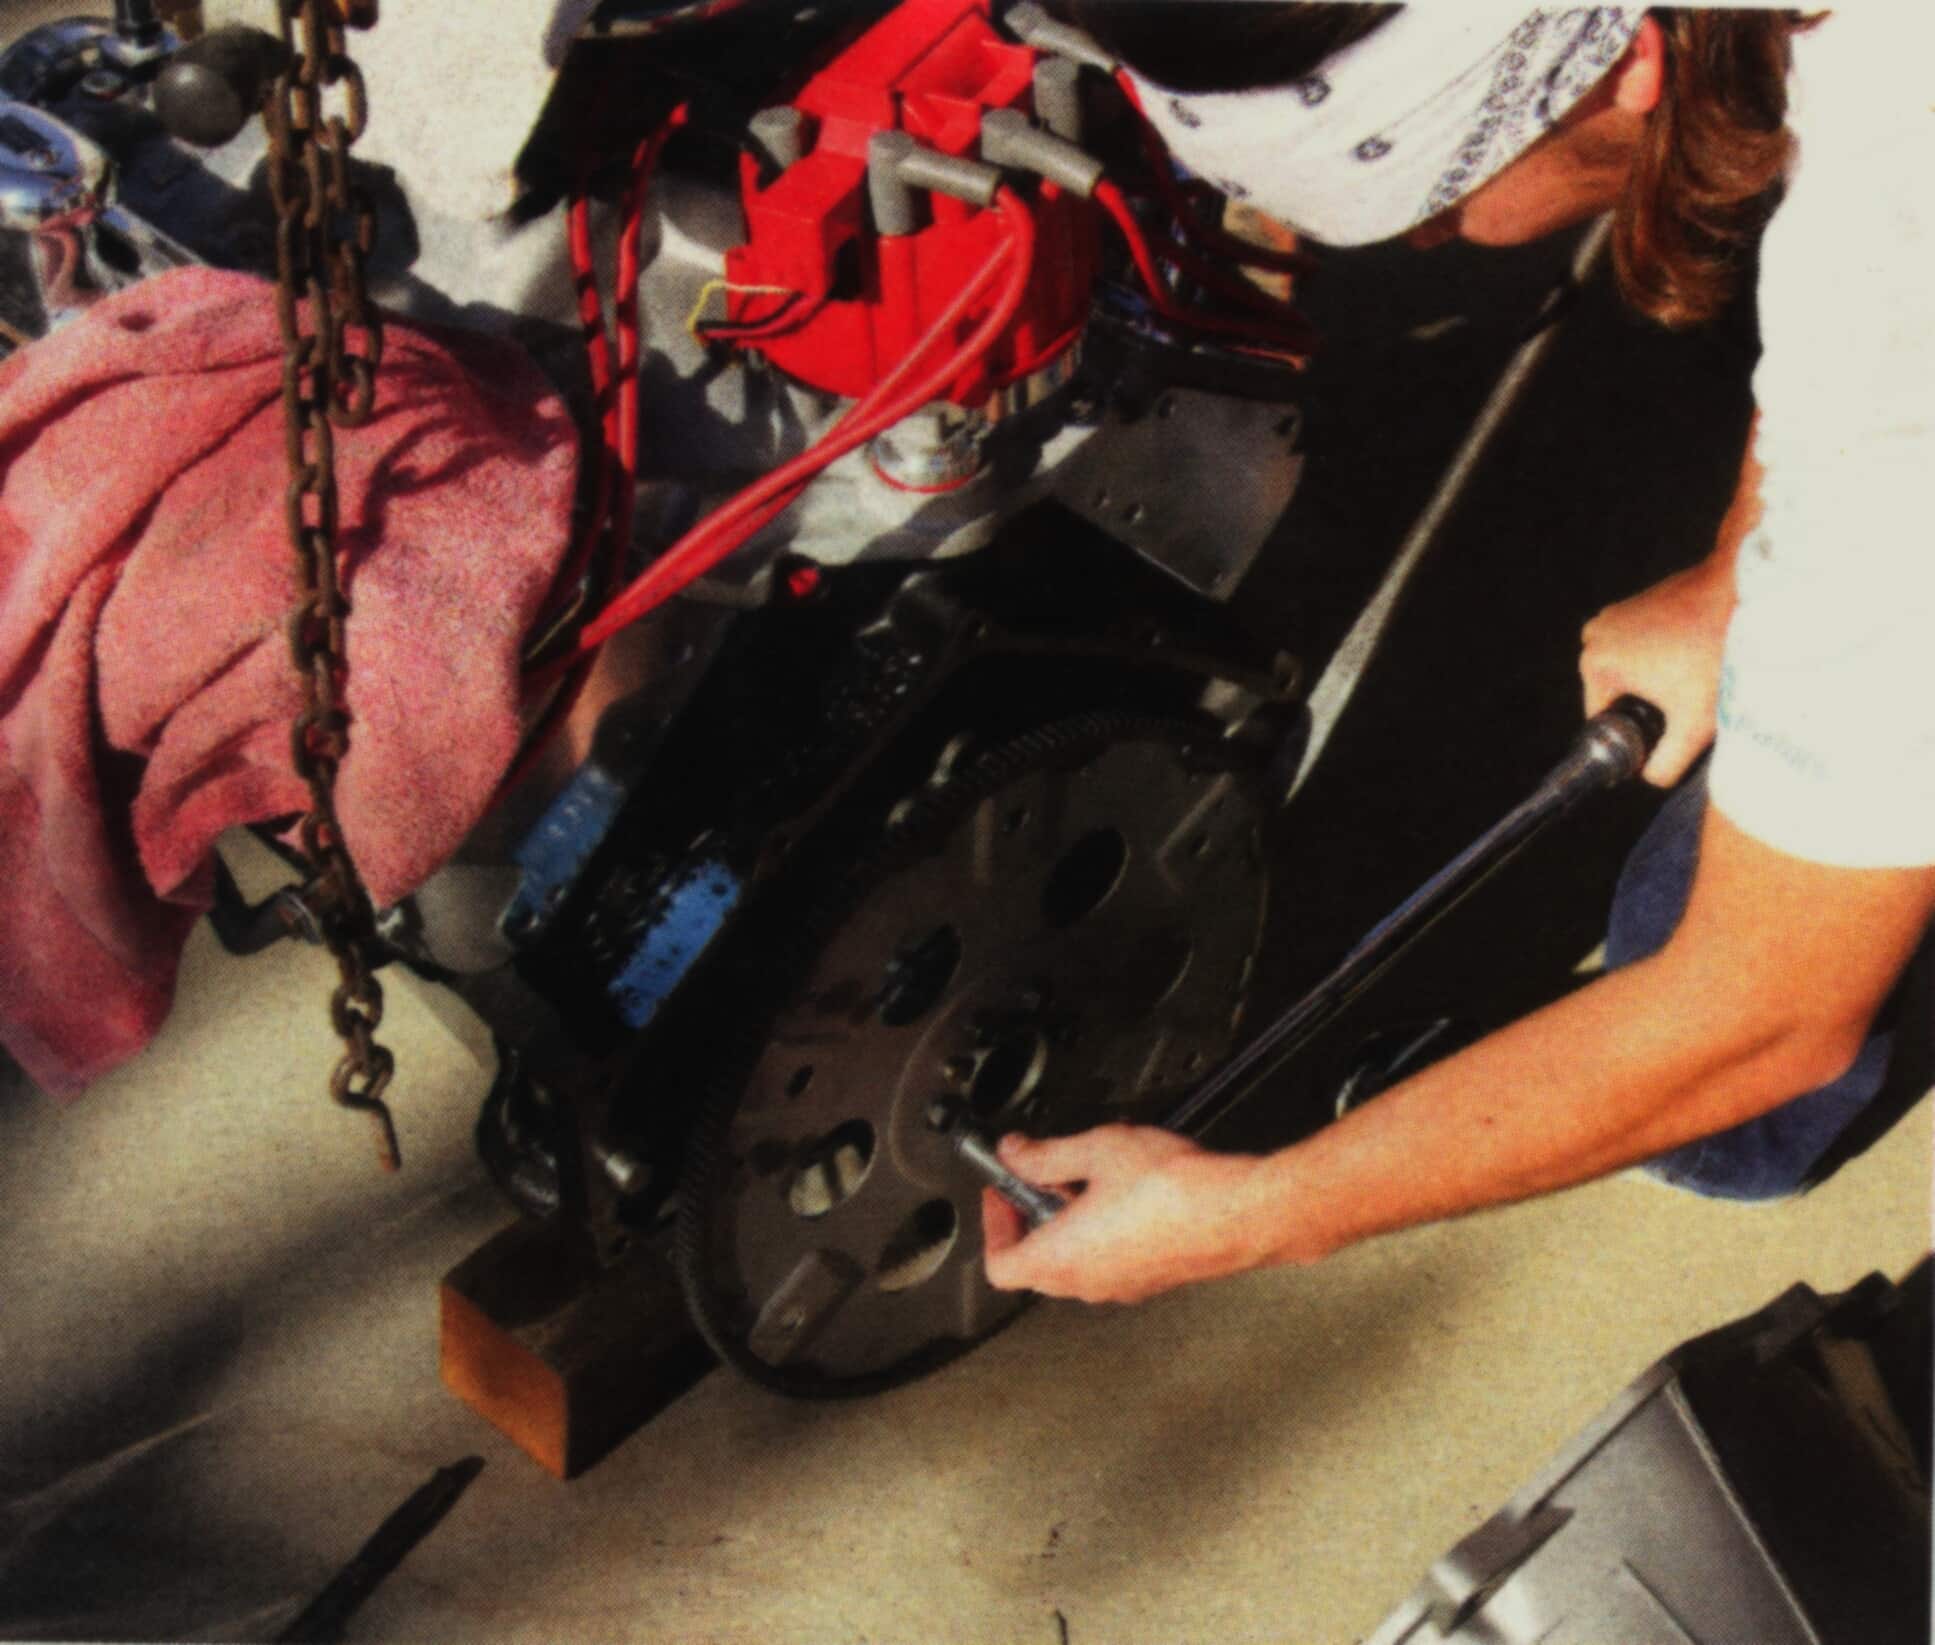 |
Next, the new Gearstar 4L60 was mated to the Smeding 383 Hot Rod motor, but not before the flex plate was installed and torqued to 60 lb-ft. |
|
Next, the new Gearstar 4L60 was mated to the Smeding 383 Hot Rod motor, but not before the flex plate was installed and torqued to 60 lb-ft. |
 |
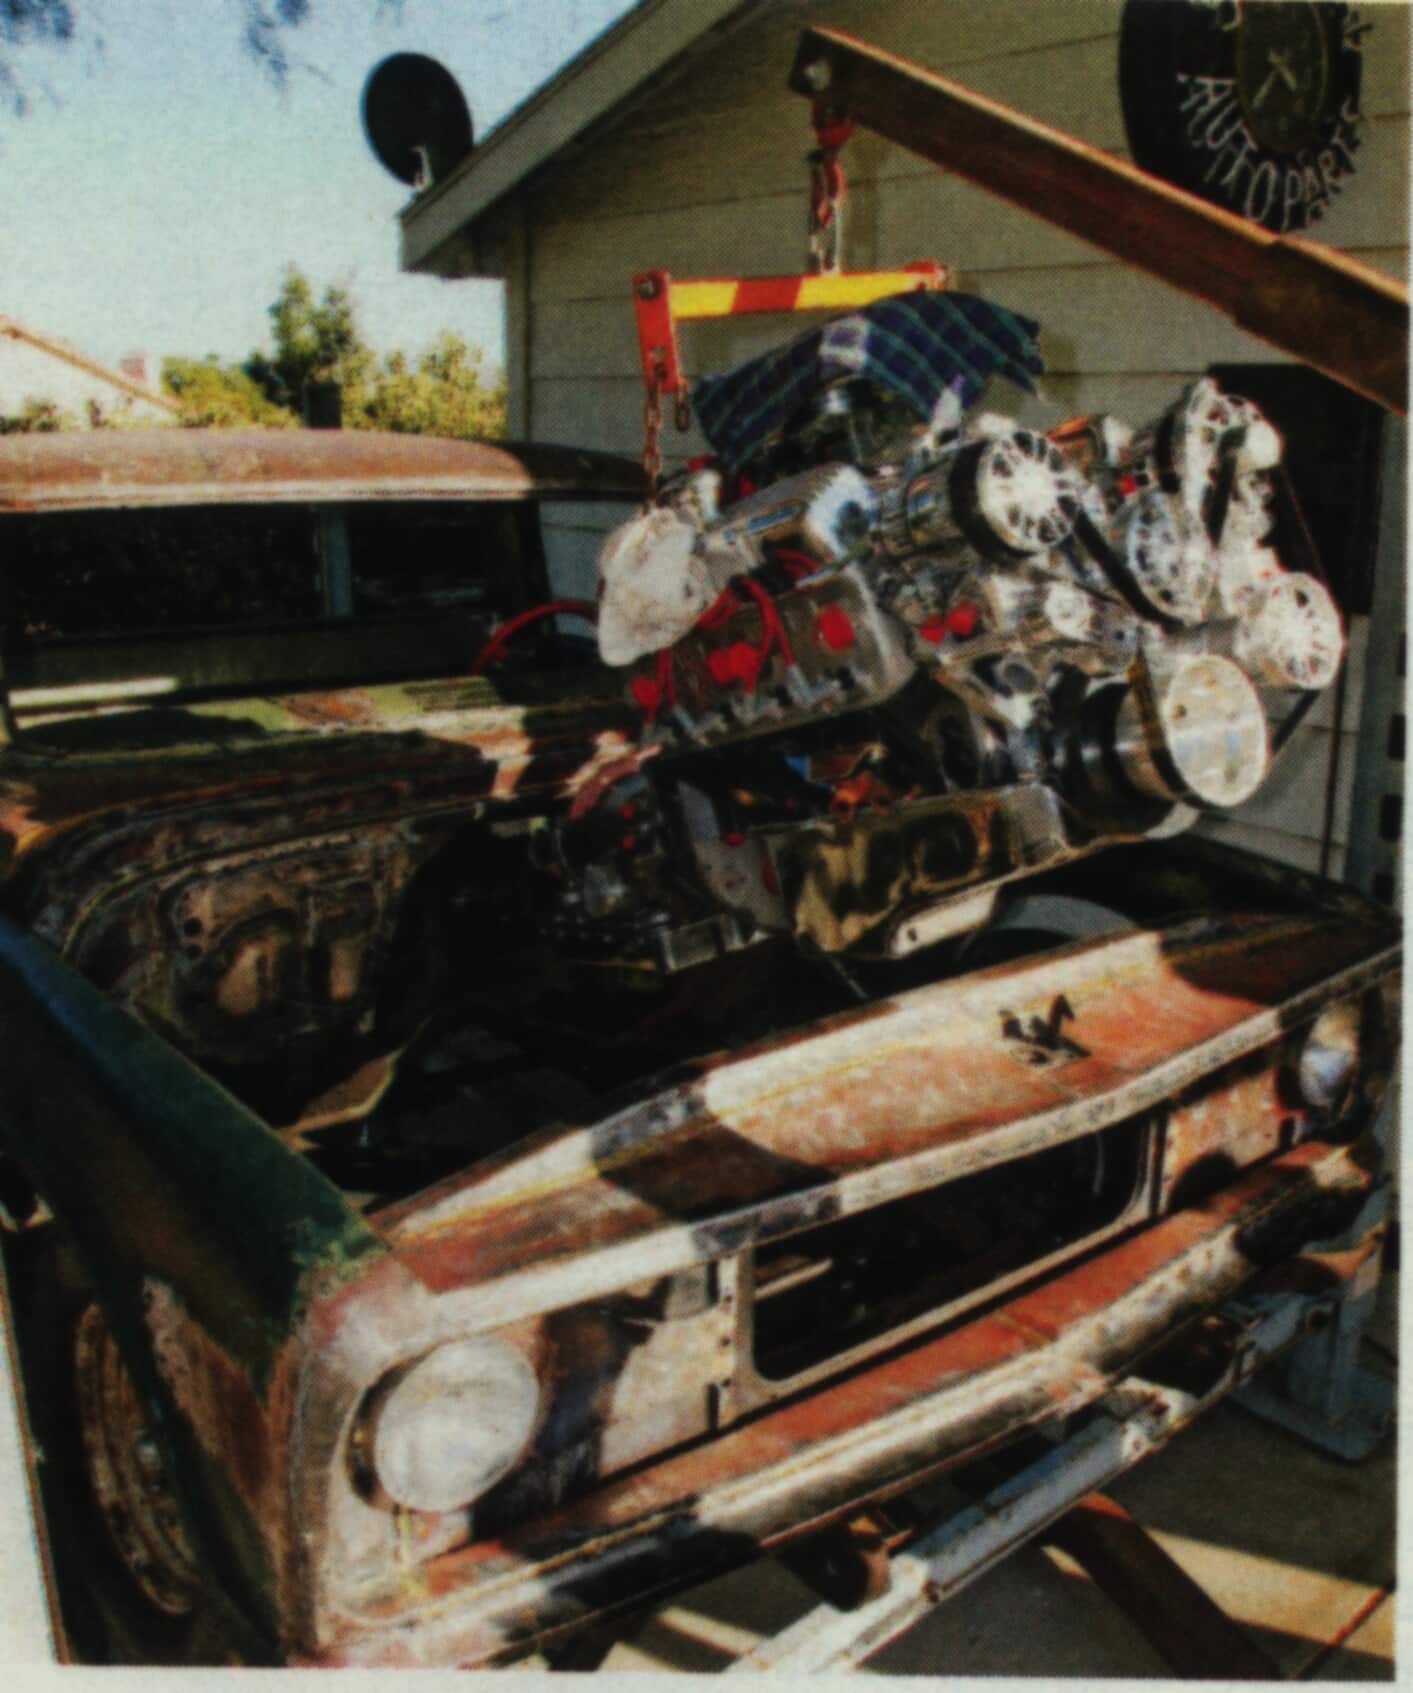 |
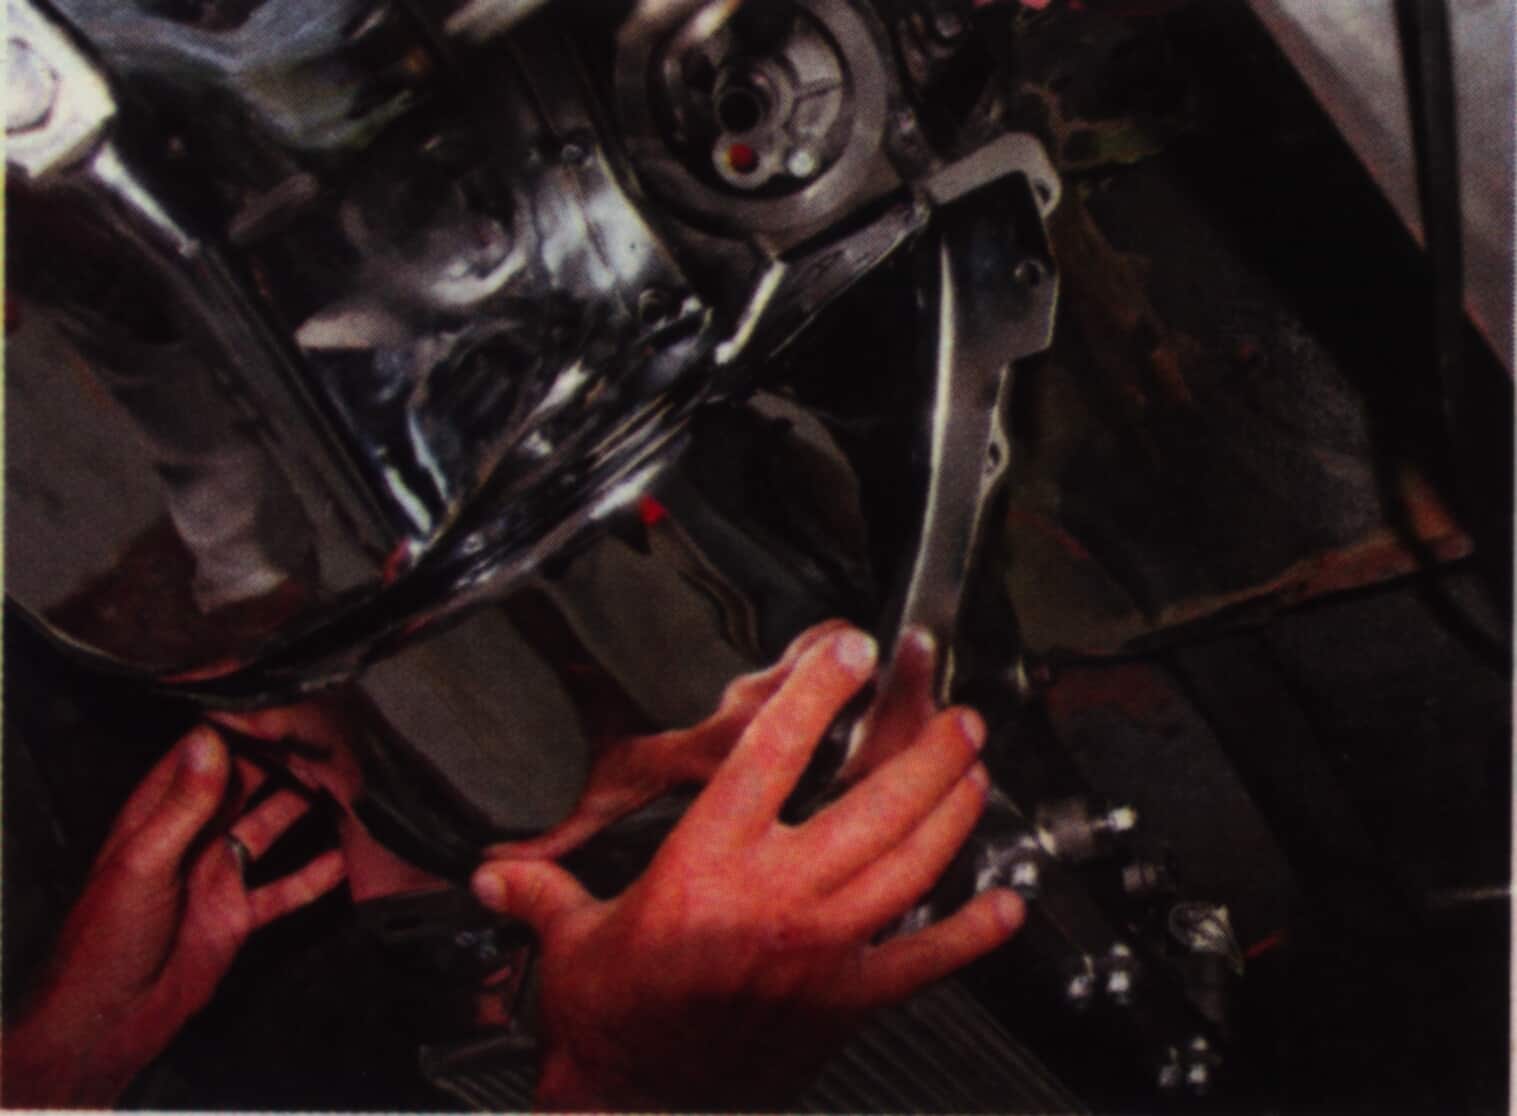
With the trans and motor united as one, we loaded up the engine hoist and lowered the dynamic duo down into the truck. On a side note, it’s a good idea to rig the motor/trans combo with a rear offset. That way the tranny angles down into the cowl at a nice angle, making installation a little easier. |
|
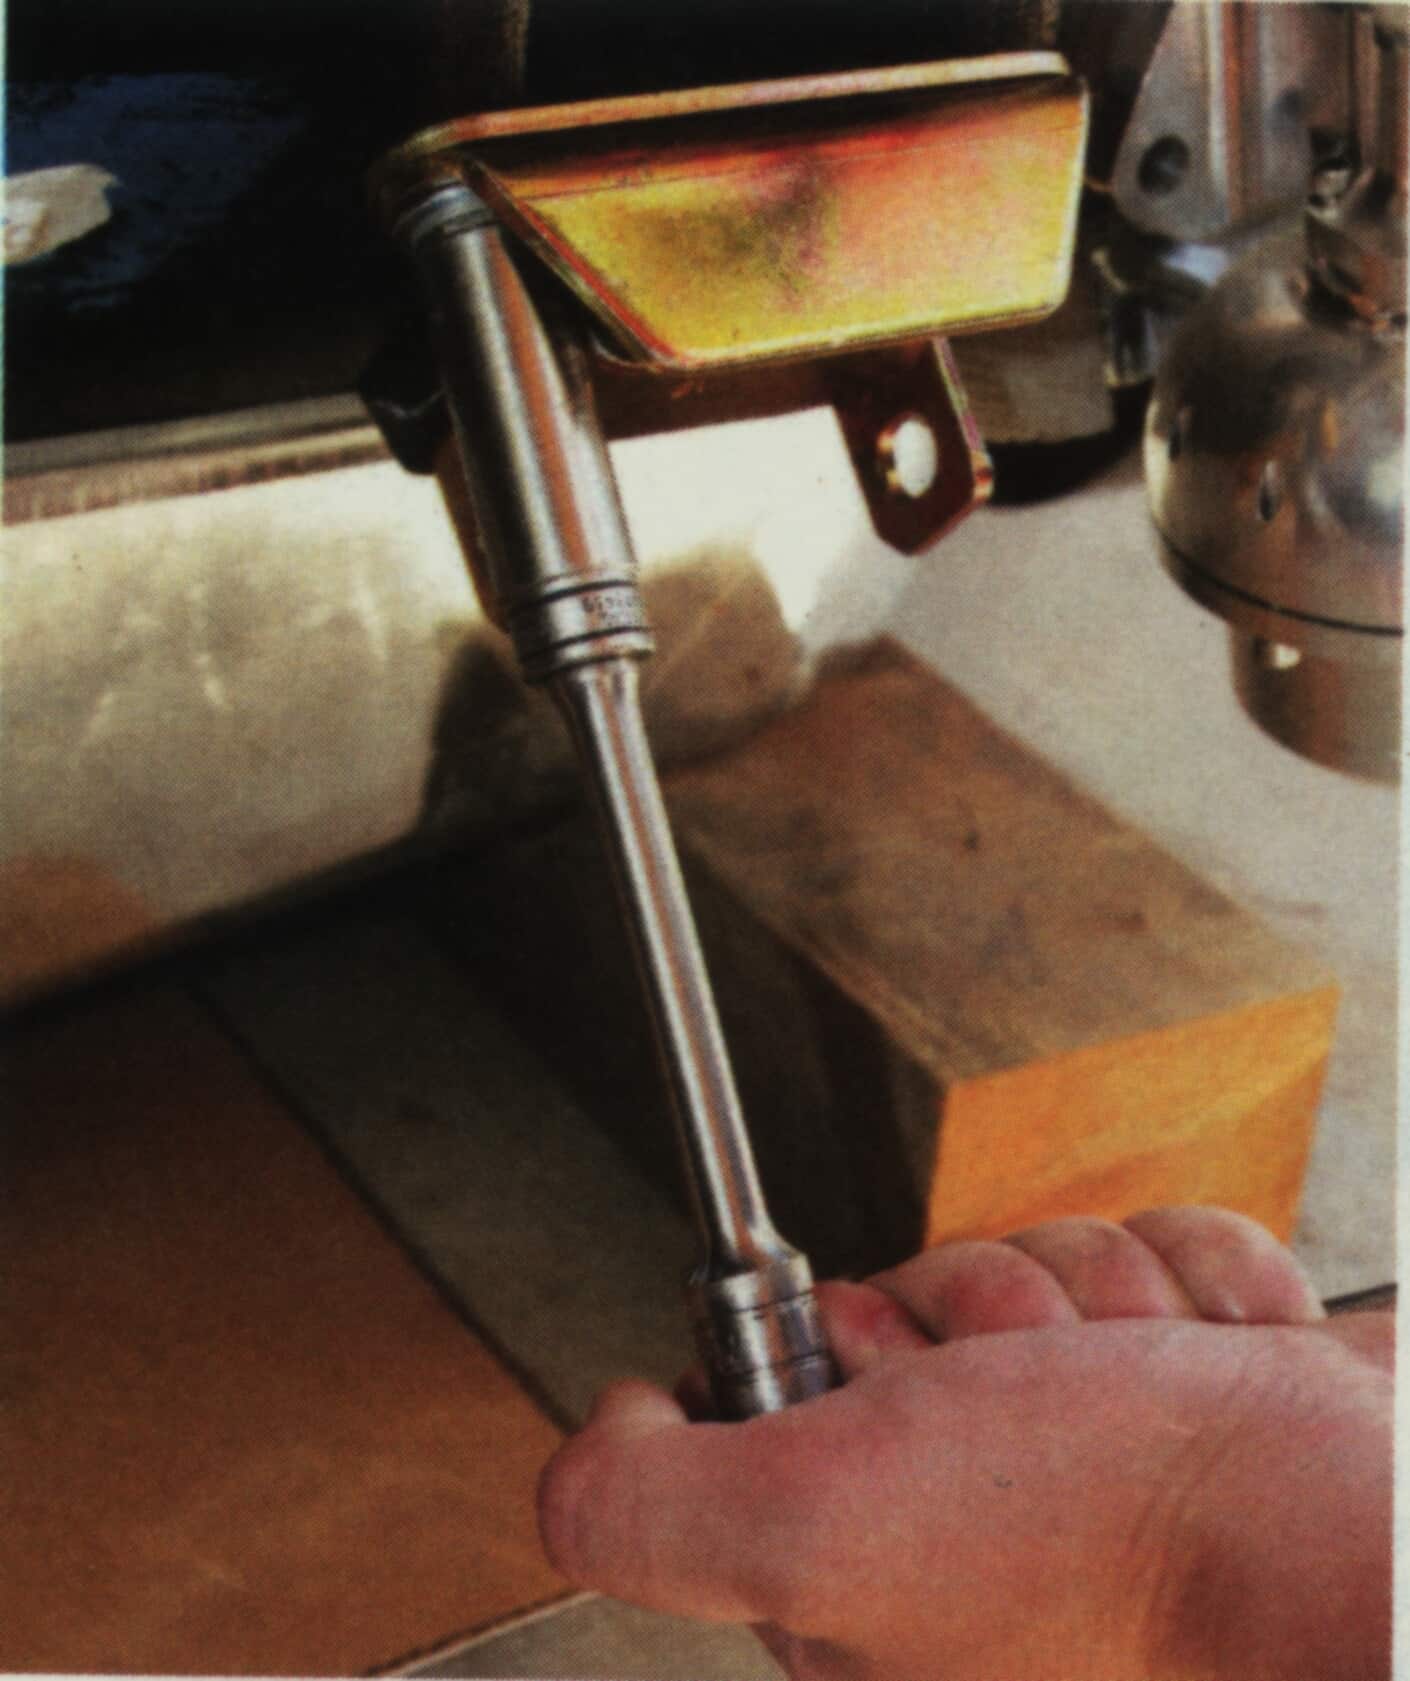
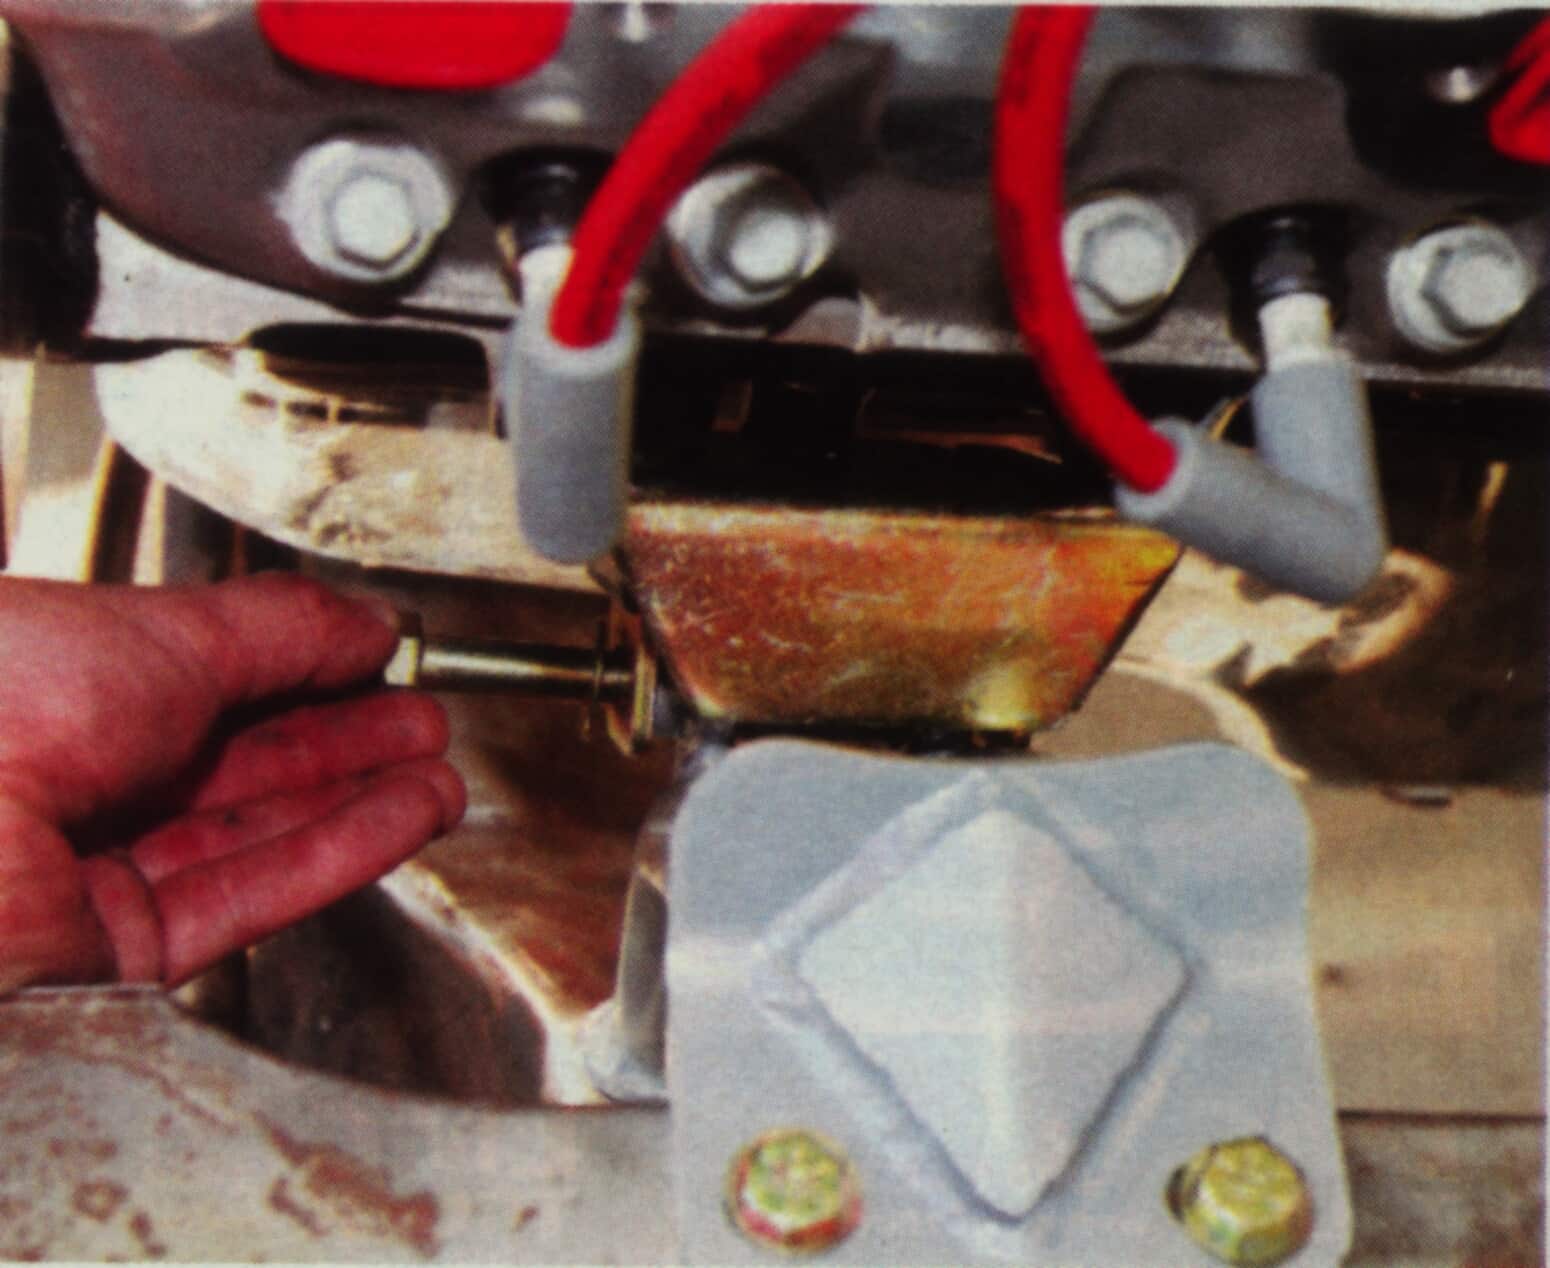
Once in position, one bolt is slid through the CPP motor mount and things are locked in. |
 |
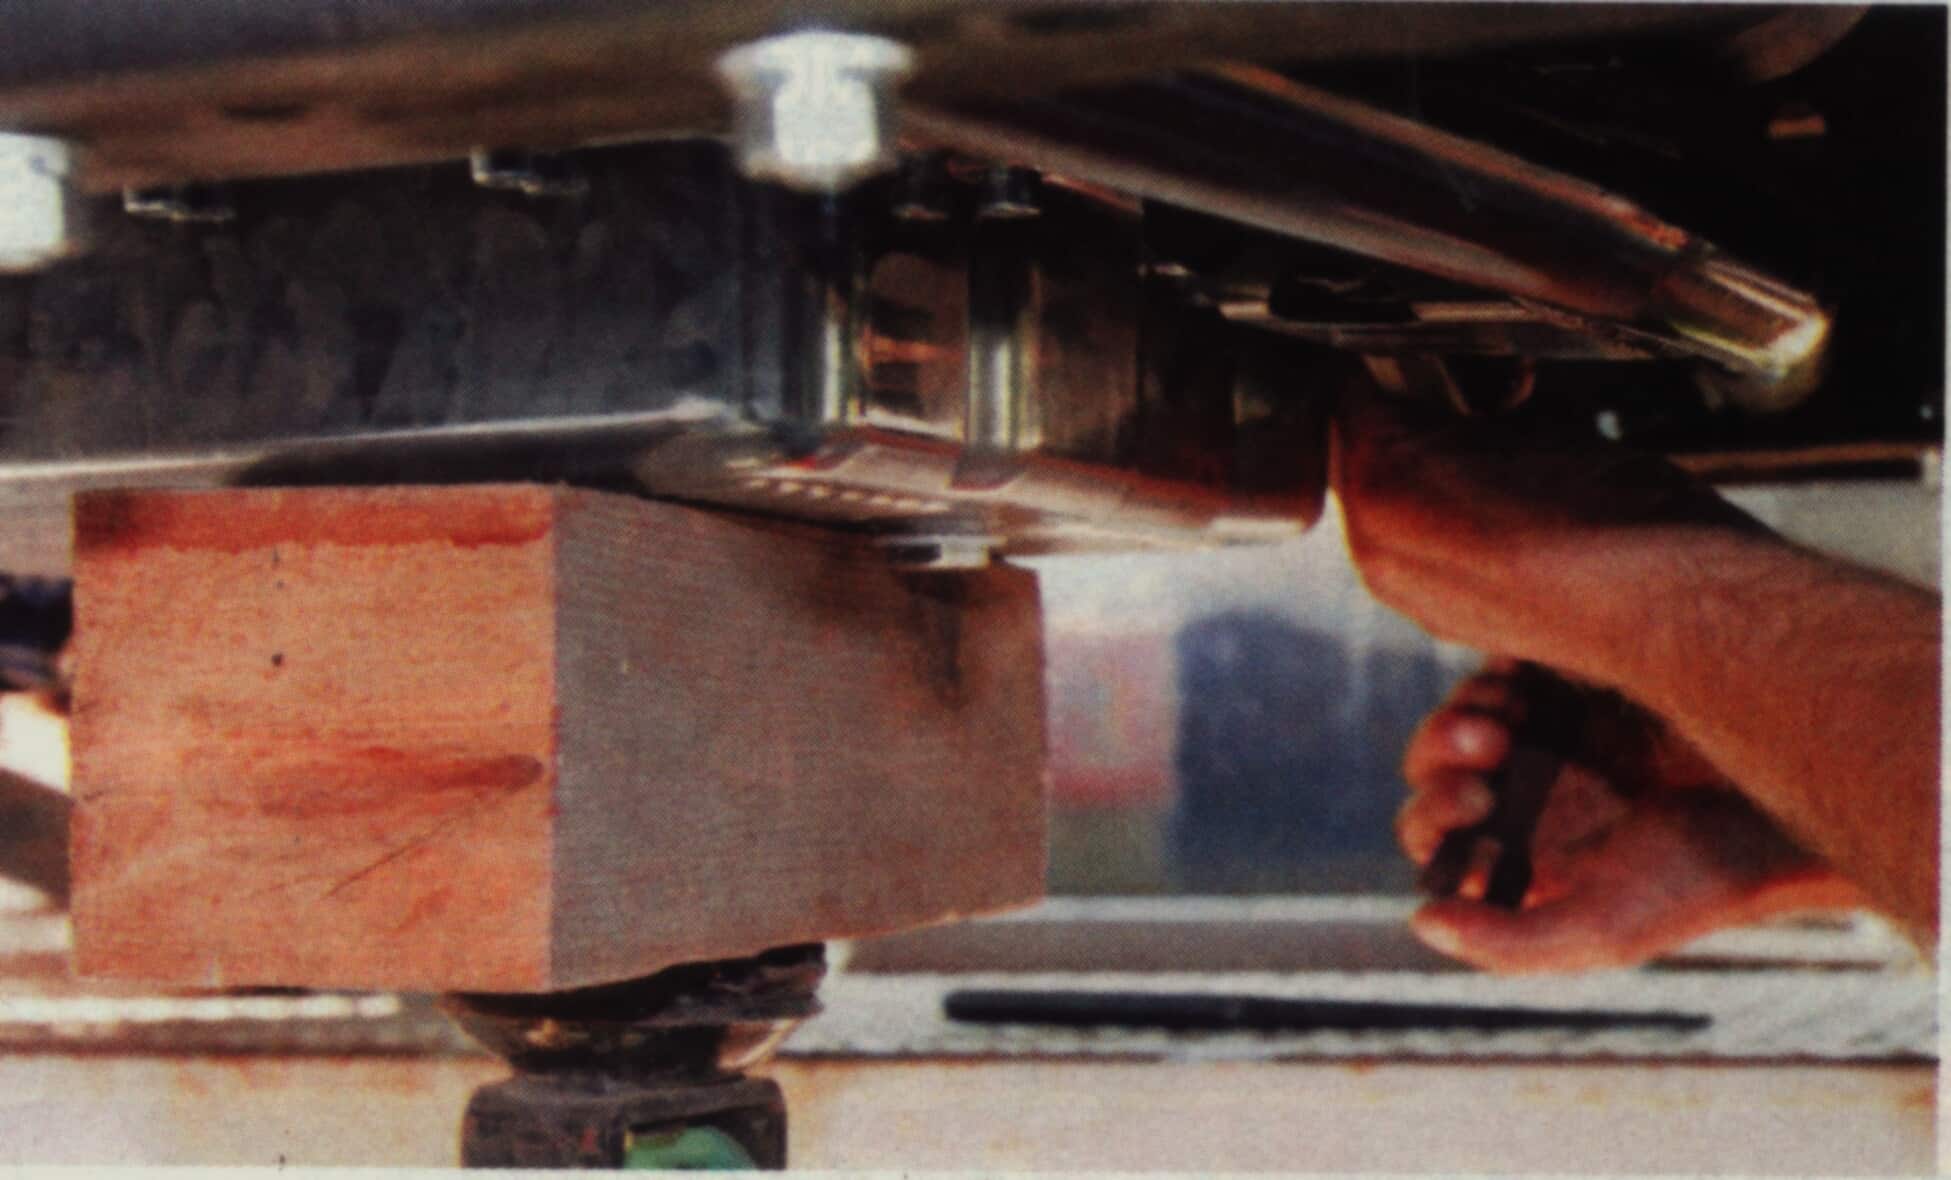 |
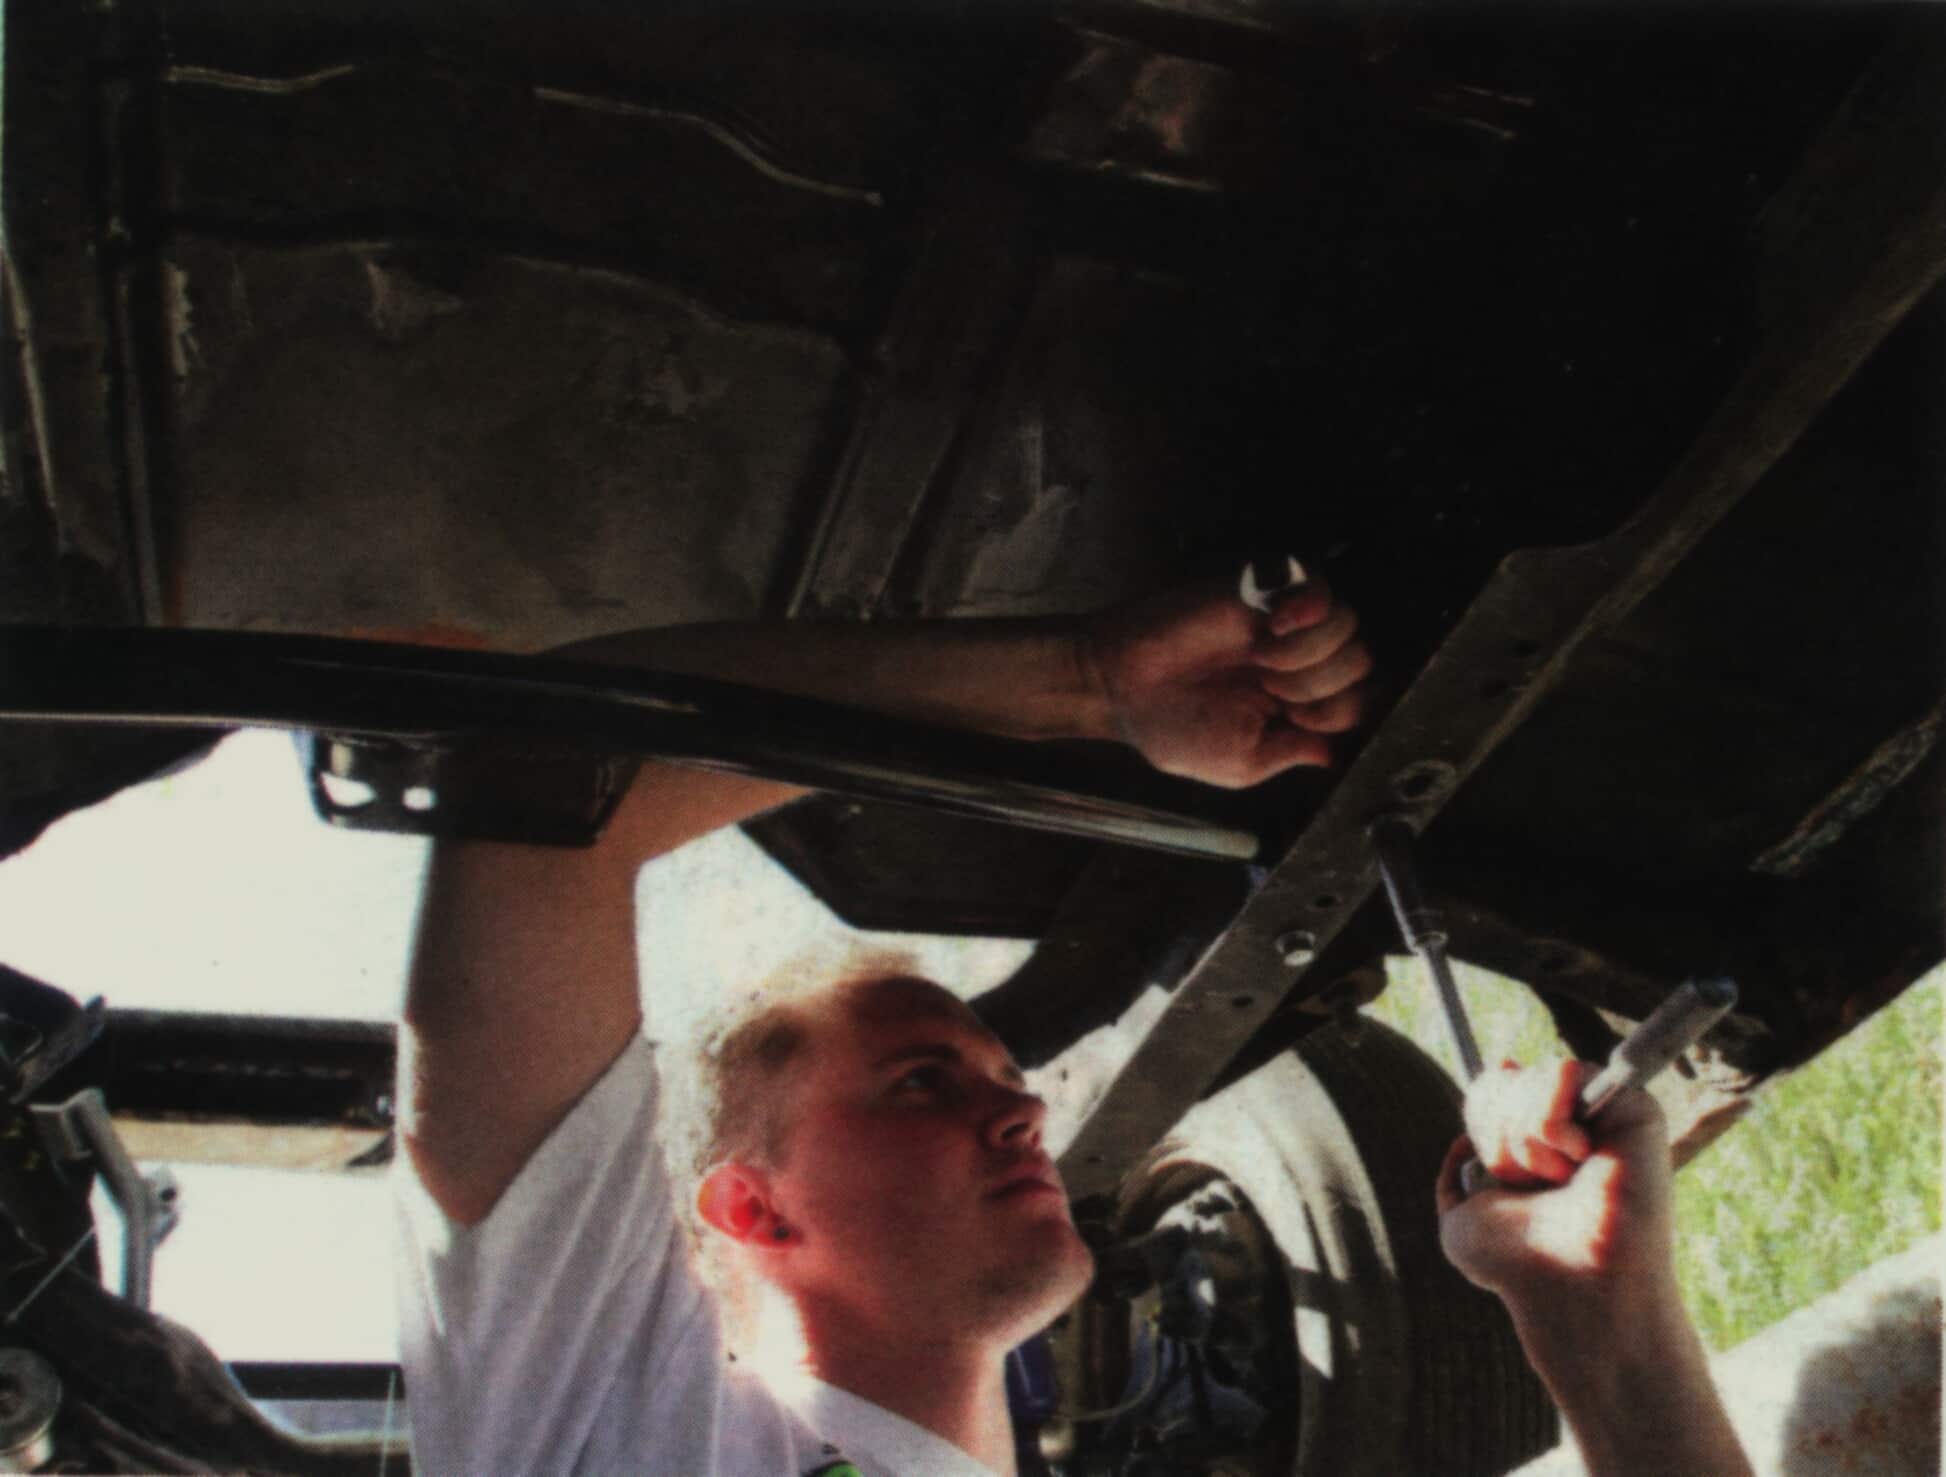
Remember when we talked about mock-up earlier? Here’s why. Once we got everything in position, the tranny mount was about 1/4-inch off, which means we had to remove the motor/trans combo. From there we slid the CPP motor mounts as far back as possible, and then relocated the tranny crossmember forward just a hair. Now imagine if your engine bay was nice and painted? It would be terrible to tear it all up for a minor mistake that could have been handled much earlier on. It goes back to that measure twice, cut once. Once back in, two bolts go up through the crossmember and into the tranny mount. |
|
Once everything was back in place we bolted the flex plate to the torque converter. |
 |
 |
With the tranny and motor completely bolted up, we then installed this chrome converter housing, which was provided in our Gearstar kit. |
|
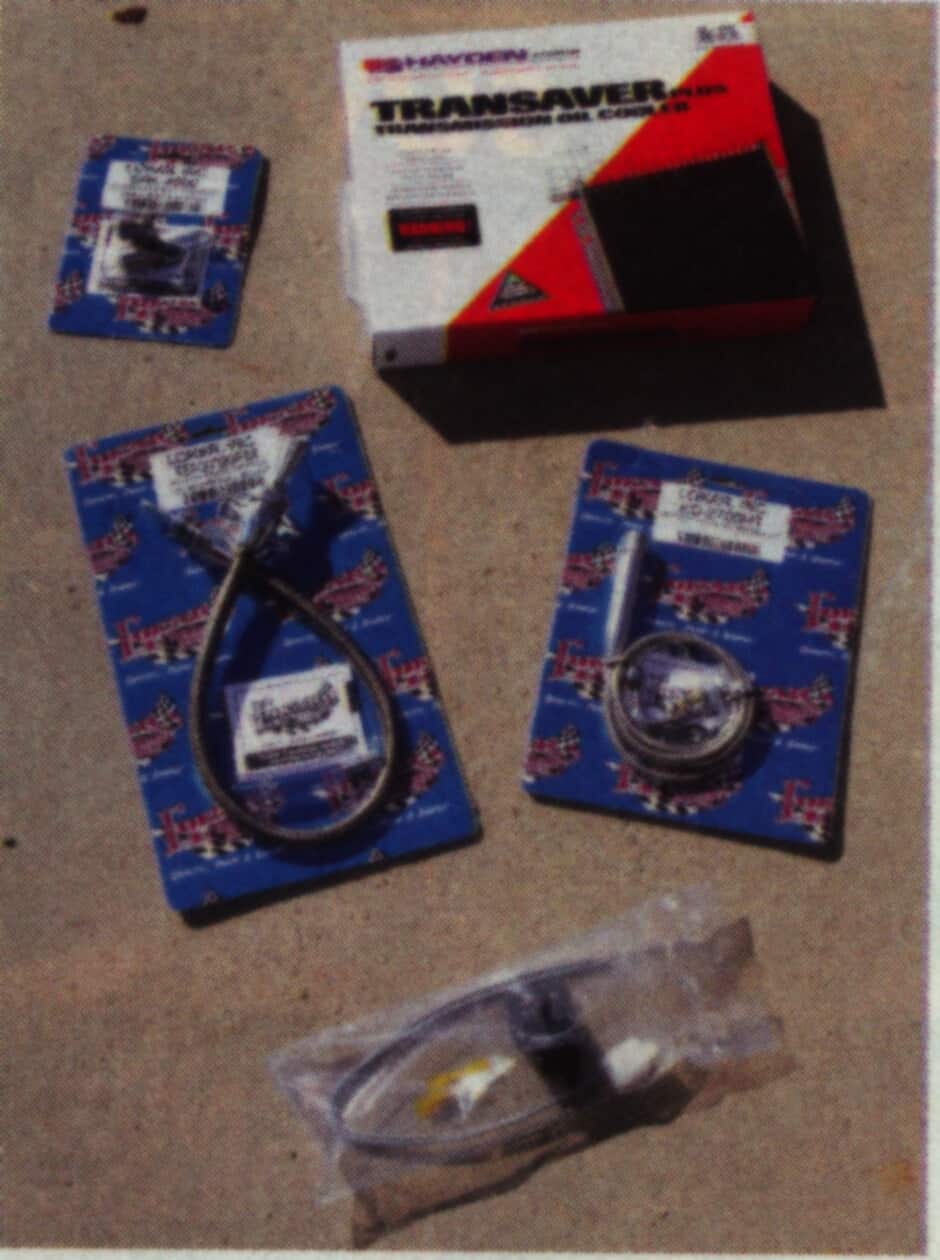
Seeing as how Get Shorty isn’t ready to hit the road, we won’t be installing the provided dipstick, kickdown kit, and trans cooler at this time. However, all of this came with the Gearstar package, better known as the 502 Package, which includes the 4L60. |
 |
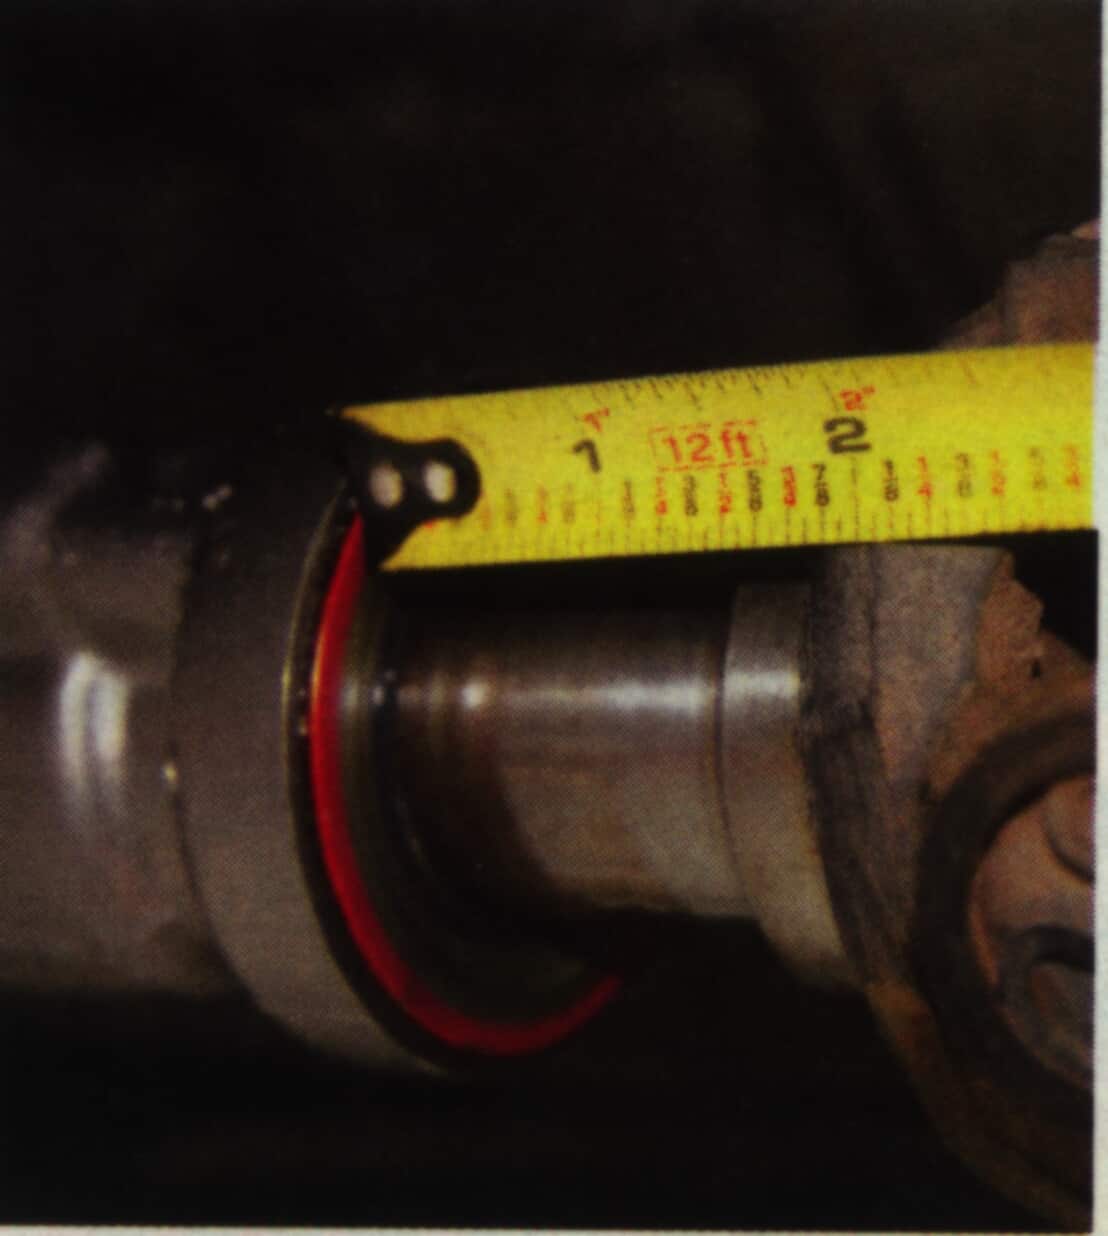 |
The last step in our install is to tackle the driveshaft issue. If you remember, Project Get Shorty was originally a longbed truck that we cut down, which means a new shaft is in order. To get the correct measurements, first slide the yoke all the way onto the transmission spline (we used an old driveshaft lying around to aid us in our measurements.) Next, pull the yoke out 1-inch. The inch gives you a little bit of play, while allowing plenty of "meat" to hug the transmission spline. |
|
From there, place one end of a tape measure at the center line of the yoke. |
 |
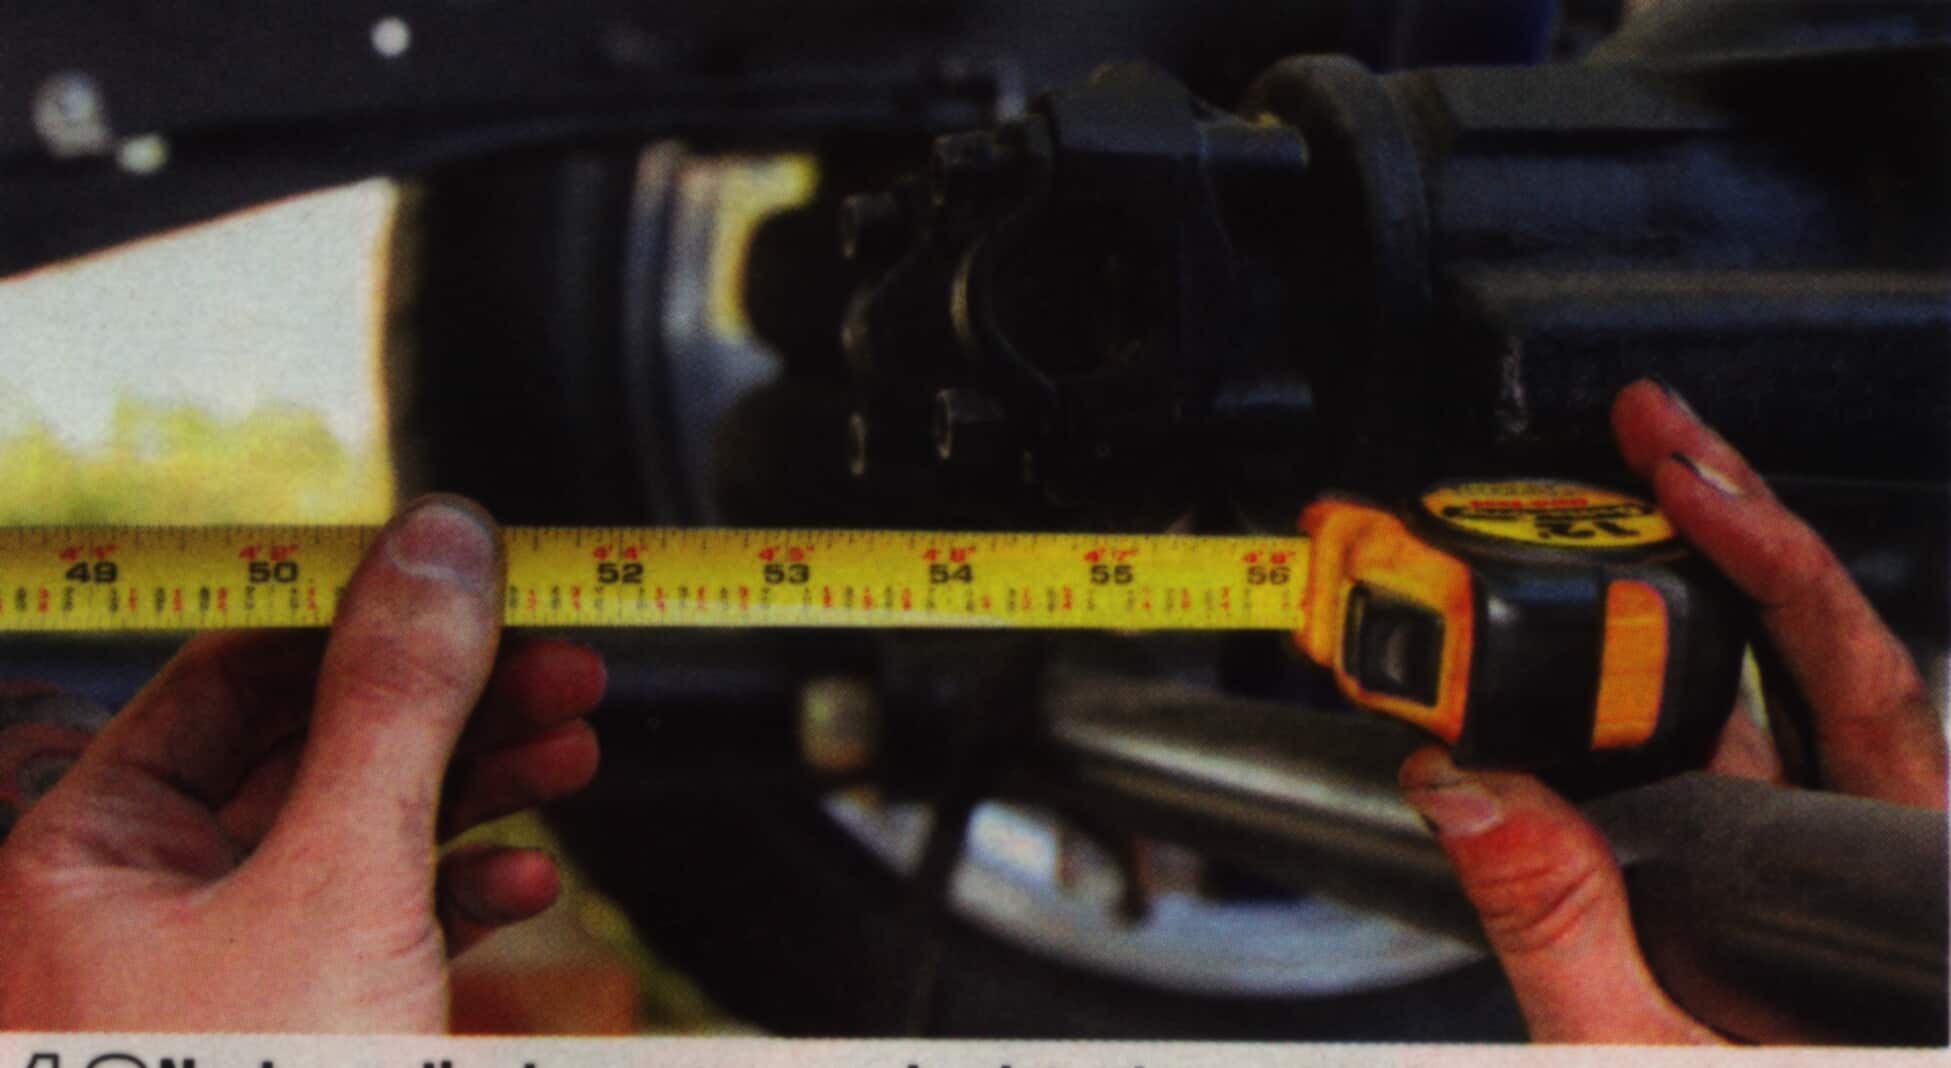 |
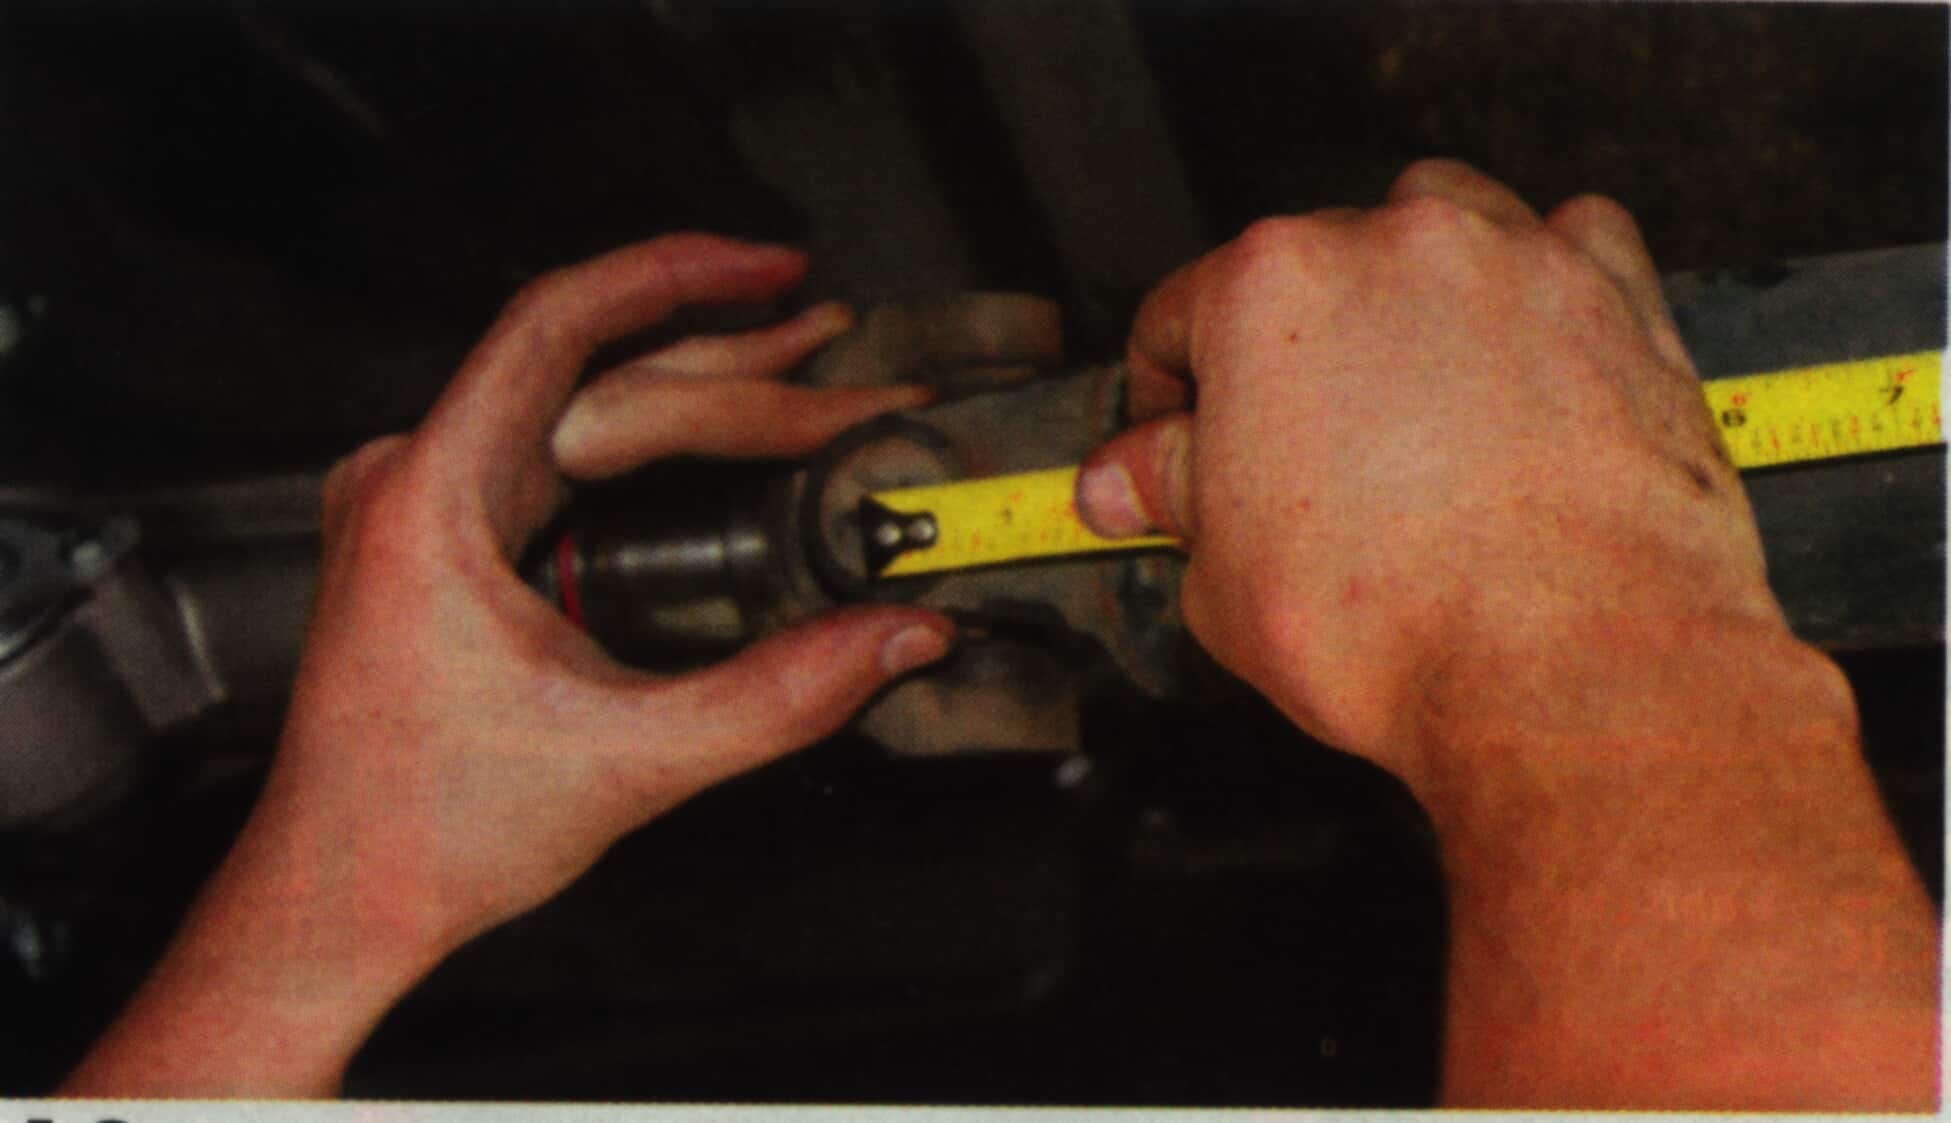
Next, run the tape measure back to the center line of the U-joint on the rearend. Take the measurement noted, and that is the length of driveshaft needed. |
|
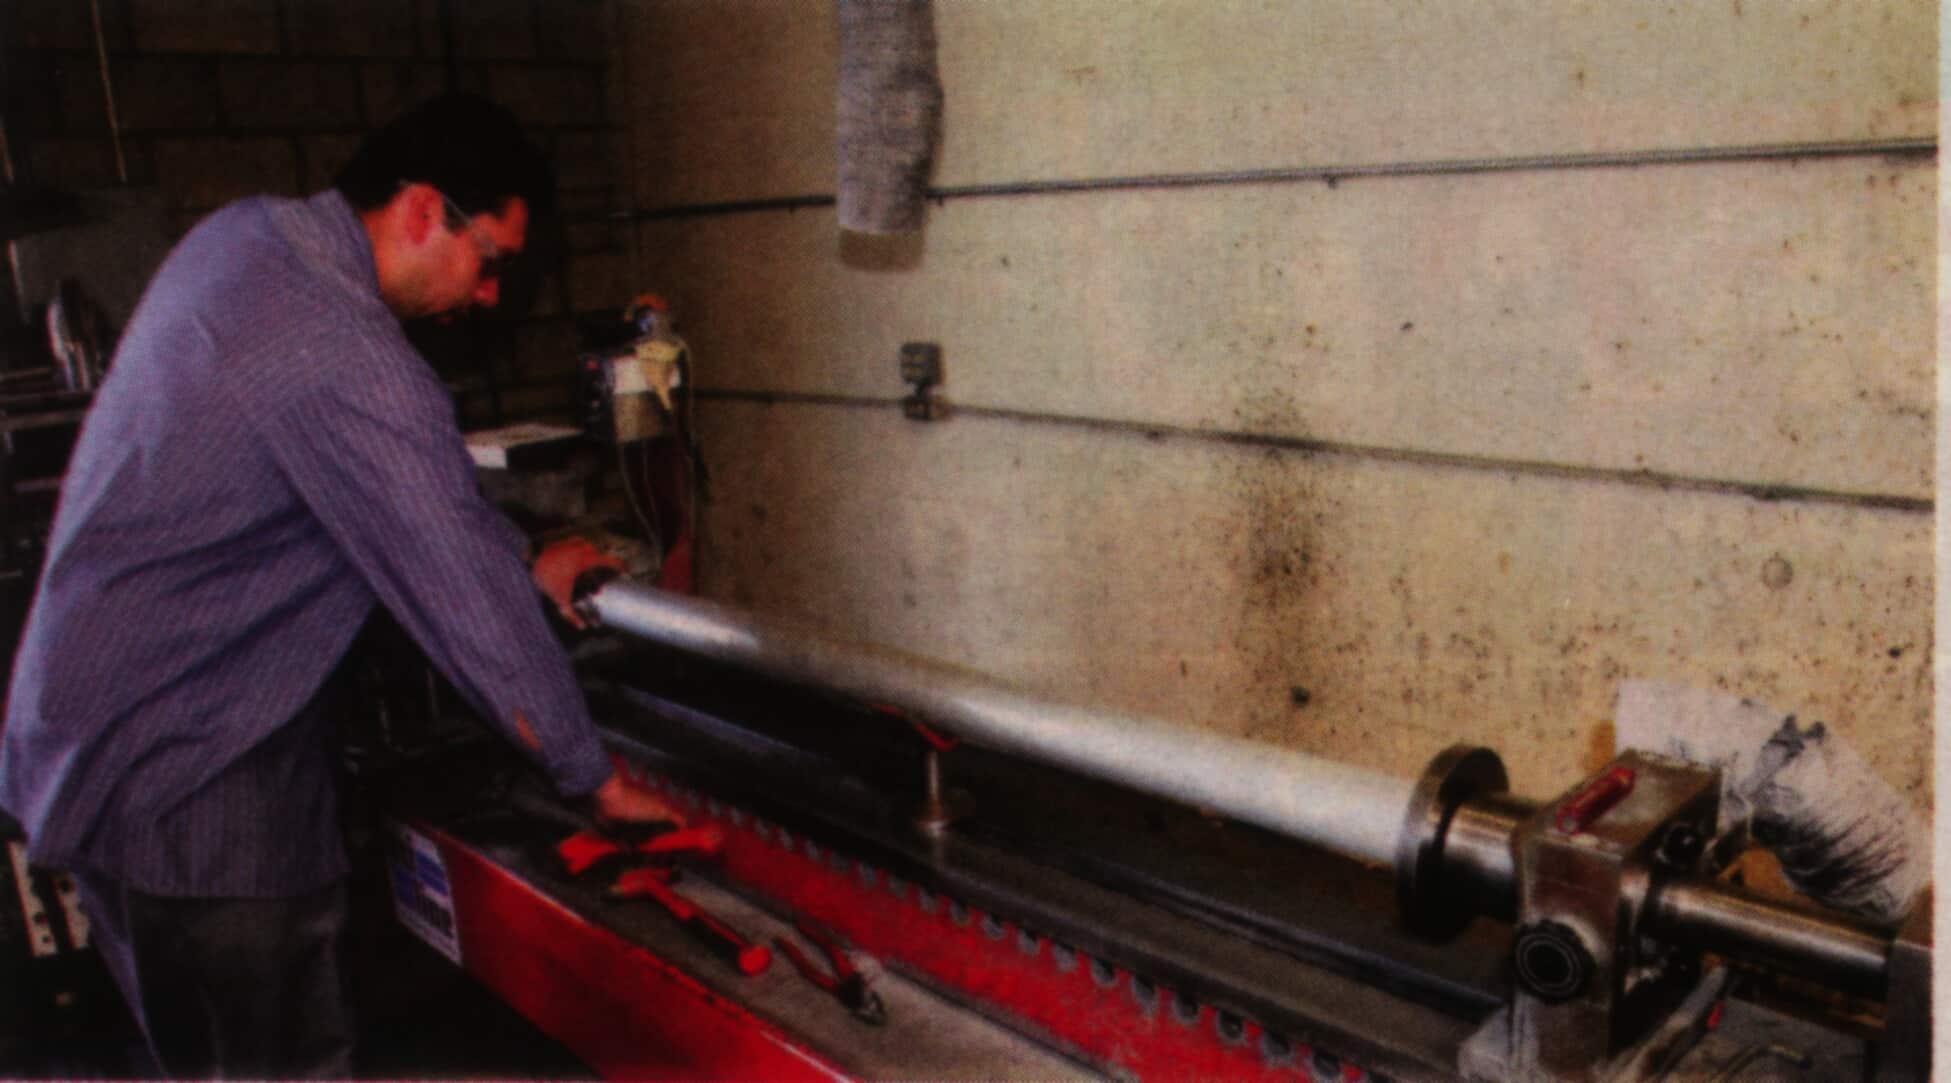
With our measurements in hand, we headed to Inland Empire Driveline in Ontario, California. Here Inland is making us an aluminum driveshaft, which will be plenty capable of handling the horsepower and torque. |
 |
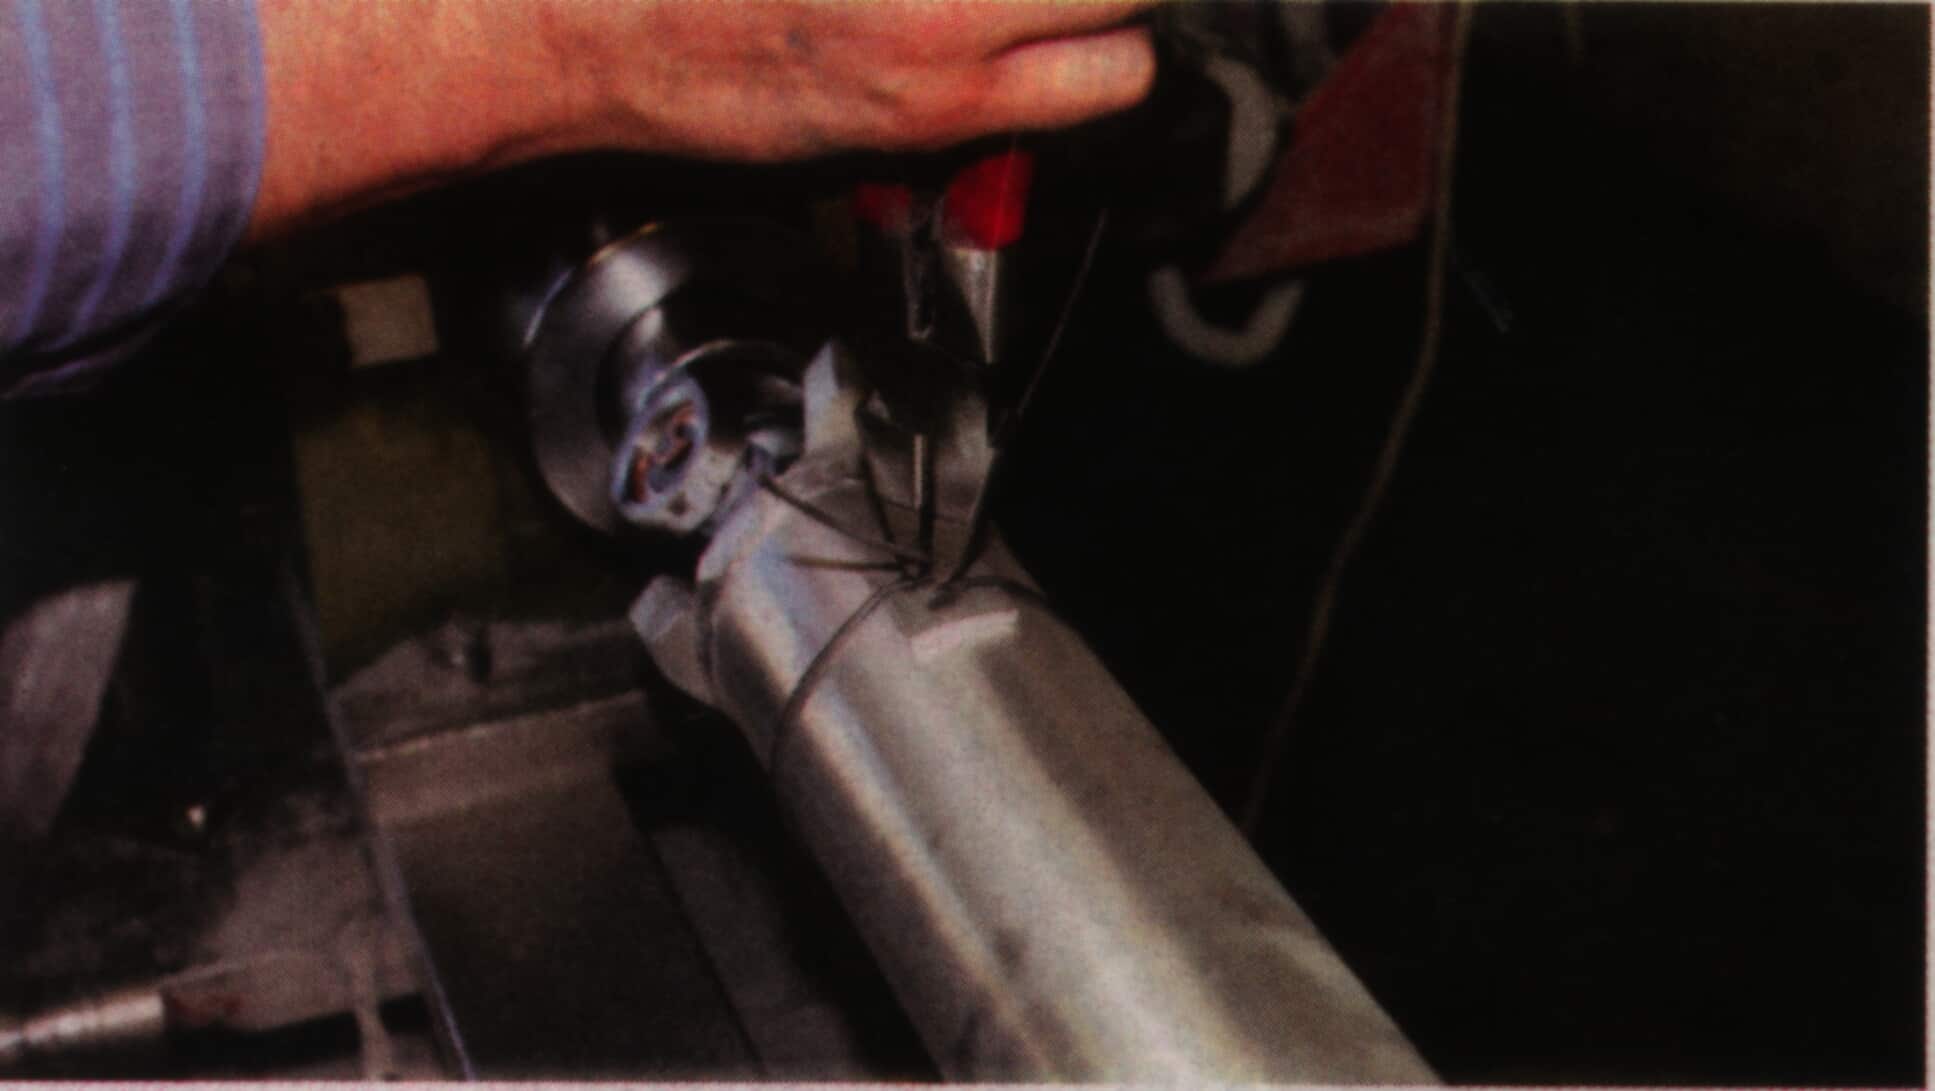 |
Once the shaft is cut to size, Inland outfits it with the correct U-joints. From there it takes a trip on the balancer. |
|
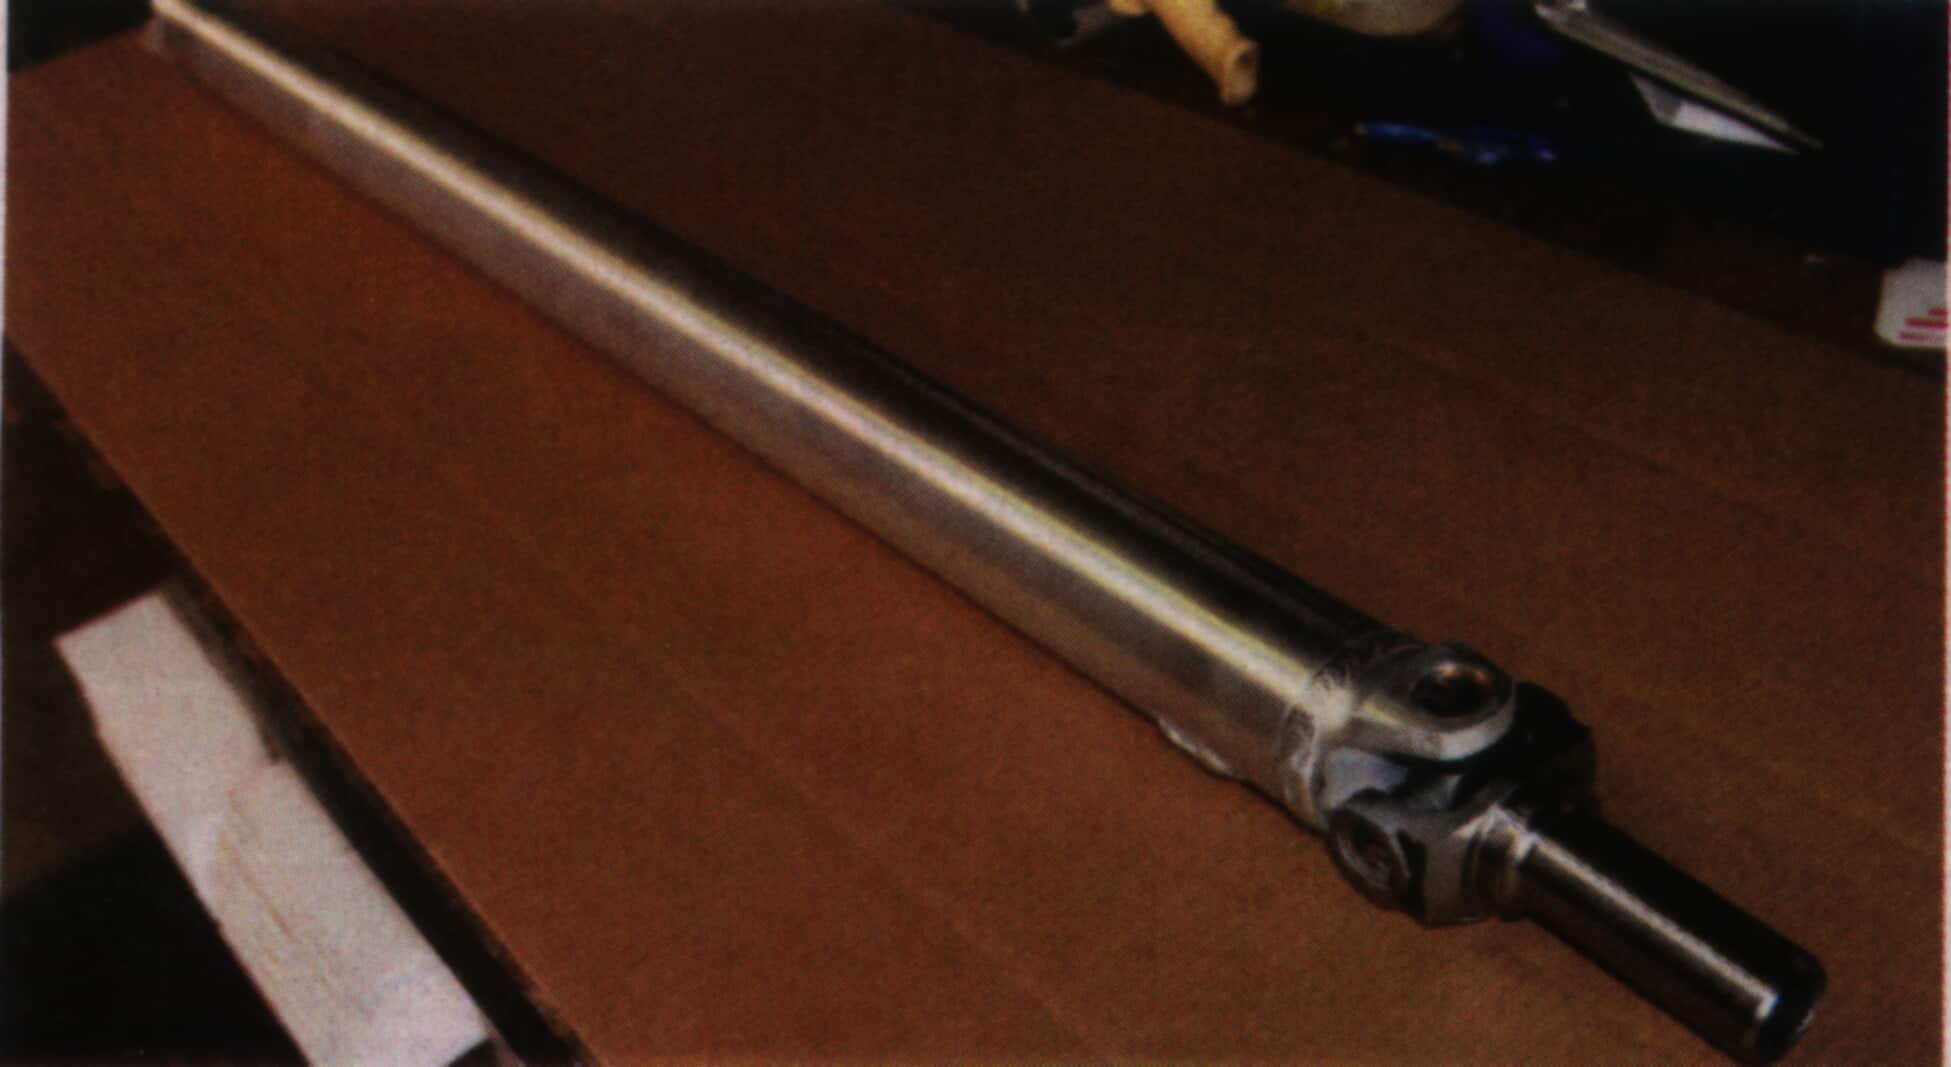
Here’s the finished product, complete with a new yoke for the 4L60. |
 |
Ready to experience top-notch transmission solutions and expert support?