Hints on installing an automatic
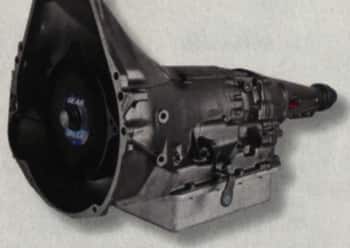
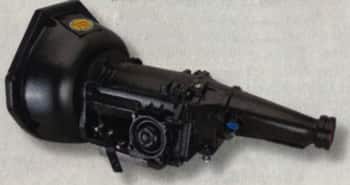
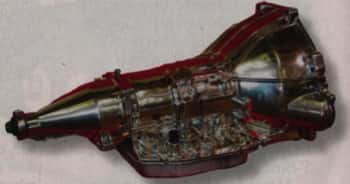
Like many street rods, our AMSOIL/STREET RODDER Road Tour ’09 Chevy is equipped with an automatic transmission. But instead of the two-speed cast-iron Powerglide that was original equipment in ’52 we’re slipping in a contemporary 4L60 from our friends at Gearstar.
Just about everyone realizes the advantages of an overdrive automatic and that Gearstar can provide a transmission tailored to your specific needs. So, all you have to do is pick up the phone, tell them what you want and when the crate arrives bolt the new transmission in place then hit the road, right? Well, sort of. Installing an automatic transmission isn’t a particularly complicated job, however there are some procedures that should be followed. Just like everything else, there’s a right way and a wrong way to do it.
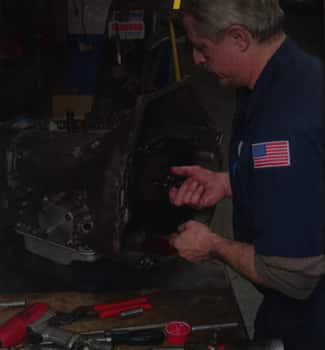
Hopefully it goes without saying that the car should be on a hoist or properly supported on jackstands before installation begins. And while some of us like to recall the things we could pick up and carry in our youth, the days of putting a dinky little three-speed transmission on your chest and hosting it into position are long gone. In any case, buy, borrow or rent a proper transmission jack. But before you and the transmission slide under the car, here are a few things Gearstar suggests you do.
 |
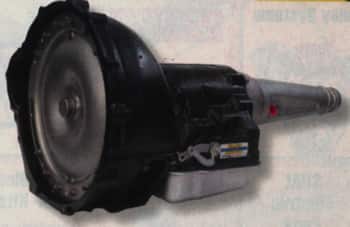
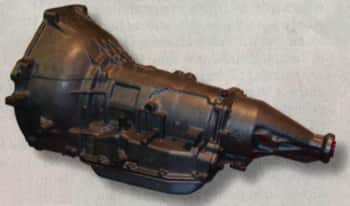
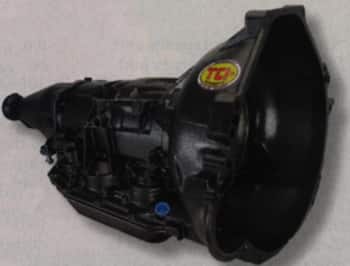
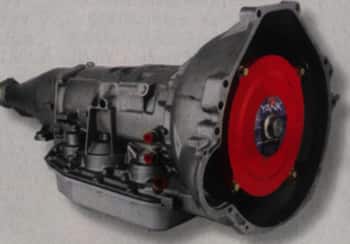
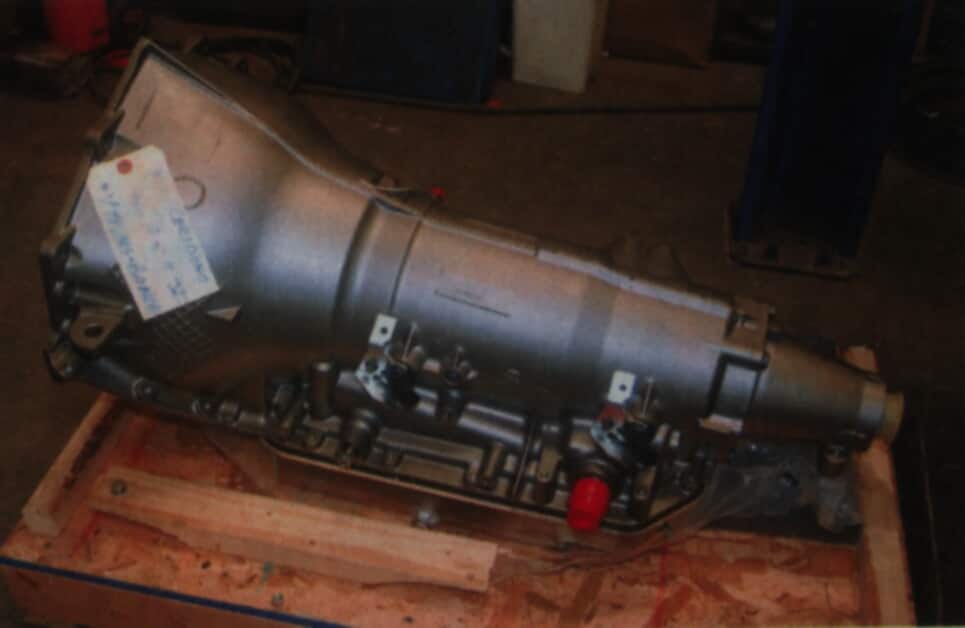
Gearstar transmissions are assembled by one technician from start to finish using the best parts available and are dyno tested before shipping. We are using a 4L60 in the ’09 Road Tour Chevy |
|
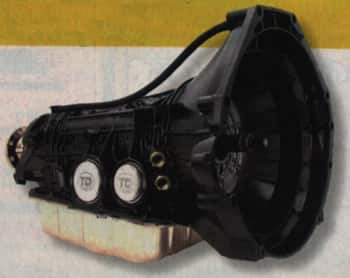
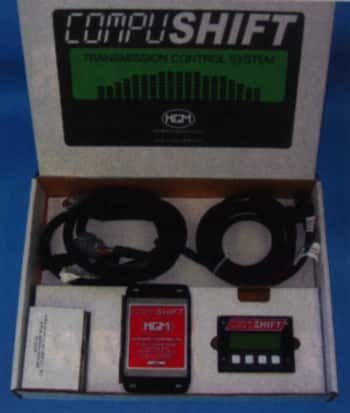
Besides the transmission and Yank converter, the Gearstar crate delivered to Woody’s Hot Rodz, builders of this year’s Road Tour car, was full of goodies. Included was a Hayden transmission cooler, Lokar TV cable and dipstick, transmission mount, dust cover and three quarts of ATF. |
 |
 |
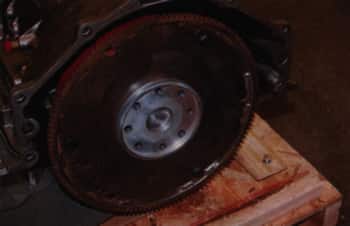
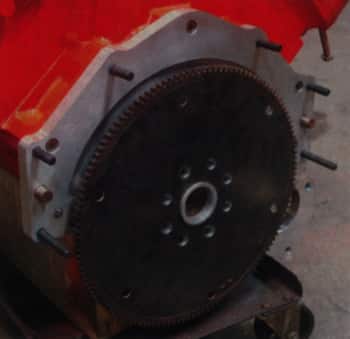
Before assembling the engine and transmission the mounting surfaces of both should be cleaned down to bare metal. |
|
Nicks in the block’s mating surface can create high spots—these are easily eliminated with a flat file. |
 |
 |
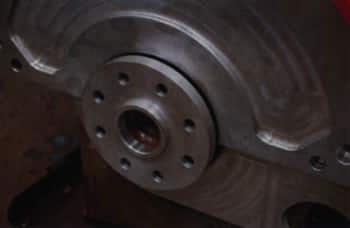
The first step in preparing the crankshaft for the flexplate/torque converter is ensuring there isn’t a pilot bushing for a manual transmission in place. Thoroughly clean the bore where converter registers in the crank, and the mating surface for the flexplate. |
|
A strip of abrasive cloth can be used to clean the snout on the front of the torque cover that registers in the back of the crankshaft. |
 |
 |
Our Smelding-built small-block wears a Barry Grant Six Shooter induction system. Here the custom bracket that holds the Lokar throttle and TV cable is being installed. |
|
The first step in adjusting any throttle valve cable is to properly align the bracket holding the cable housing. The standard Lokar brackets feature a setscrew and locknut for this purpose. |
 |
 |
To allow for initial throttle valve cable adjustment the lock nuts on the housing should be positioned in the middle of their available adjustment. |
|
As we’ve said and shown before, adjusting the TV cable is a three-handed operation. With the throttle held wide open the TV cable is extended fully, the adjustment sleeve is pushed against the link attached to the carburetor linkage and the setscrew tightened. |
 |
 |
Special shouldered cooler line fittings screw into the case. Gearstar provided the adapters to connect braided lines from the transmission to the cooler. |
|
When routing the cooler lines keep in mind that the engine and transmission will move around a little so some "give" is necessary. |
 |
 |
Woody’s mounted the transmission cooler to the floor on the outboard side of the passenger-side framerail. |
|
A useful option is a transmission pan with a drain plug. Note the electrical connection for the lockup converter. |
 |
 |
Controls for lockup converters don’t have to be complicated to be effective. Gearstar’s uses a vacuum signal to determine lockup timing. |
Ready to experience top-notch transmission solutions and expert support?