By Ron Ceridono
Photography by Tim Bernsau
Published Street Rodder Magazine
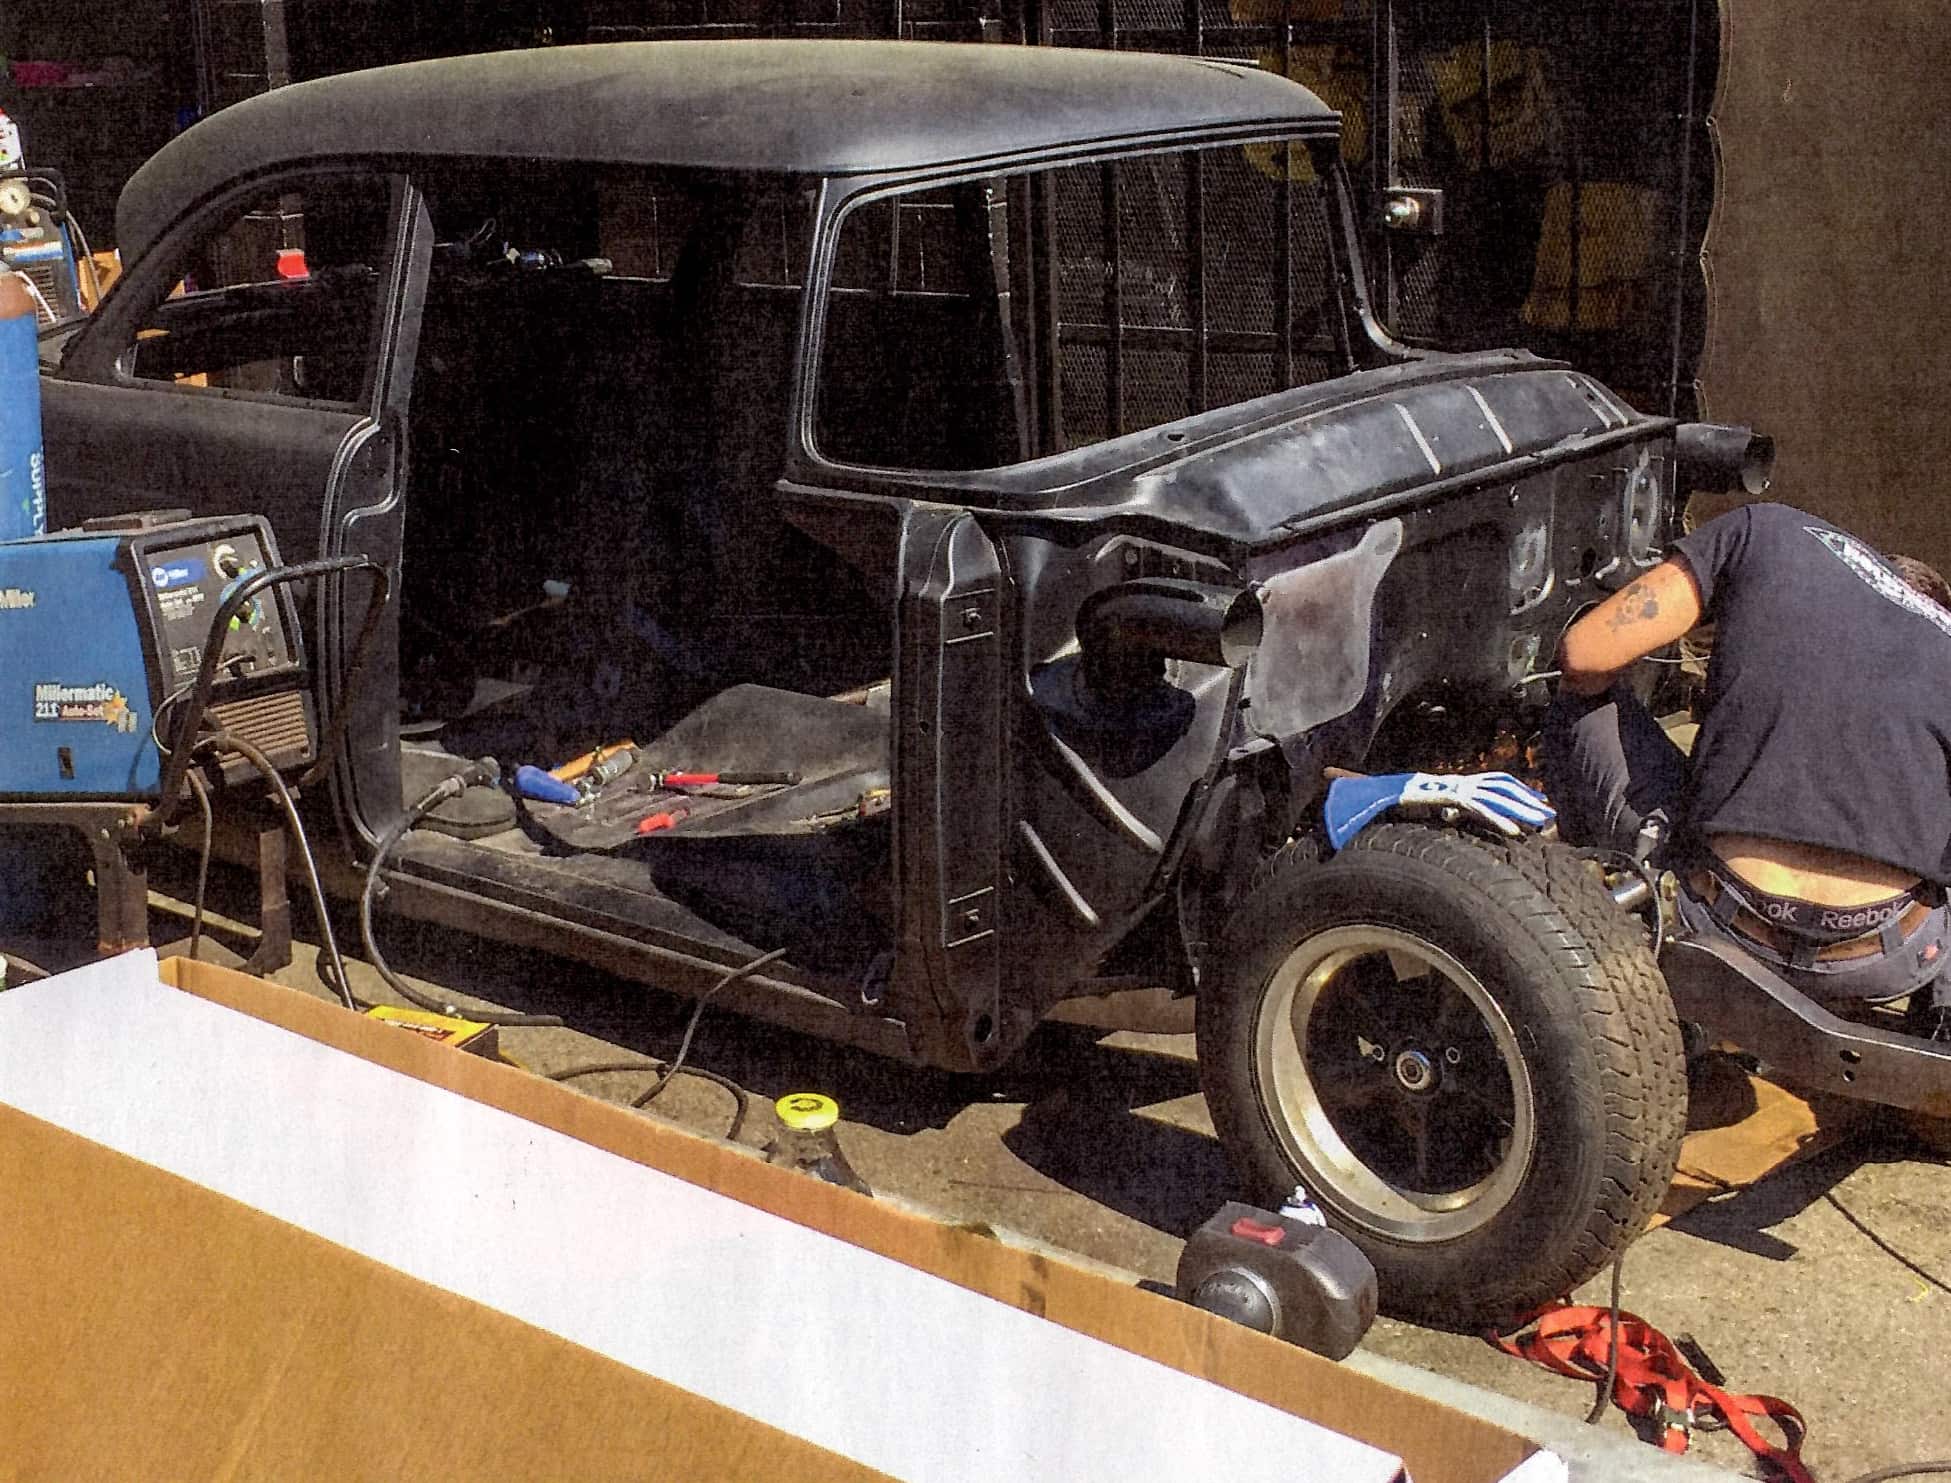
Our 2019 ARP/STREET RODDER Road Tour ’55 Ford sponsored by Ford Performance is being build by Hollywood Hot Rods (HHR). A garage find by HHR’s own Troy Ladd, the car was completely original and remarkably solid, with the exception of some minor rust in the rockers and floor that needed attention. While the trunk floor was solid, it would have to be replaced due to the Roadster Shop chassis that was configured to accommodate the large rear rubber we planned on using, and the firewall would have to be modified to make room for the Coyote V-8 from Ford Performance.
With the old trunk floor removed an 18-gauge steel replacement was fabricated to mimic the original right down to the factory-style reinforcement ribs. While the trunk floor was under construction, the rest of the crew assigned to the sedan was busy repairing the rocker panels. On the right side the entire section between the A- and B-pillars was replaced with a new piece made in-house.
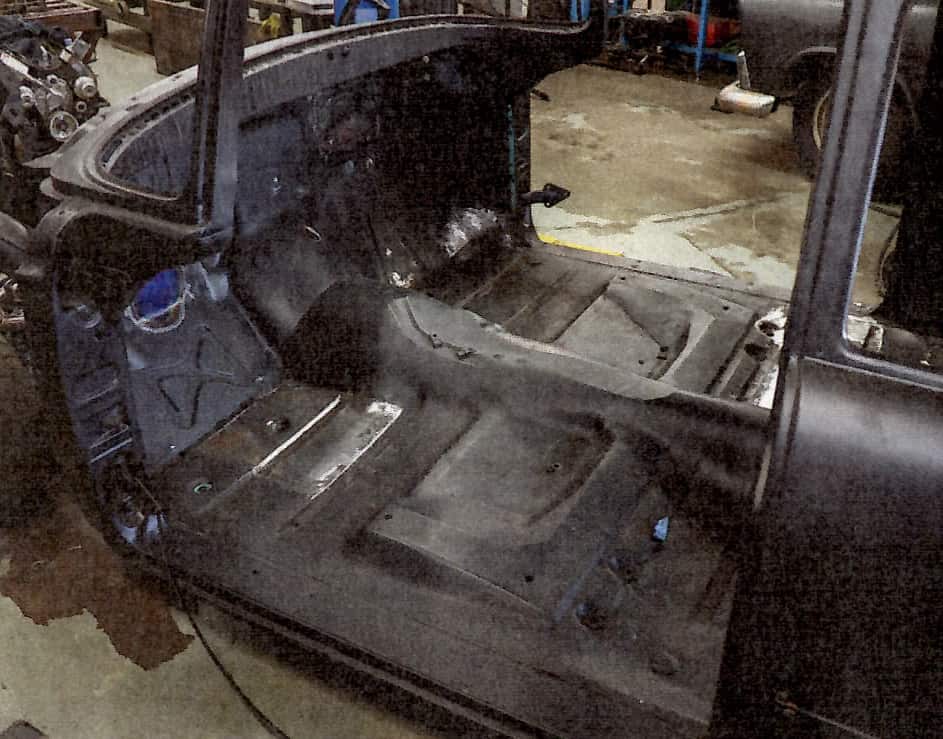
Our ’55 Ford was a real survivor as there was only small sections of floor next to the right B-pillar and on the front portion of the driver-side floorboard that were damaged by rust and would have to be replaced. All things considered, not bad for a car this age and simple sheetmetal mods for HHR.
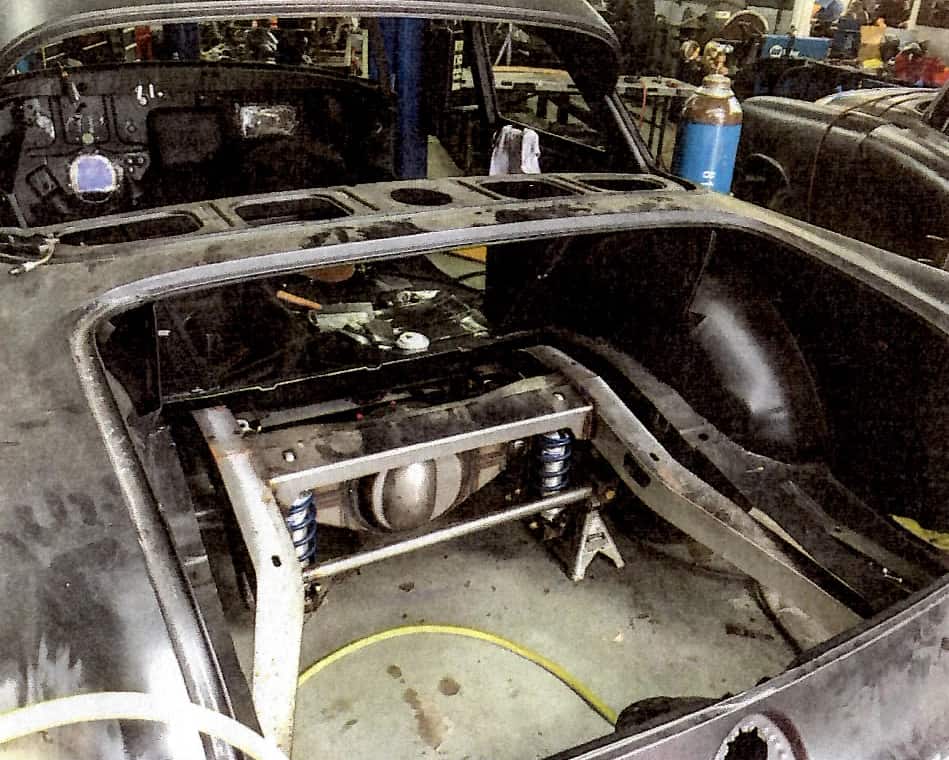
• To provide the low ride height and accommodate the wide rear rubber, the shape of the roadster shop frame rails was such that a new raised trunk floor was required.
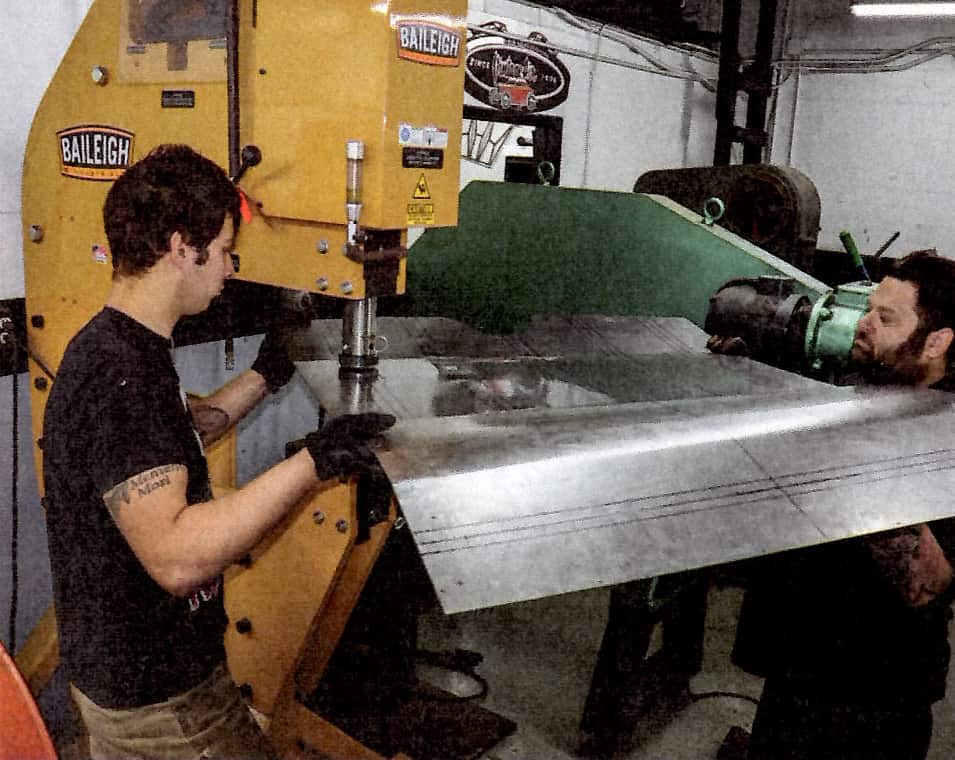 • Kyle Connole and Peyton Timm shaped the new trunk floor to follow the contours of the flange that remained after the original floor was removed.
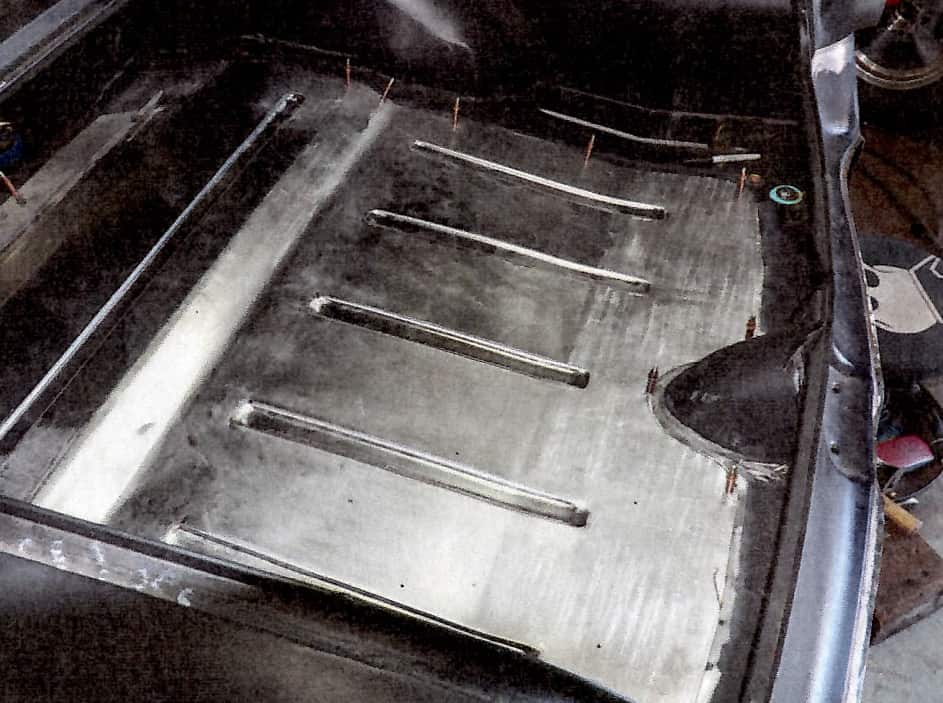
• To stiffen the floor a series of reinforcement ribs were formed. The floor was put in place and secured with Clecos to check the fit prior to welding.
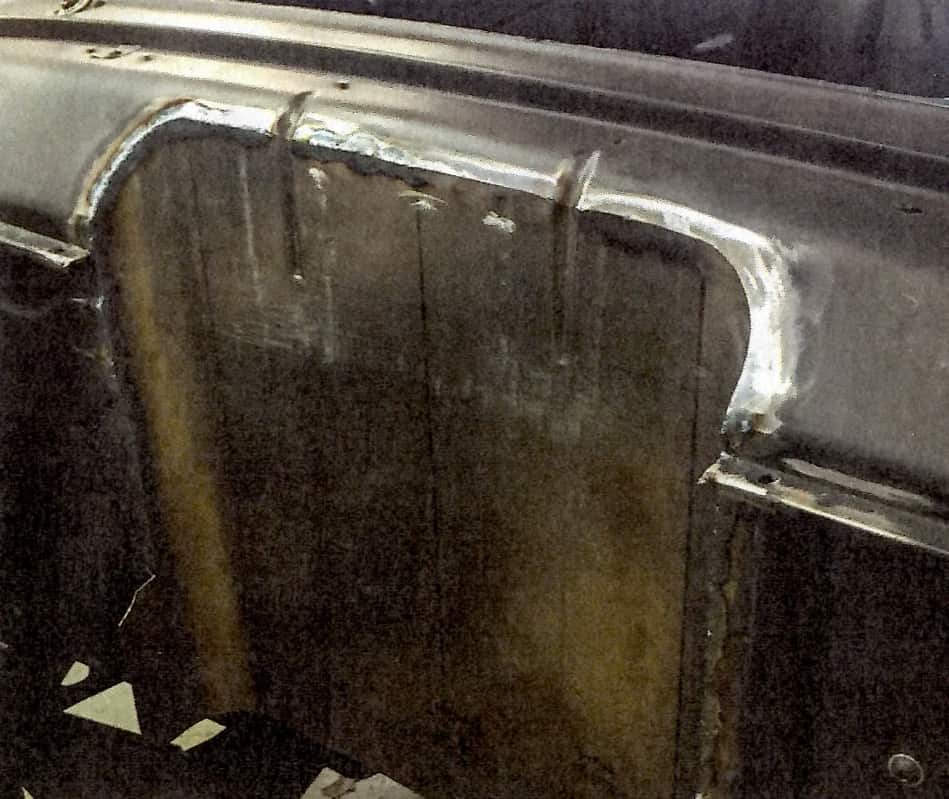
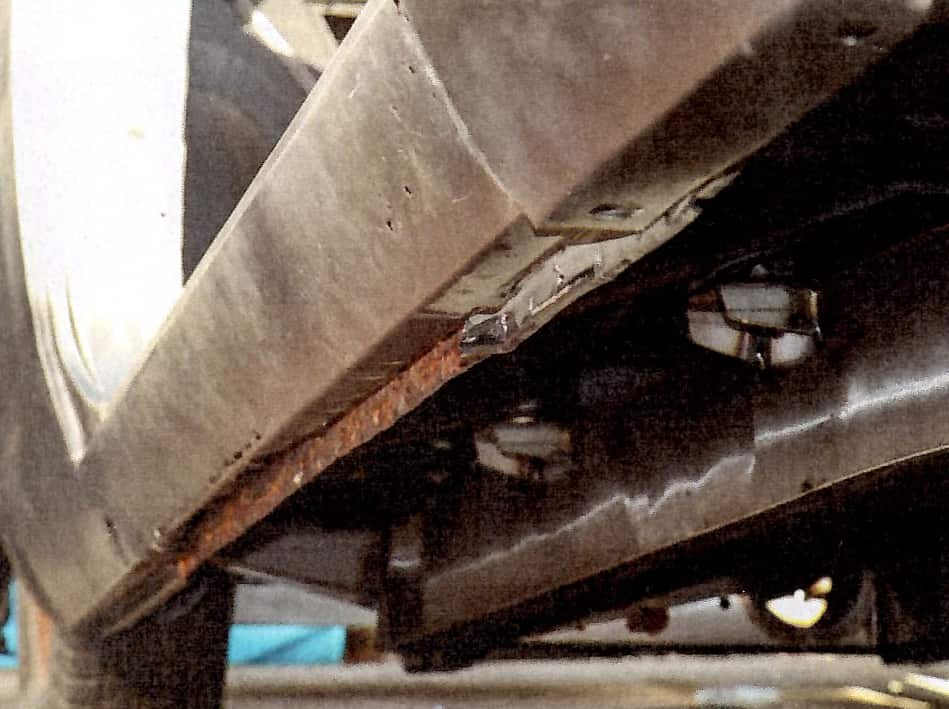 • With the paint stripped, rust in the passenger side rocker panel was discovered that would have to be repaired.
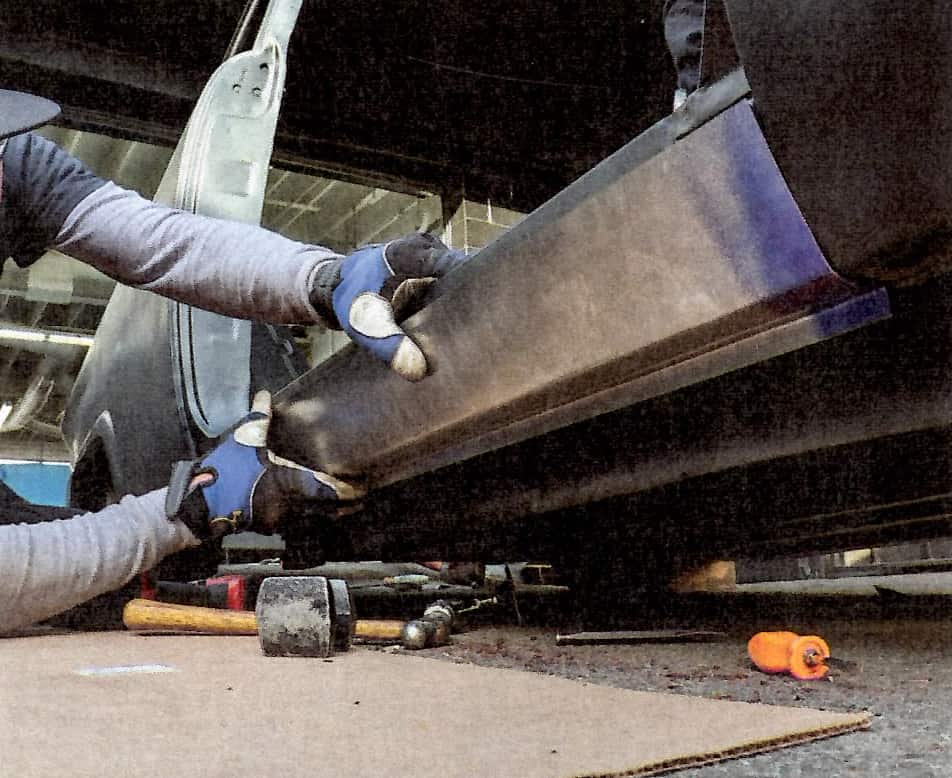
• With the rotted rocker panel removed, Matt Tyree fashioned a replacement from 18-gauge steel.
 • The new passenger side rocker panel was completely welded on top and the ends. Along the bottom holes were punched and rosette welds were used as was done by the factory.
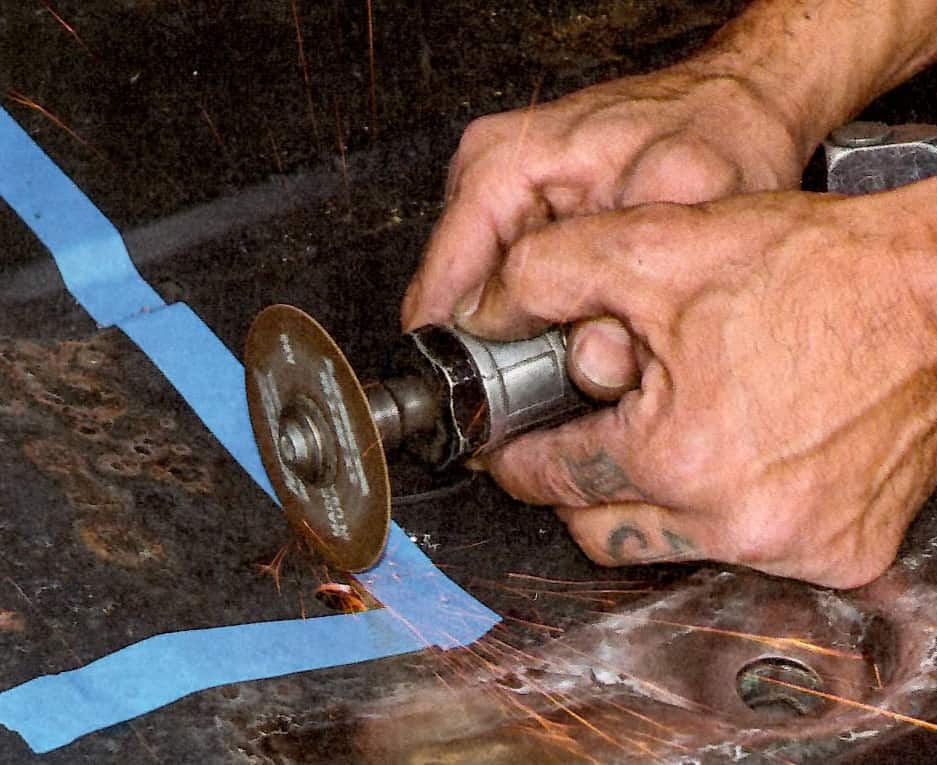
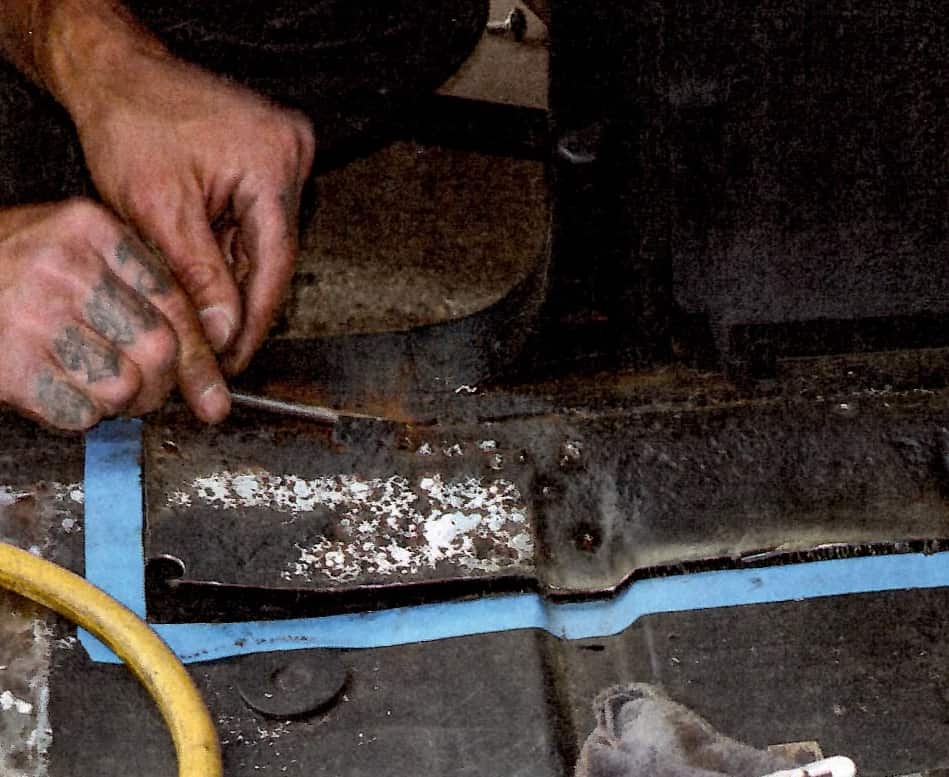
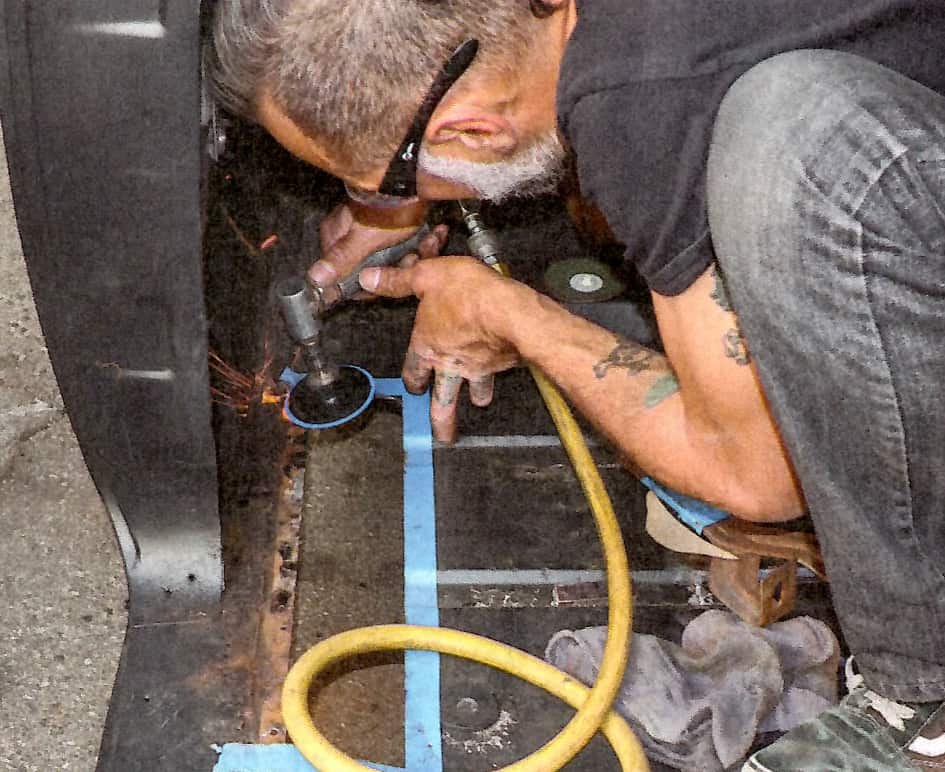
• The passenger compartment floor required some minor repair. Here Chris Oesteritz marked off and cut out a section to be replaced.
 • Following the taped line the inside edge of the damaged portion of the floor was cut with an abrasive wheel. Along the outer edge the factory spot welds were drilled out.
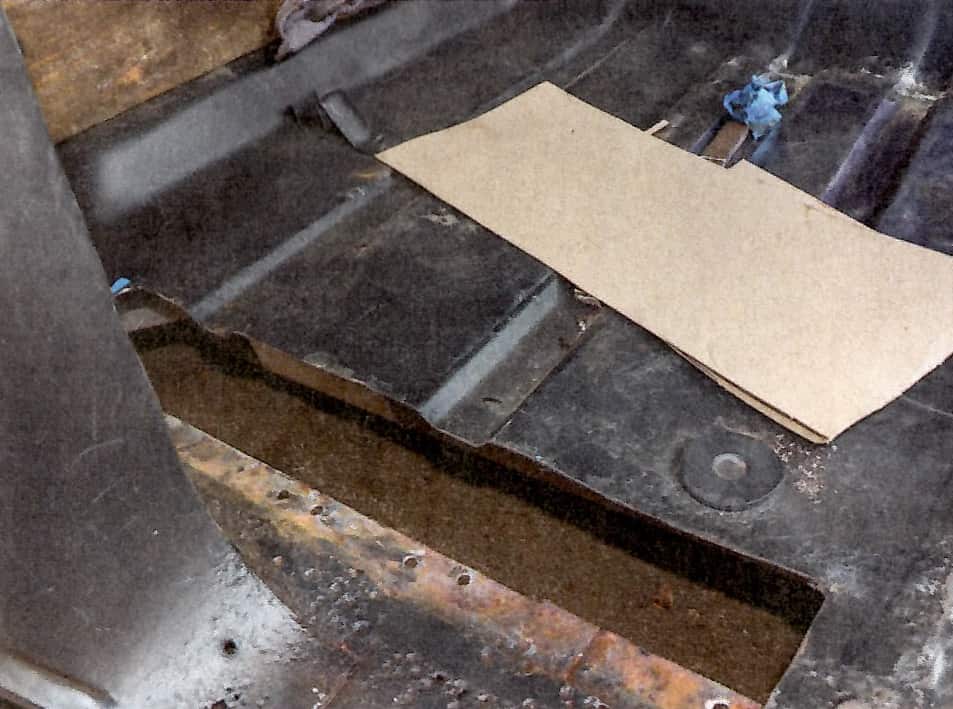
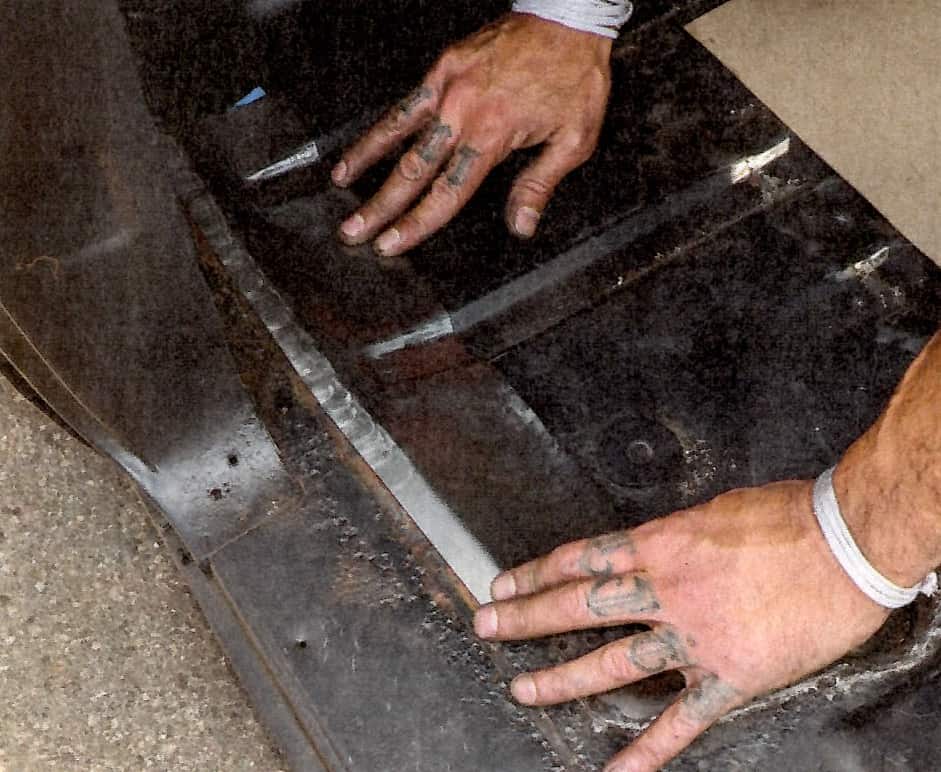
• Here’s the opening that was left. Note the sill that the floor was spot welded to is in good condition.
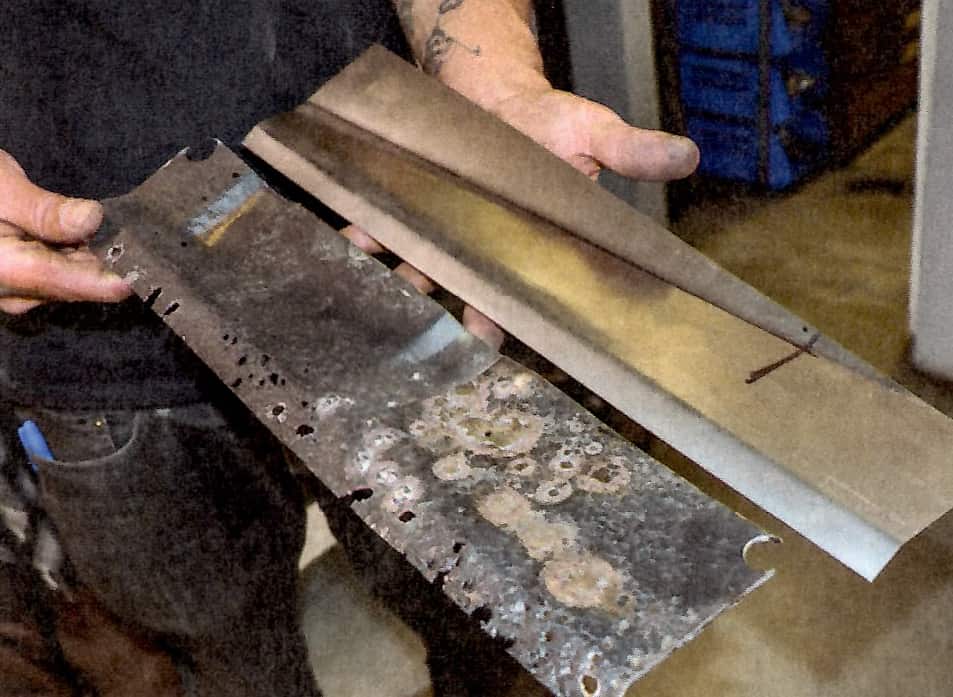
• The original section compared to the replacement. More complicated than it looks, the depth at the outer edge is tapered and becoming deeper toward the rear.
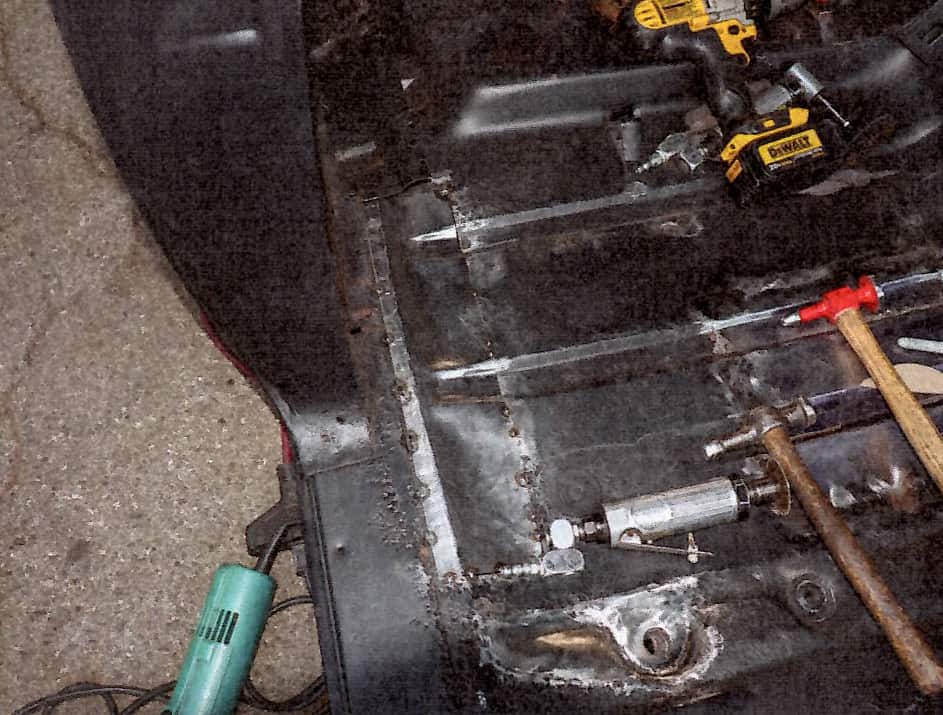
• Prior to installing the new floor section an abrasive disc was used to clean the flange it will be welded to.
• Although it will never be seen, reinforcement beads were formed in the patch to match those in the floor.
• Here the patch is tacked in place prior to finish welding.
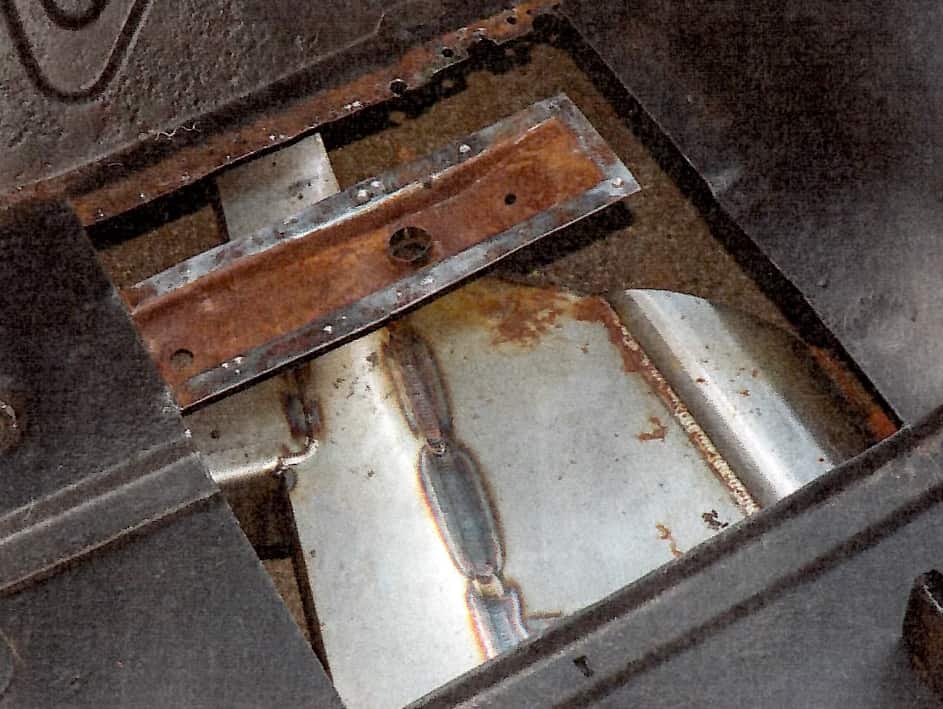
• It’s not unusual for cars of this age to have rust in the driver side floor; our Ford was not exception.
• The patch panel not only has the original-style reinforcement rib, it has the recessed body mount hole as well.
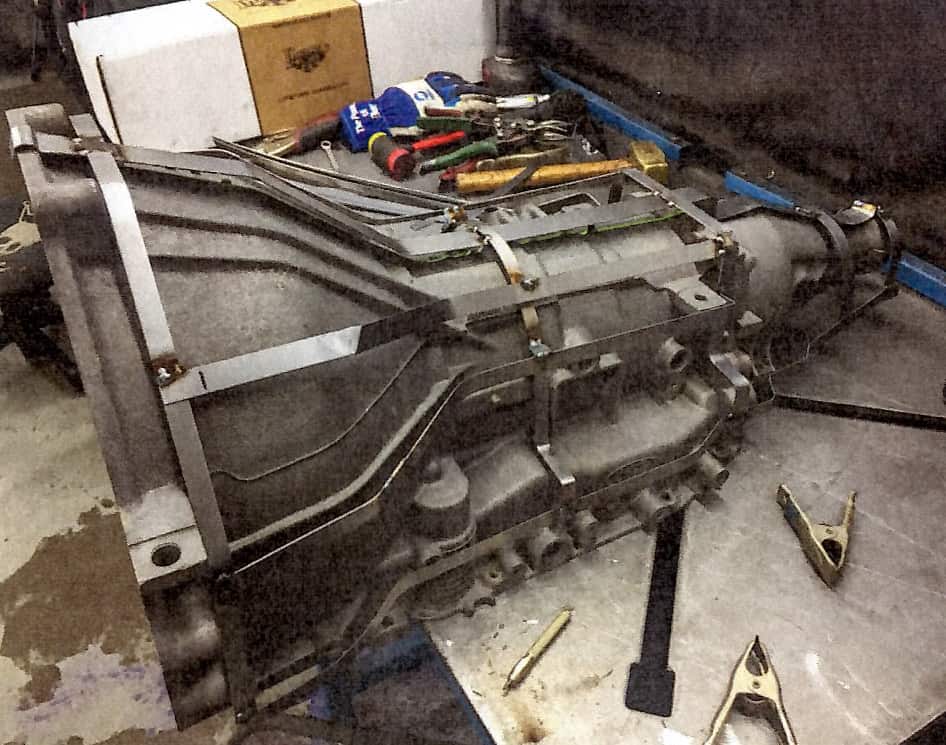
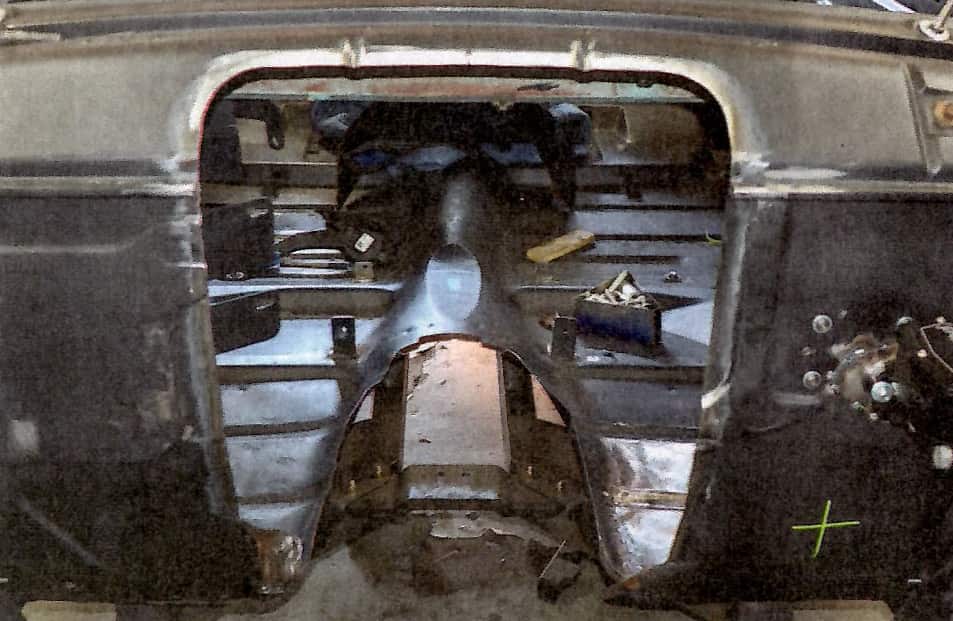
• To accommodate the Gearstar 4R70W overdrive automatic a new transmission tunnel had to be fabricated. This framework was used to simulate the shape of the transmission.
• Here three separate sections of sheetmetal of the new transmission tunnel are being test-fit on the framework before they are welded together.
• Due to the Ford’s low ride height the running gear was raised in the chassis, which in turn required a raised driveline tunnel.
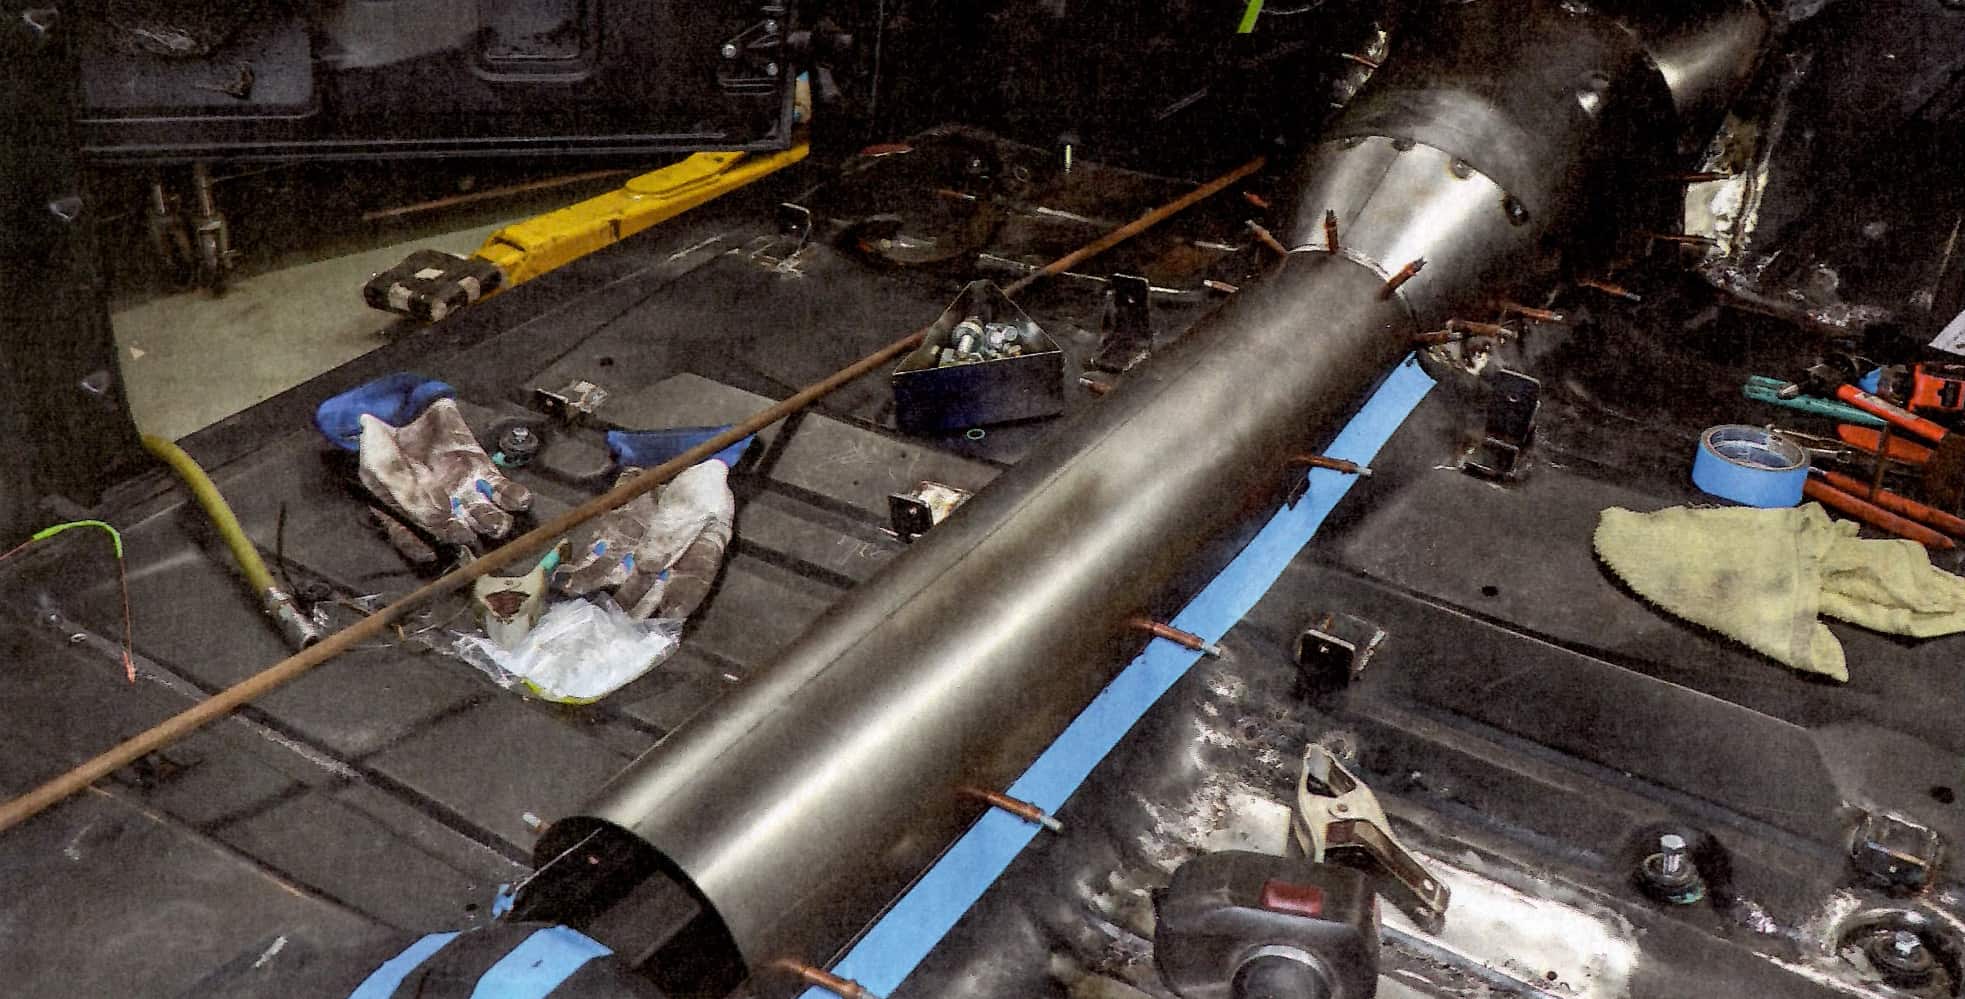
• Here the new transmission and driveline tunnels are held in place with Cleco temporary fasteners before being welded.
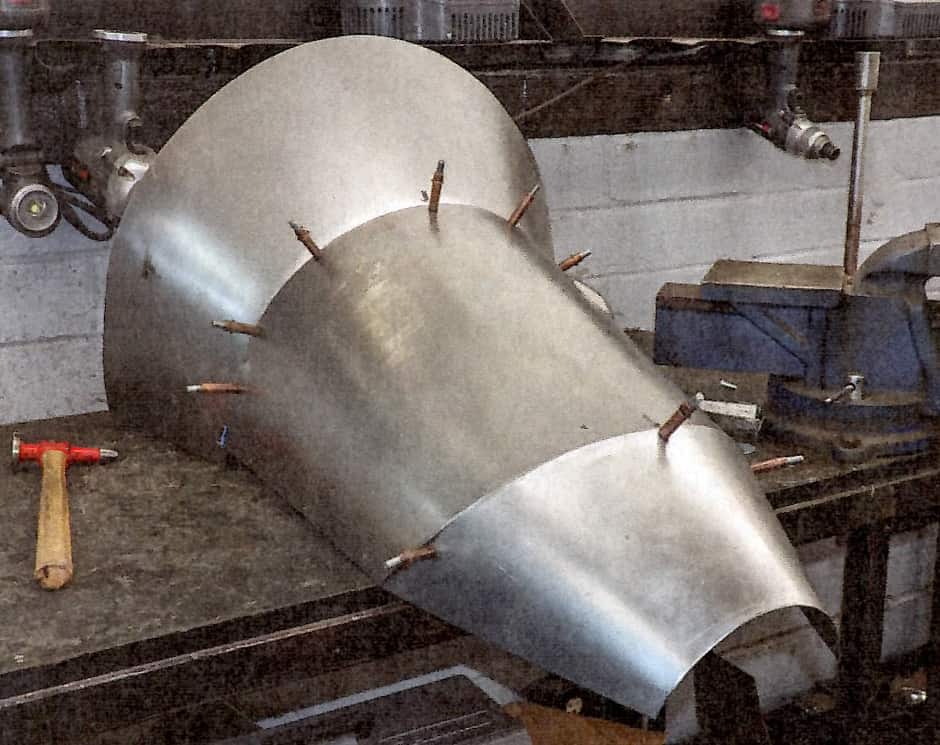
• To make room for the Coyote V-8 from Ford Performance the firewall had to be notched.
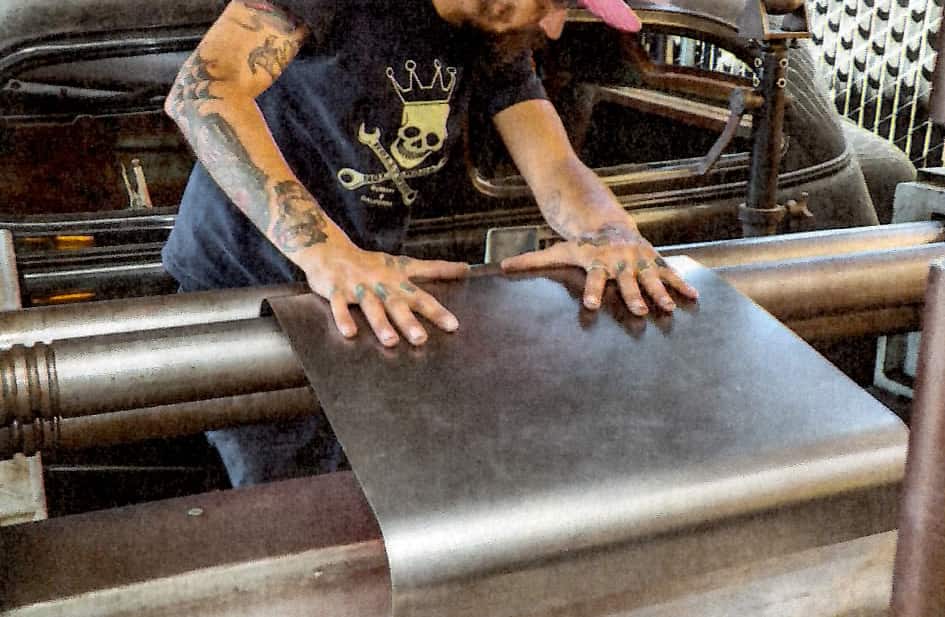
• A curved filler for the recessed firewall was formed on a slip roll.
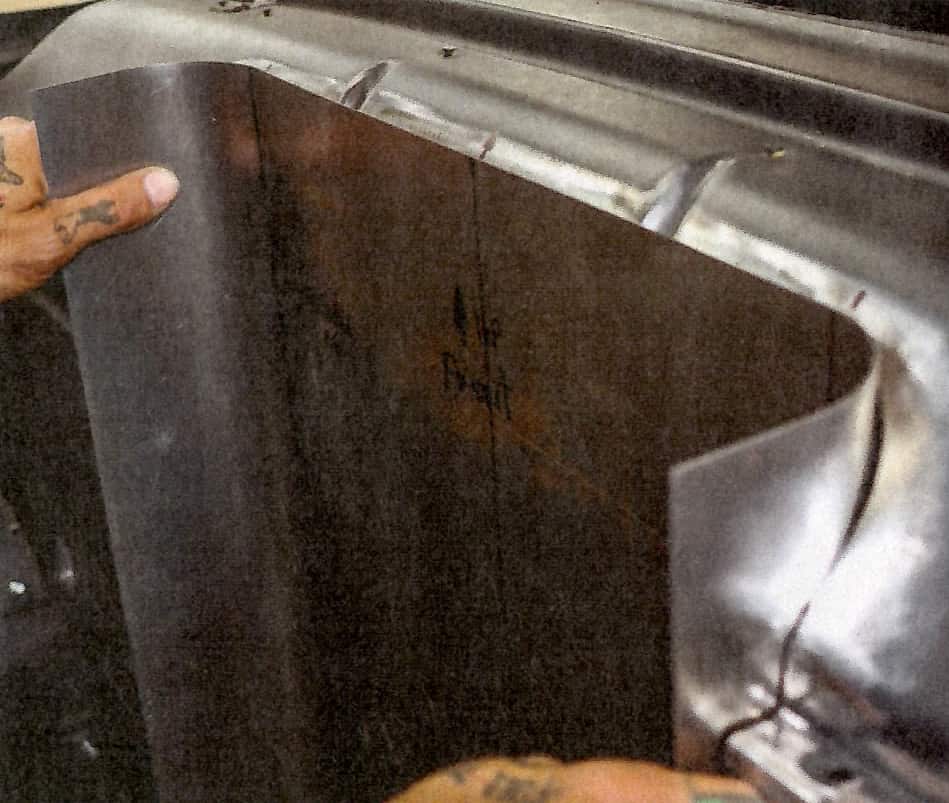
• The replacement section was made longer than necessary to allow it to be marked and cut for an exact fit.
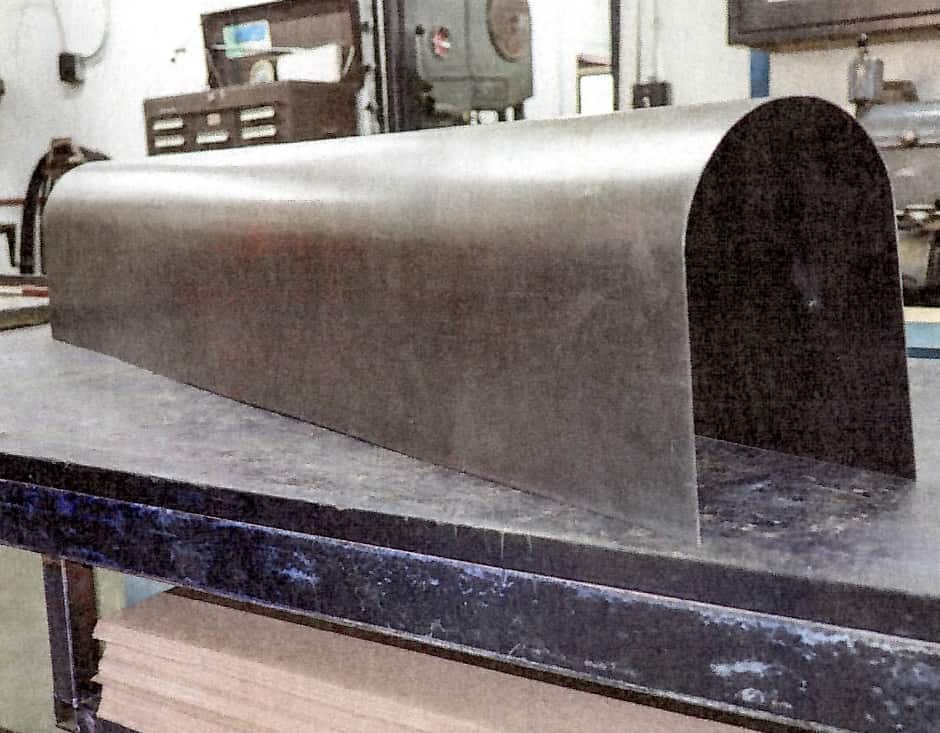
• The recessed insert has ribs rolled into it to match those found in the upper portion of the firewall before being welded into place.
Ready to experience top-notch transmission solutions and expert support?