No Recess!
I can remember back when Total Cost Involved was about to drop the '58 Chevy 235 engine and Gear Star Turbo 350 trans in my '39 just as they finished up the suspensions. Actually, what I recall the most was one very simple question they asked: "Do you want the firewall cut or not?" For those of you wondering why they'd even consider that, let me explain in a little more detail.
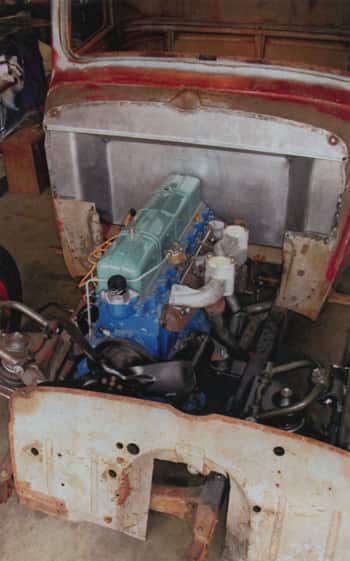
From day one, this project was always destined to retain an inline-six -- but not the original 216 nor even an early 235...it had to be of the '56-62 variety, but the newer they get, the longer they get (from the water pump's perspective). So, while the additional length can be overcome with a couple different methods -- either the modified pumps offered by Patrick's or the conversion kits to accept an early pump on a late motor - we thought it would be "cool" to stick with the factory equipment and squeeze 'er in. To achieve a proper fit, TCI simply notched out the firewall "blister" enough for the back of the cylinder head and rocker cover. At the time, I never really put much further thought into it - patching the firewall was the least of my concerns back then.
As I got further along with the project (hanging the column, installing the intake/exhaust manifold, etc), it started becoming quite clear that I would literally have my work "cut" out for me, as the seemingly simple sheetmetal patchwork was not looking more like a full fabrication job. Don't get me wrong, it could and can be done, but I just wasn't up for it, especially knowing that I could solve 90 percent of my problems (mostly labor and frustration) by just replacing the firewall altogether.
Fortunately, Direct Sheetmetal has patterns for not only '37-39 Chevy pickup firewalls, but floorboard and transmission tunnel kits as well. The more I thought about it, this was definitely the way to go. Plus, unlike the task of fabricating practically an entirely new center portion for the stock one, installing a new firewall was something I had no doubts of being able to pull off without nearly as much effort, yet achieve the results I was after - fit and finish. As for the floors, I'm still up in the air regarding the direction I'll go, but from the looks of it, I may end up integrating the Direct Sheetmetal toe boards and trans cover with the stock floor.
As usual, I went about this particular task a bit different than the instructions suggested - instead of fitting and welding the new firewall on the "outside" of the cowl, I trimmed it to fit from behind, just like the stock one. Ultimately, I wanted to retain as much of the original look as possible, and thus having the cowl flange still visible from the exterior would definitely help. This way, the DS firewall could be rosette-welded through the existing spot-weld holes; mounting from the outside requires a full perimeter weld. Either way you look at it, my major setback is now a thing of the past -- now if I could just make up my mind and figure out just want I'm gonna do with the floor...
  |
|
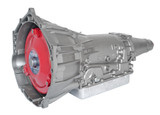
| While a '39 Chevy truck's original four-speed manual transmission is no featherweight by any means it pales in comparison to the overall "girth" of the Gear Star Turbo 350 that's been mated to a 235 via a Buffalo Enterprises adapter kit (full story on that to follow). Combined with the increased setback of the 235, the stock firewall and floor need to be seriously addressed in order to make some breathing room inside the cab. | 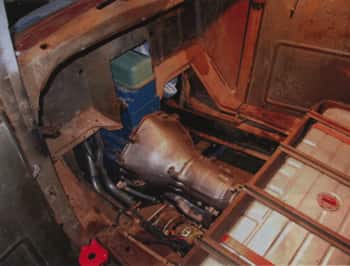  |
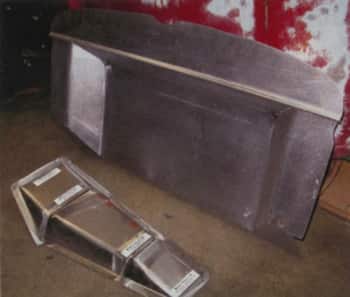  |
Modifying the existing firewall is not out of the question, but in many cases, replacing it completely with one such as this from Direct Sheetmetal (DS) is the way to go - easy to install, plus it's made to accommodate all the interference issues thanks to a 4-inch recess. (The trans tunnel kit pictured below will be put to use when the floor is redone later.) |
| Speaking of floors, DS also offers a complete replacement floor board kit. At this stage,m I was undecided about what direction to go with the floor, as I'd like to retain the stock floor section and integrate the DS tunnel and toe boards. | 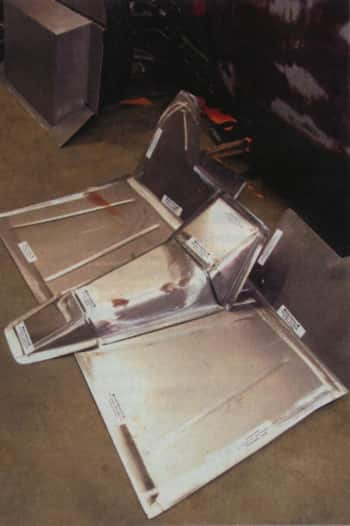  |
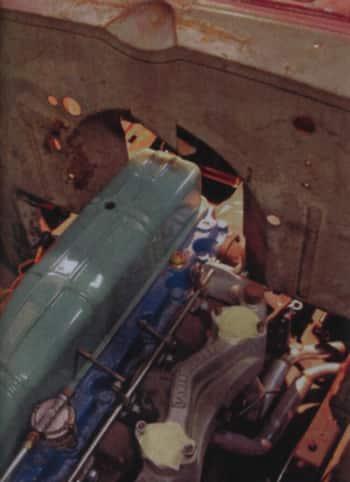  |
You don't have to tell me - I'm fully aware of the water pump mods that alleviate the need to set a later 235 so far back into the firewall. however, I chose to keep the stock '58 pump/fan combo and suffer the consequences of altering the firewall instead! |
| To remove a '37-39 firewall, there are a number of rivets and even more spot welds (both inside the cab and in the engine compartment) that need to be properly removed. | 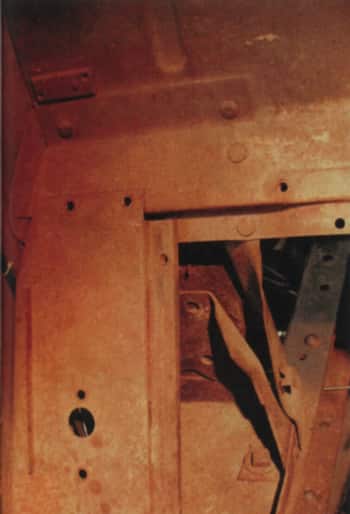  |
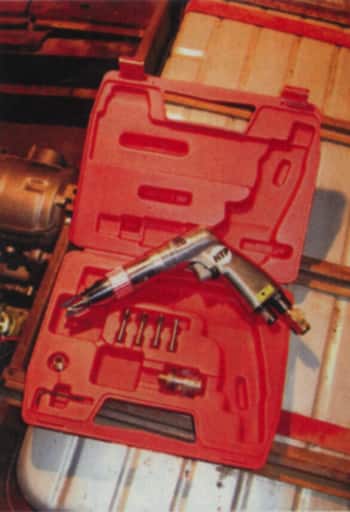  |
When I say "properly", there's a way to eliminate a spot weld without having to drill through both metal panels: HTP's Spot Mill. With this pneumatic tool, you can burr through the spot welds and not cause any damage to the underlying metal. |
| With the HTP Spot Mill just set the cutting depth by adjusting the red collar and use the appropriate-sized cutting bit. Typically, you'll know when a spot weld's cut loose when you hear the metal pop. (Since the stock firewall won't be used, you can drill through both layers of metal if desired.) | 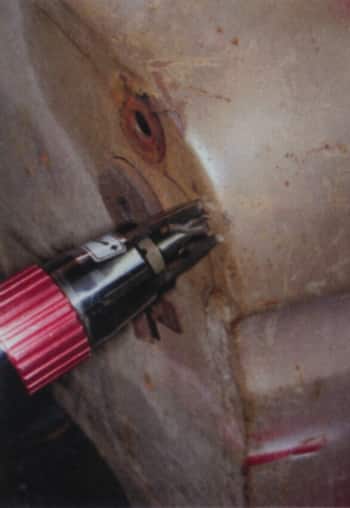  |
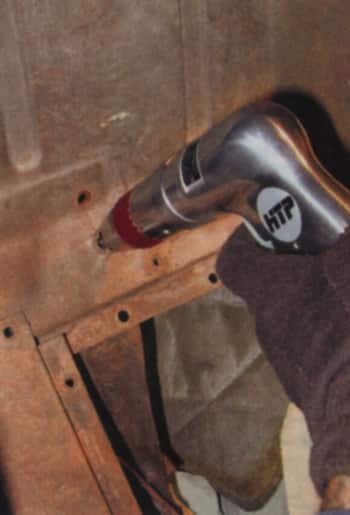  |
...use the Spot Mill, as the metal beneath the rivet heads (looking from inside the cab) will remain in use, so you probably don't want to damage it too much. |
| The cowls on the '37-39s overlap the firewall, thus the spot welds are accessed from the engine side - which is fortunate, as there's not as much room to work with from inside the cab | 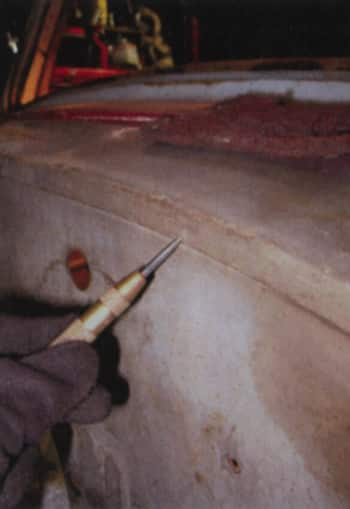  |
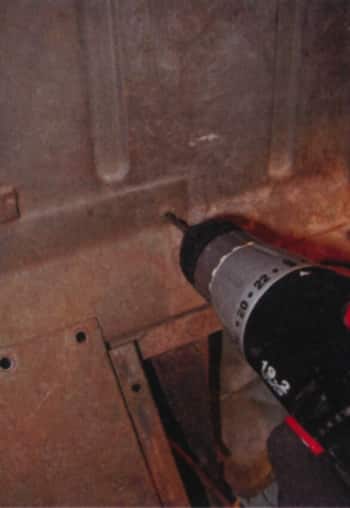  |
To relieve the rivets that secure the bottom of the firewall to the lower cowl supports, you can grind off the heads and drill them out (as long as they don't spin on you!), or... |
| Once you think you've eliminated any and all means of retention ( there's a good chance you may have missed a spot weld or two), carefully take a thin chisel and try prying the firewall from the cowl lip, using the flat side against the cowl. | 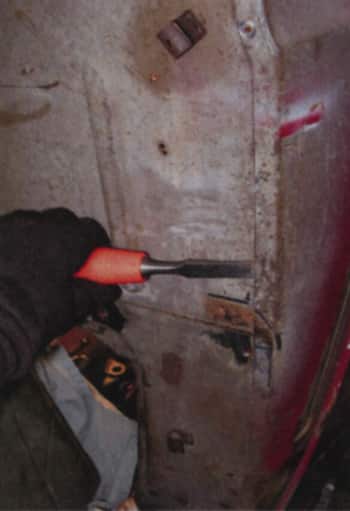  |
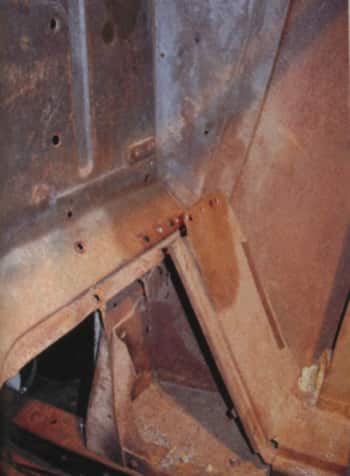  |
Both toe board supports will need to be pried back (toward the doorjamb) in order for the firewall to come out in one piece - and avoid fits of frustration on your part! |
| Obviously, having the engine/trans out of the truck would seem to make the job a lot easier - but there're two reasons I left the drivetrain in place: the firewall comes out through the cab, and I wanted to be absolutely sure the new firewall would fit just right. (Notice that I've supported the cowl with a spreader bar just to be safe.) | 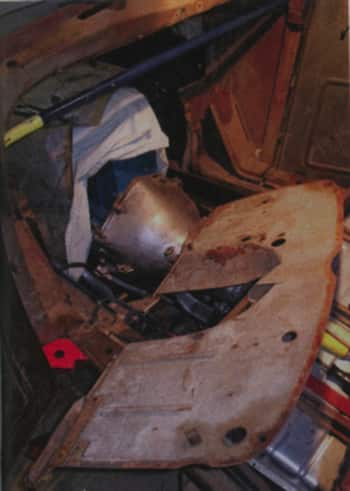  |

